Several months ago I installed a set of Mick-O-Pegs on my PC800. After much debating, I decided to spend the money and get a pair. Ever since, my knees have been greatly appreciative.
Before you buy a set of Mick-O-Pegs there are a couple of things that you should think about and decide for yourself. They are:
- Do you ride long enough distances to warrant some highway pegs? Or do you have problems holding one leg position for however long you ride?
- Do you have any concerns about the Mick-O-Pegs becoming the new first point of contact with the pavement in a very sharp lean?
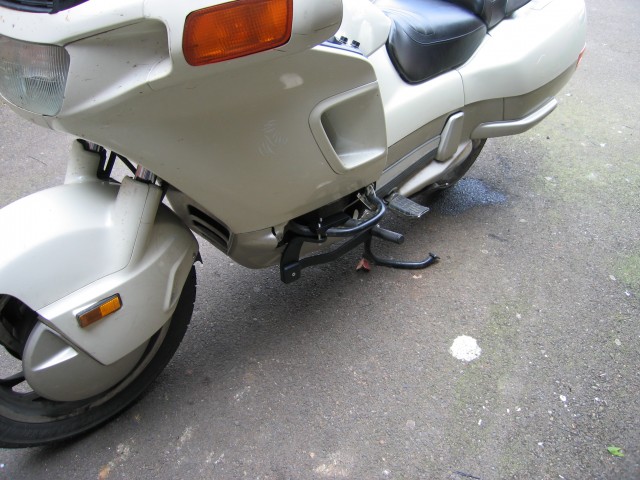
- Are you comfortable with cutting into the tupperwear on your PC800? It’s required that at least a little plastic from the crash bar covers will have to be trimmed off.
- Do you have a few hundred bucks burning a hole in your pocket?
If you still want a pair of Mick-O-Pegs, then go ahead and order a set up! The people at Riding is Wonderful are genuinely nice and easy to work with. The wrong bolts were included in my order and over a couple of emails and phone calls with the folks there, I was able to figure out what size to pick up at the local hardware store and Riding is Wonderful updated their system to make sure that all future PC800 customers (that’s you people who are reading this!) will get the correct bolts. I highly recommend doing business with Riding is Wonderful.
The package from Riding is Wonderful contained two carefully wrapped bundles and some paper instructions.
One of the bundles turned out to be a book that Jim Mick wrote. I have it on my to-read stack. Looks like it will be nothing but trouble for me as it deals with going to many different places on a motorcycle. Surely after reading that book I will have to be restrained from setting off on a cross-country trip. Also in this shot are the instructions (they’re very good), the sales slip, and some business cards in case I run into anyone who wants their own set of Mick-O-Pegs.
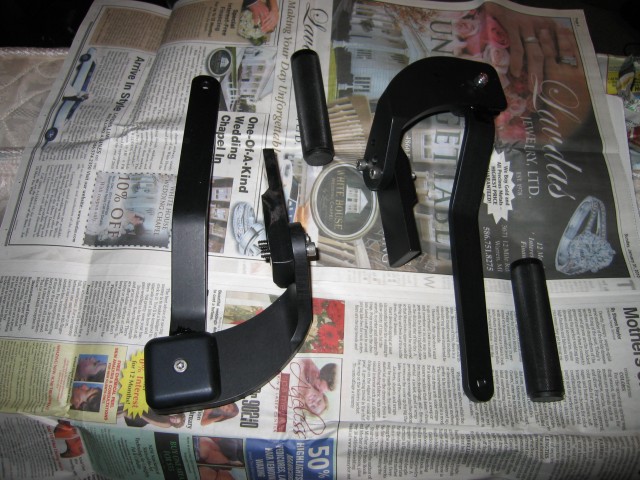
The two sets of pegs. Each is well-machined and a quality item. I ordered the black anodized set as I thought it would be less conspicuous than a non-anodized set.
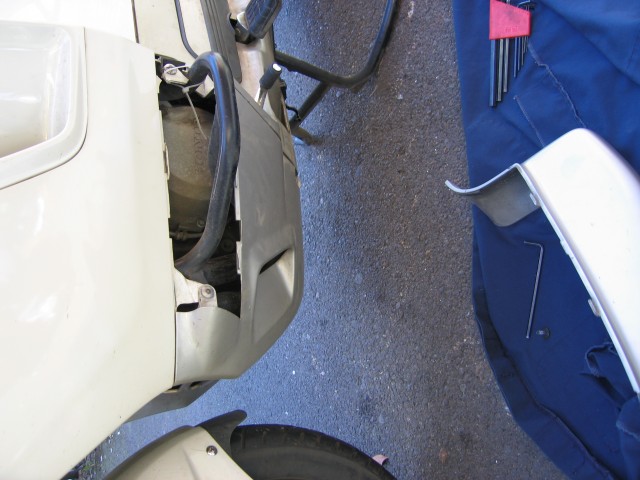
Turn your head to the left to see this photo correctly. I forgot to rotate it. You can see here the left crash bar with its cover removed. This is where the Mick-O-Peg attaches.
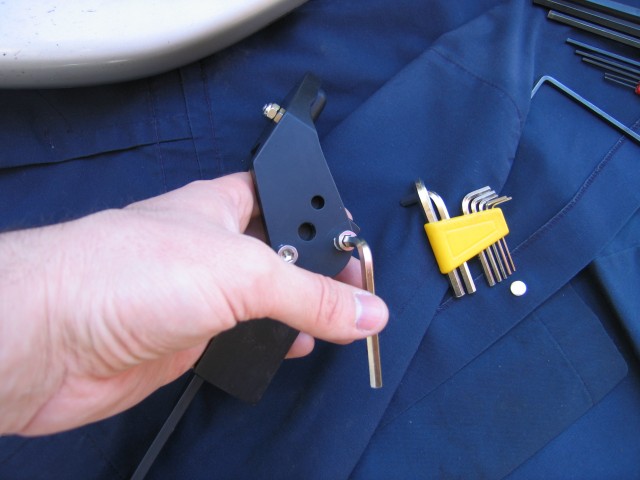
The one bad thing I found with the Mick-O-Pegs is that it requires a fractional Allen wrench set. The two bolts on each side make it the only bolts on the entire bike that are non-metric. I wish that I could find some metric socket head cap screws for this job. Maybe someday in the future I will.
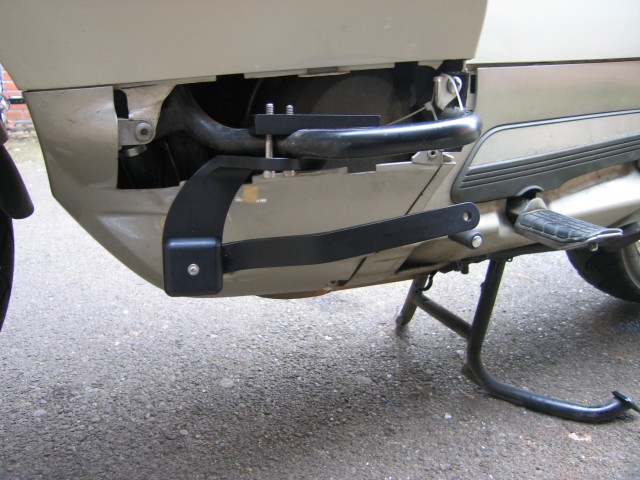
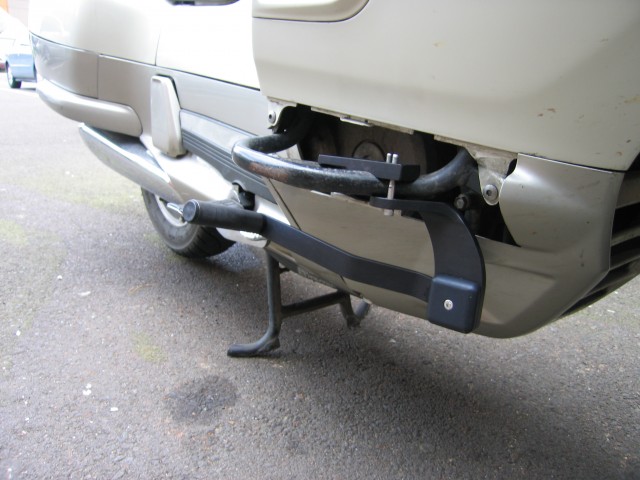
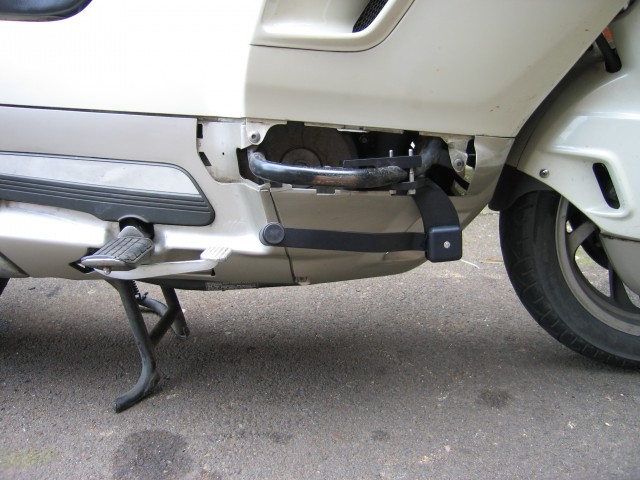
Here it is installed but with the plastic still off. Also note that I haven’t put the actual peg on. And ignore the broken tupperwear tabs. It’s on my to-do list for next winter to repair a bunch of tabs.
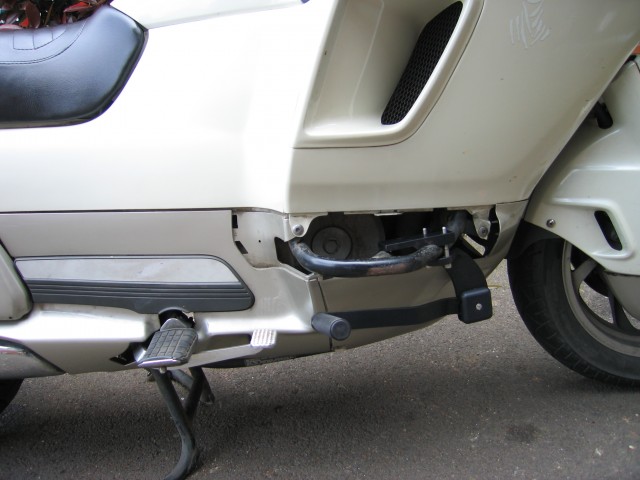
This is on the right side of the bike. All nice and installed.
One note of caution for the first-time Mick-O-Peg user: Make sure to pick your feet up and put them on the normal pegs for ANY corner, no matter how slight. On my first ride I scraped a lot of aluminum off of the pegs going around some mild corners. With the pegs in their retracted position, there isn’t any worry of scraping in all but the tightest of corners. And then, I’ve found that my normal pegs still scrape first and my feet start to get pinned to the bike before the Mick-O-Pegs are touched.
A special note for big-footed people (I wear US size 15, Euro size 50): You will need some time to adjust to riding with the Mick-O-Pegs. They will be slightly in the toe area where you will probably run into them with your boots. It takes a little time but you’ll get used to them being there and how to distinguish between the normal pegs and the Mick-O-Pegs. It makes for a little bit more thinking to make sure you’re hitting the shifter and not the pegs (or the rear brake) but learning a few new habits and it won’t be a problem. If you happen to be in Oregon or within a state or two and want to try a set of pegs out on a PC before you get your own, drop me a note and I’ll see about looping by your way so you can give them a try.


Douglas,
Thanks for the post. If you switch the clamps, so the machined out area is on top (may need to switch sides) that will lift the ‘peg’ location and give your toes a bit more room. The down side of making that switch is that you will also decrease how much stretch you get in the down position. Switching the clamps (on top of the tip over bars) will rotate the entire ‘bracket’ back and the legs and pegs up.
Joyfully,
Jim Mick
Hi Jim,
I’ll try that trick out next time I take off my front crash guard plastics. Actually, that might be pretty soon… Over the weekend I had a little spill on a gravel road that torqued my left Mick-O-Peg around a bit. I need to get in there and readjust things a bit. It doesn’t look like anything was bent. Rather, the assembly twisted around the crash bar.
Cheers!
Douglas
So it might be a very good idea to not torque the bolts too much to allow the brackets to twist on the crash guards in case you dump the bike in the future.
Hi Kevin,
I would be concerned that the bolts might work their way out if they weren’t torqued very much. When I had my little tip-over, the peg on the low side actually rotated pretty well out of the way. I was able to rotate it back by hand with a little work.
Cheers!
Douglas
That’s very good to know that there is some adjust-ability in mounting the pegs. I’m just about to pull the trigger on a purchase. I’m not getting a custom seat beyond the cheap jell pad I put on the stock seat to raise the seat enough to keep my hips from complaining. Money saved on one end can be put to use on the other.
You’ll be happy with the Mick-O-Peg purchase! If I were setting up another PC800, Mick-O-Pegs would be one of the first things I would buy.
Cheers!
Douglas