Some UHMW plastic and a few parts from the hardware store make good fender flares.
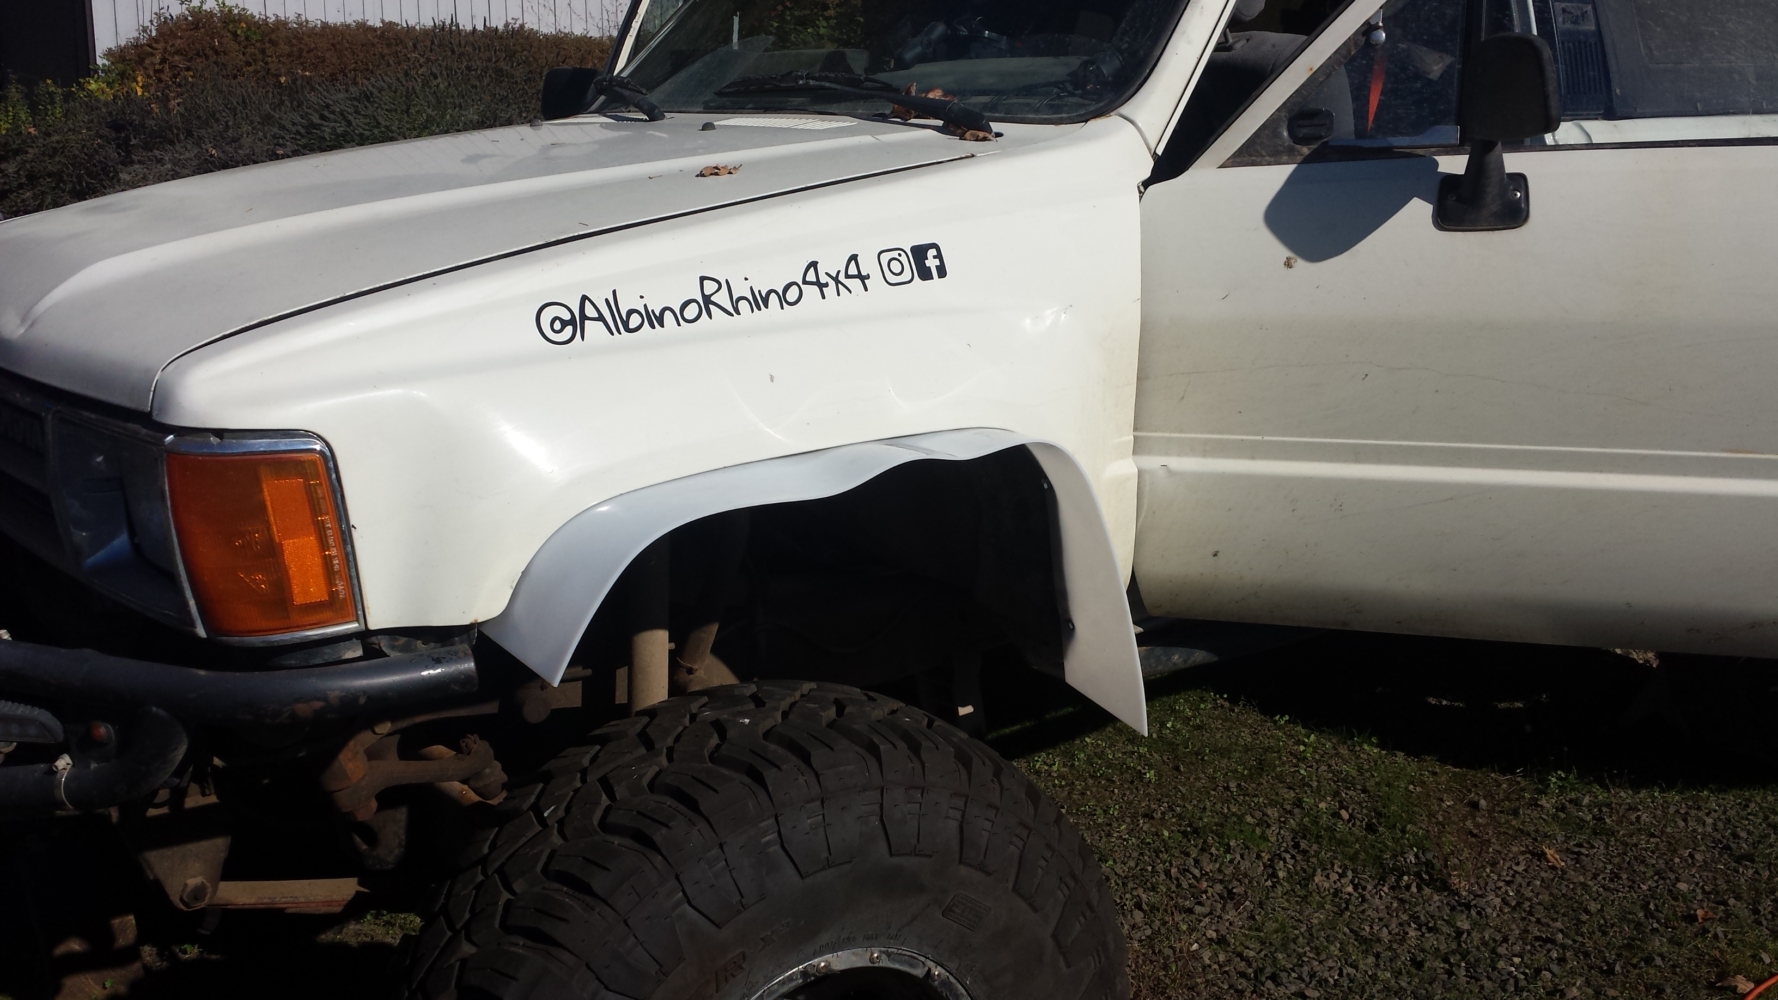
Outside of Colorado, just about every other state in the union requires fender flares. There are a few companies that make wider fenders and that make bolt-on fender flares. However, we weren’t too interested in spending a bunch of money to solve the problem. Instead, we chose to buy some cheap (less than $30 worth) UHMW plastic sheeting (either 1/4″ or 1/8″… we forget which.) and a few parts from the hardware store to make our own fender flares.
No, these flares aren’t particularly pretty or perfect. But yes, they do provide full coverage and hold up well on the highway or the trail. The plastic has enough give that incidental contact with brush or branches on the trail won’t break them. However, a big impact from a rock will most likely bend some sheet metal as it breaks the plastic. We’re okay with that risk considering how easy it is to get used stock quarter panels for 4runners.
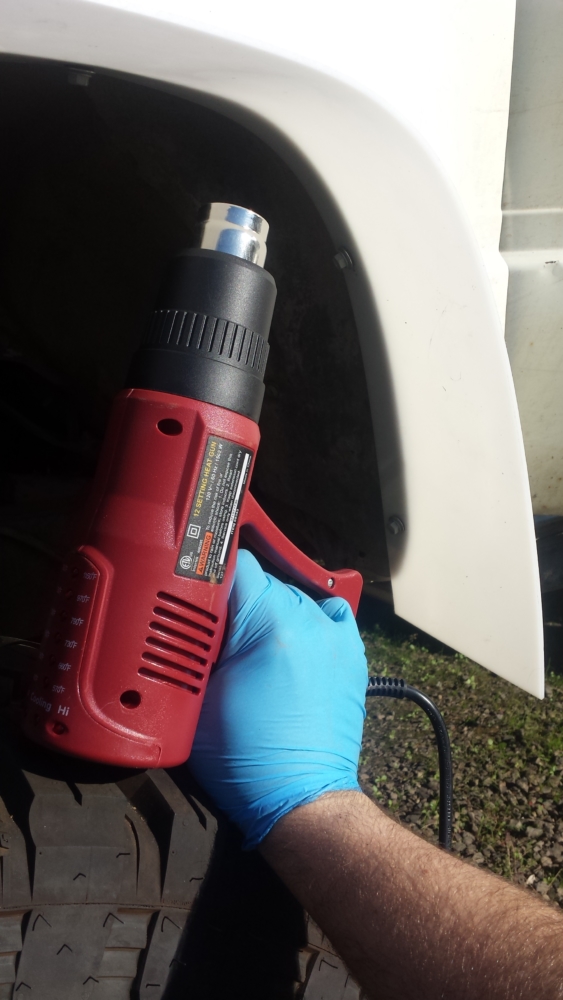
We used a heat gun to help the plastic conform to the wheel arch. You don’t need to use too much heat to get the plastic to bend to your will.
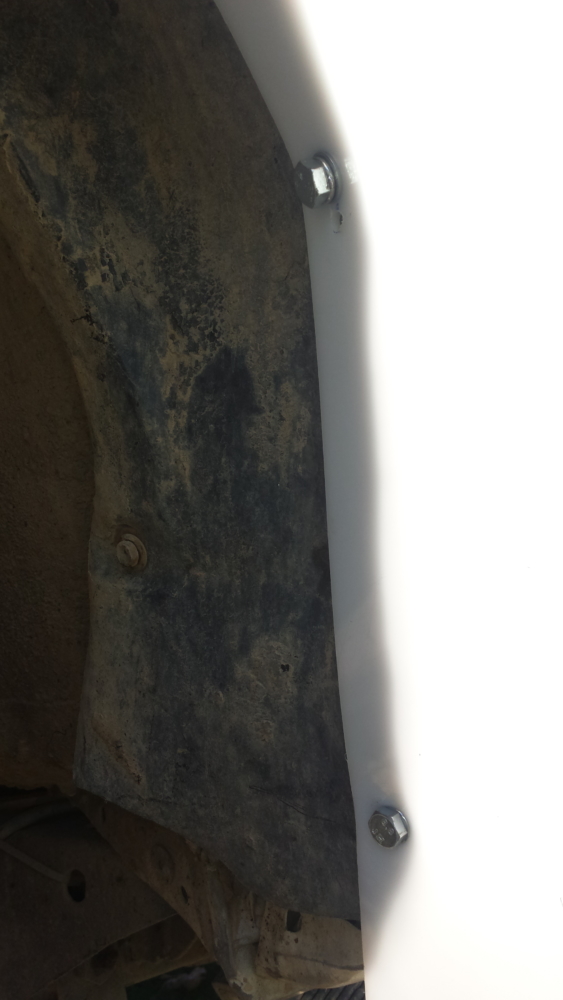
Close up of the UHMW plastic bolted to the wheel well and the fender flare.
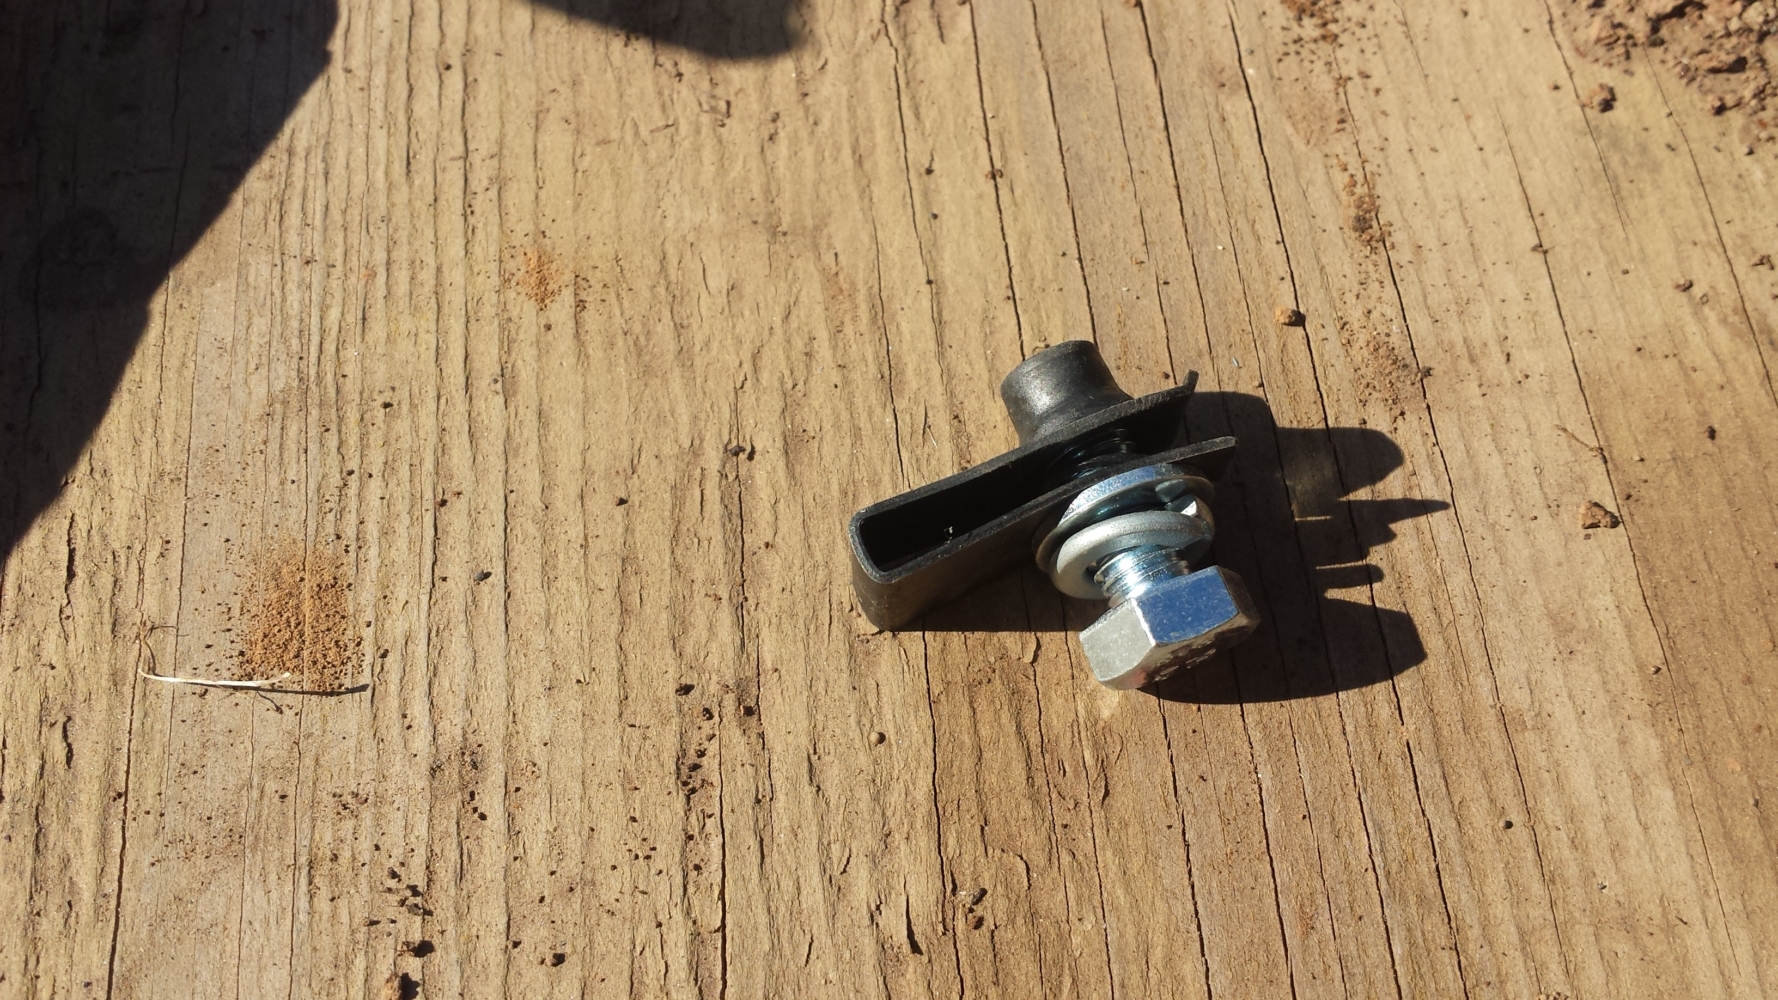
We found our local Ace Hardware had hardware in stock that worked perfectly on our truck. We used some 8mm body panel nuts (the black paper clip looking thing), 8mm bolts, and a washer and split washer to tie everything together. We replaced the stock wheel well plastic hardware with this new hardware. If we were to do it again, we might consider going to 6mm hardware instead so there is a little more clearance around the body panel nut.
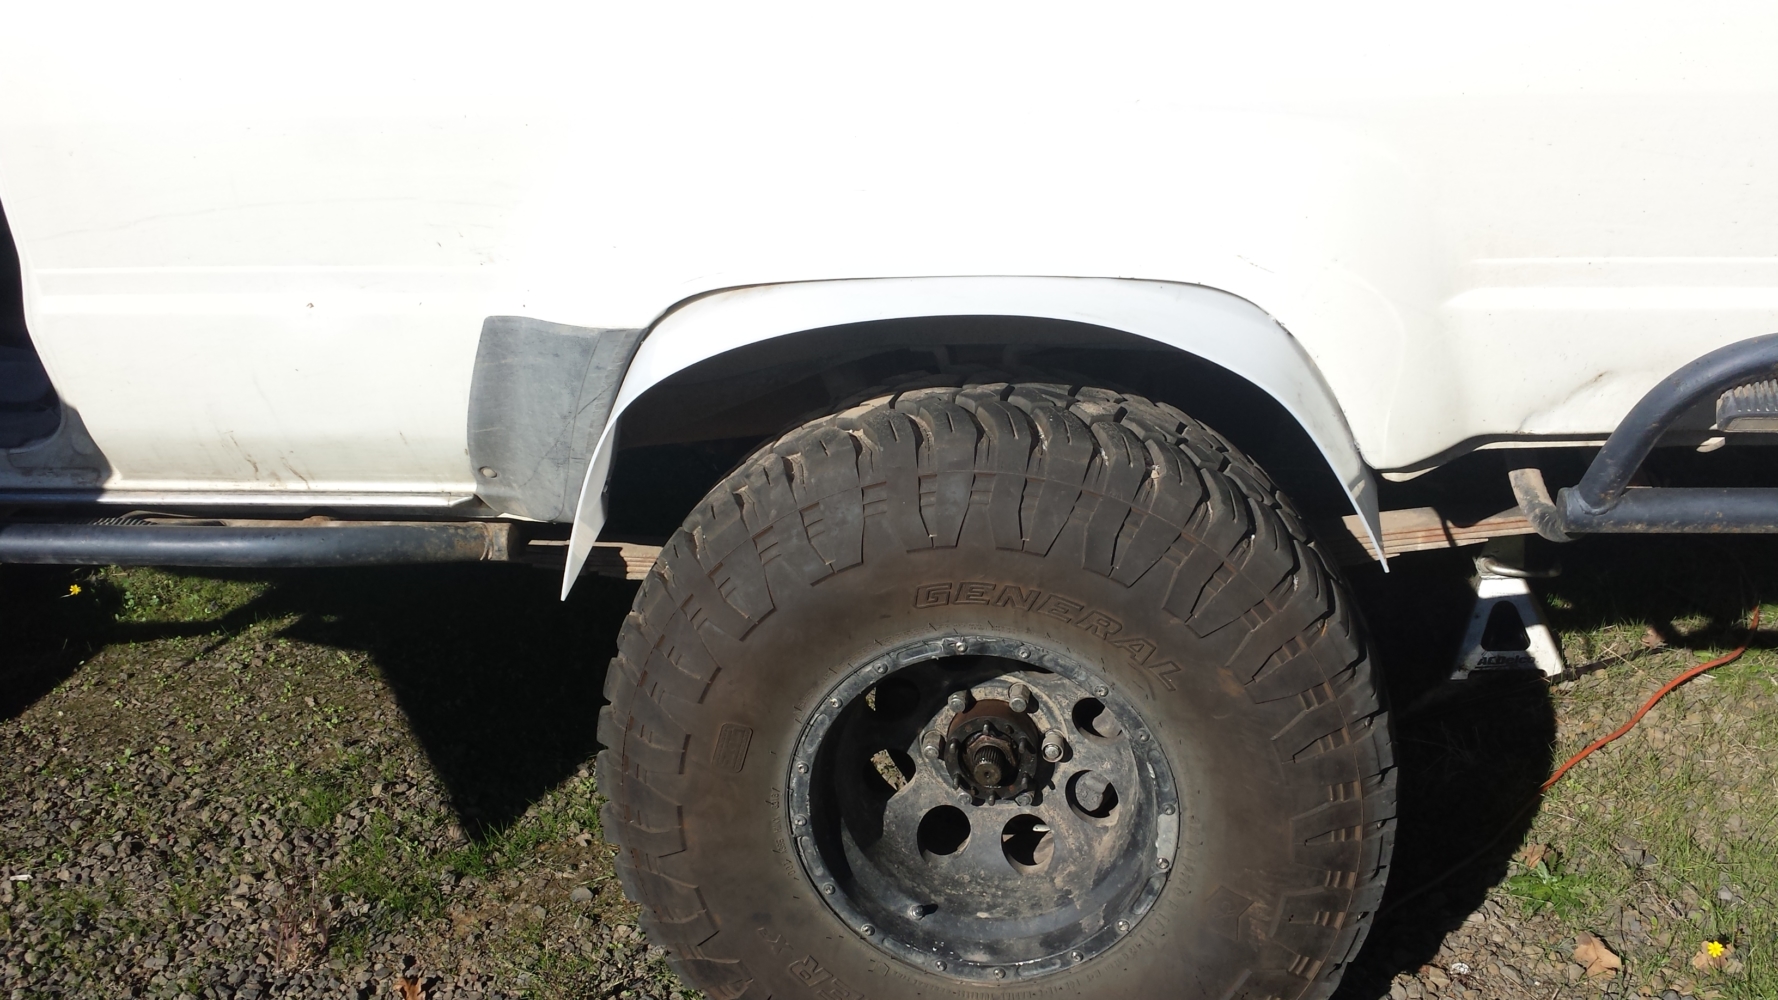
The rear fender flares went on pretty easily. We only needed a little heat to mold them sufficiently. We used 45″ long and 6″ wide UHMW plastic sheets to make these fender flares.
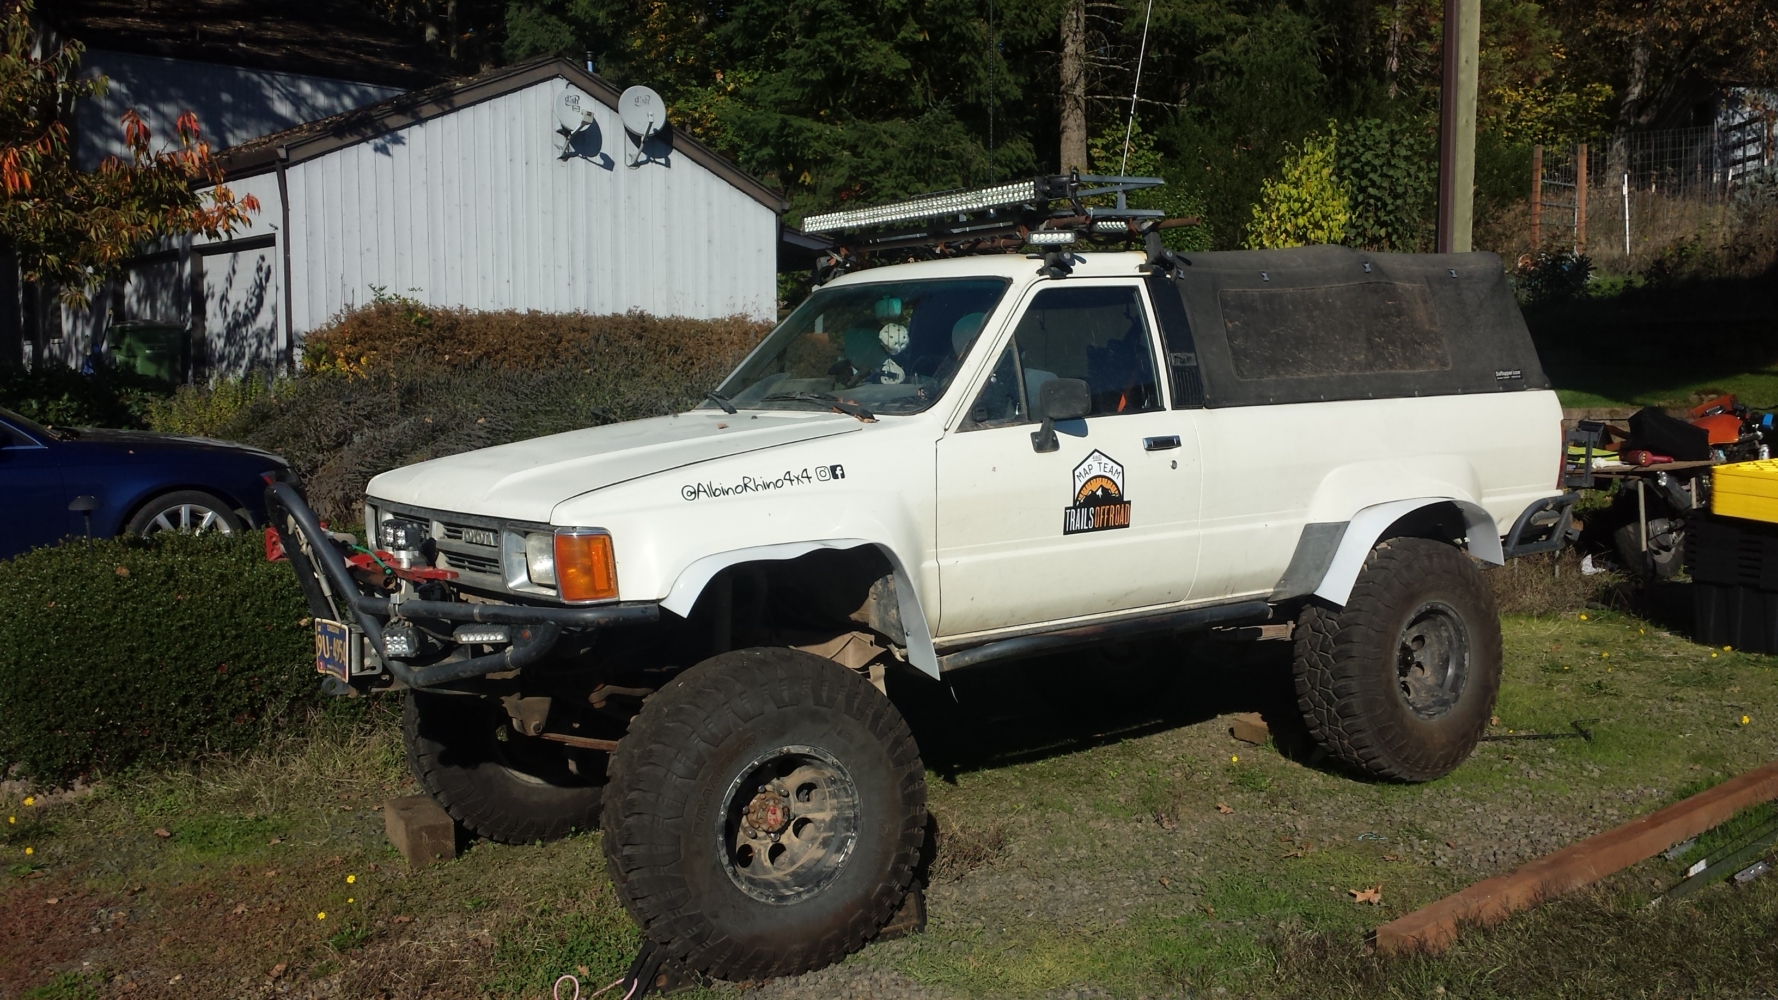
All four fender flares are installed. They look better than garden edging and pieces of children’s swimming pools but not as good as fender flares that can be purchased on the internet.
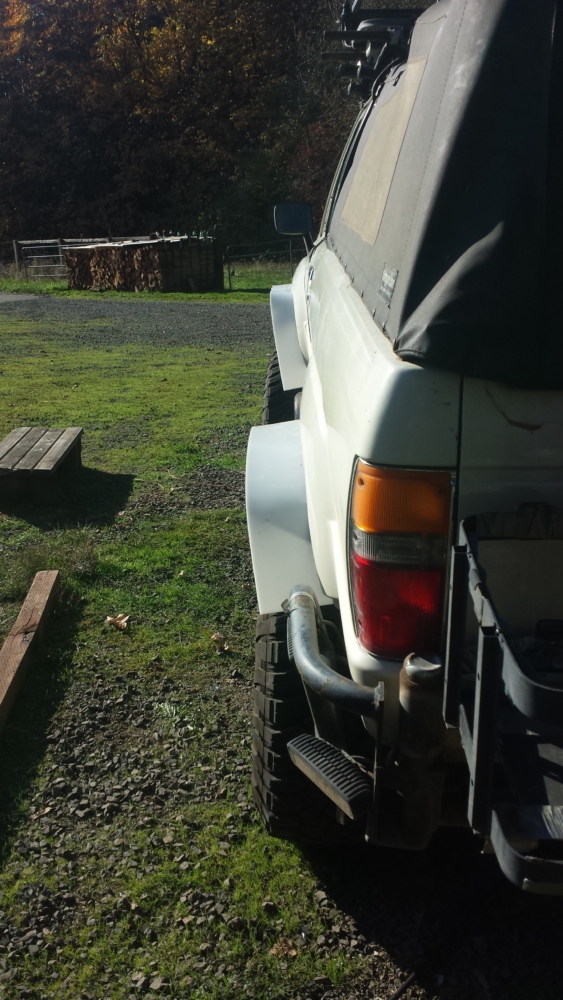
A view of the fender flares from the rear. They fully cover the tires.
The next step for us is to install some mud flaps and we’ll be fully street legal on most of the west coast. After that, we need to look into some removable bumper extensions to comply with bumper height laws in some nearby states. Oh, and we need to make some covers for our off road lights so we can drive on highways in certain states.

