PC800 Fuel Tank Modification

Over the weekend, I finally had some time to work on the PC800 fuel injection project again.  After months of planning to weld on the fuel tank and insert an internal tank pump from a CBR600RR, I finally decided against it due to several factors.  First, the shape of the tank is difficult to weld upon.  Second, I would have had to recess the tank which would effectively reduce the total volume of fuel that I can access.  Third, the internal pump would have taken up more room and thus reduced how much range I could get out of the tank.  Therefore, I decided to do an external pump.  At the moment, I am eyeing a Walbro GSL393 155 lph pump that can run at the pressure (~45 to 50psi) I am after.  They run roughly $100-150 depending upon which website I purchase from.  I will also have to purchase a fuel pressure regulator (more on that later).  My main concerns are that the pump will use too many watts and overload the PC800’s electrical system, and that the pump will need a low pressure feeder pump depending upon where I can locate the unit.

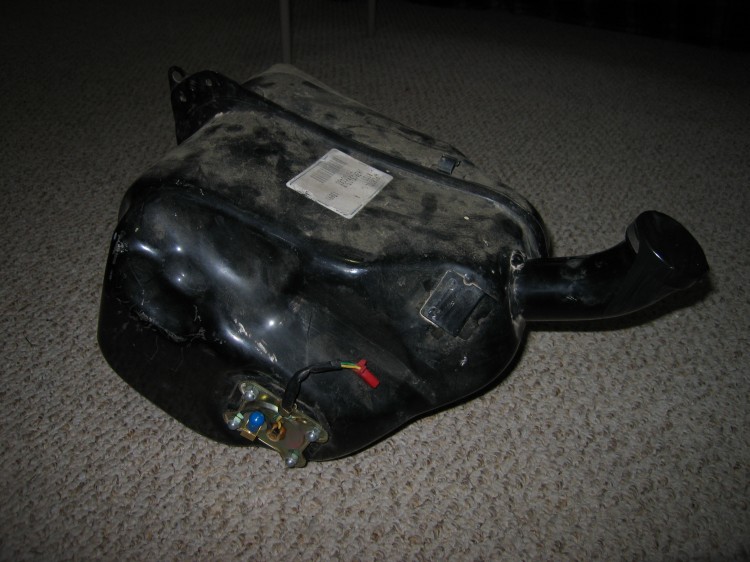
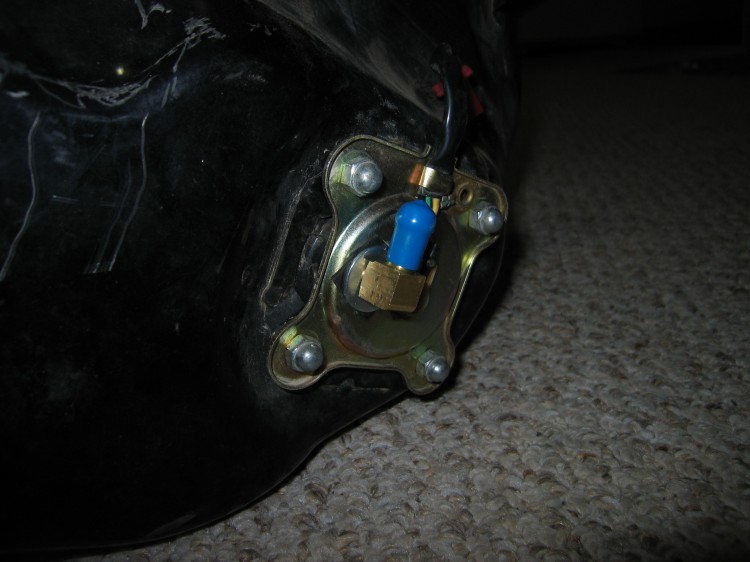
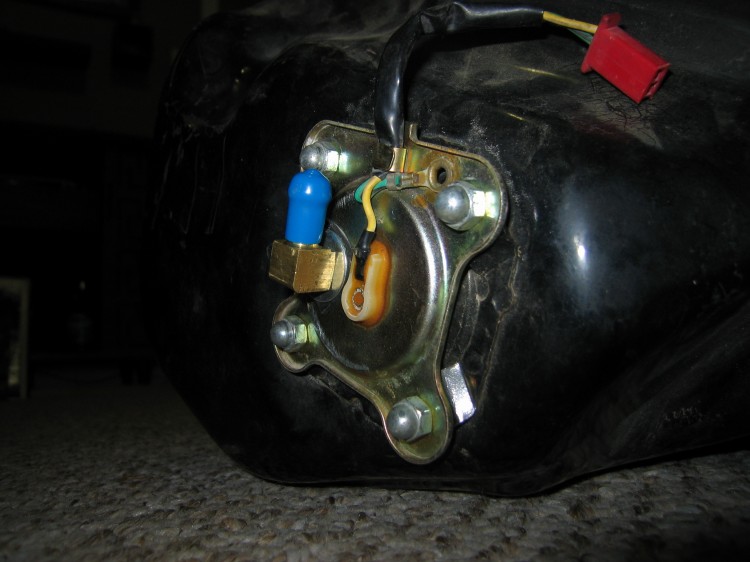
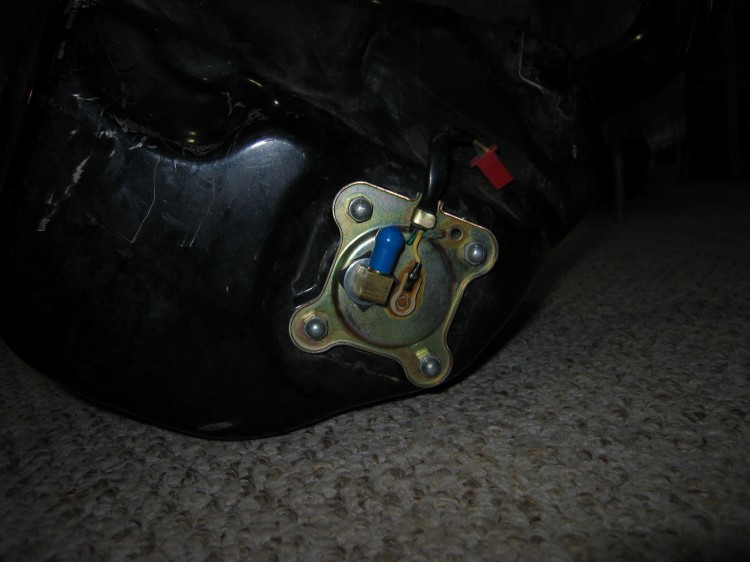
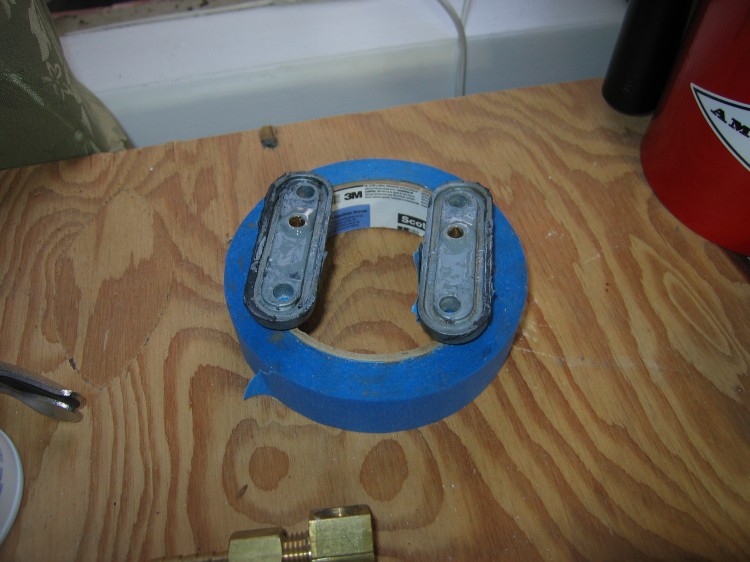
After making the decision to go with an external pump, I went about modifying my spare PC800 fuel tank and fuel level sensor to accept a fuel return hose.  The brass fitting with the blue cap above is the result.  I had to cut some metal around the O-ring flange on the tank and  drilled a hole through the fuel level sensor housing as well.  After a few runs to the hardware store, this is the resulting solution.  I have yet to test it for leaks beyond letting some gasoline sit in the tray of the fuel level sensor.  A full gasoline test will be coming up when I have the time to take a couple of gas cans to the station and have them filled.  I don’t anticipate any leaks but one never can be too cautious.

This modification will not affect the fuel level sensor’s operation.

Now that I have decided to go this route, I will need to purchase a fuel pressure regulator.  Looking around online, it appears that I will be paying somewhere between $50 (used on ebay) and $150 for a decent unit.  If I choose the right one, I will also have the ability to have an external fuel pressure gauge.  Naturally, I want more gauges on my dash.  I expect that to run another $50 or so.  Hopefully in the next month, I will be able to find the money to purchase these components.  However, first I need to finish modifying the carburetors into throttle bodies with injection ports.  That is going somewhat slowly as I still haven’t figured out how to shape the injector ports properly.  I have some ideas on that but haven’t come to a full resolution yet.


Modifying XS850 Petcocks to Stop Leaks


As I quickly found out when I purchased my 1980 Yamaha XS850SG, the petcocks on these old bikes have quite a few issues.  It seems that they all leak and end up flooding the carbs, cascading fuel into the pistons.  That fuel works its way into the engine oil where it spells trouble for the engine.  My bike was no exception.  And as luck would have it, replacement petcocks are on extended backorder at every place I found that carries the part.

With this parts shortage in mind, not wanting to screw with a rebuild kit, and wanting to ride the XS850 without risk to the engine, I decided to cut out the source of the leak and refashion the petcocks into fuel taps.  Yes my friends, I decided to hack apart the existing petcocks and install some brass ball valves instead.


Step 1: Remove petcocks and find hacksaw.

Step 2: Hack off the part of the petcock that hangs out of the fuel tank.

Step 3: Acquire brass barb fittings and put them into the hacked off petcocks.  JBWeld them in place.

Step 6: Get some gasket maker that is rated for fuel (NAPA had it) and apply as per instructions.

The gasket goop I used is supposed to go on both mating surfaces.

Step 7: mount the hacked-apart, JBWelded petcocks on the tank and attach your desired fittings.  I found the brass fittings at a local, family-run hardware store.

Step 8: Leak check the assembly overnight.  No leaks!

Look at those beautiful new ball valves!  The whole project cost me about $35.  That’s the same cost as one new petcock or just a little more than a rebuilt kit.  I think I go the better deal.

Note that doing this, you will need to put in in-line fuel filters.  I picked up a couple inexpensive filters from a local autoparts store that are working great.  As soon as the air filter comes for the bike, I will be out on the highway.


Brake and Clutch Hydraulic System Rebuild, and New Metzeler Tires

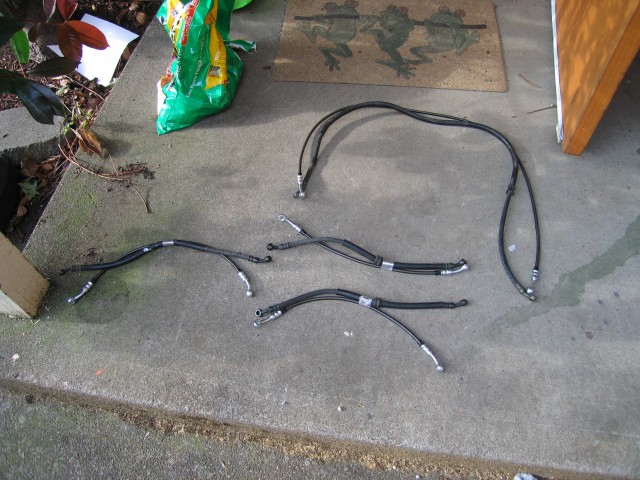
At approximately 52,200 miles on my PC800, I decided it was time for new tires.  I put two brand new Metzeler tires on the bike but found as I put everything back together that the calipers on the front wheel were sticking.  one thing led to another and before I had ridden another 100 miles, I installed braided steel brake lines made up by Fluid Connector Products Inc in Salem.  The lines cost about $125 to have built up plus my time and gas money driving up and back.  I also replaced all 15 of the crush washers at about $2/each.  While I was at it, I rebuilt the master cylinder and calipers.  I also rebuilt the clutch slave and master cylinders.  In the end, this project cost me about $300 for tires and mounting and $300 for the brake and clutch hydraulic system rebuild.  The bike feels amazingly responsive now so I would hazard to say that the expense was totally worth it.  Eating Top Ramen the rest of the summer is a small price to pay for safety and performance.  In the picture above you can see the old hoses I took off the bike.
 

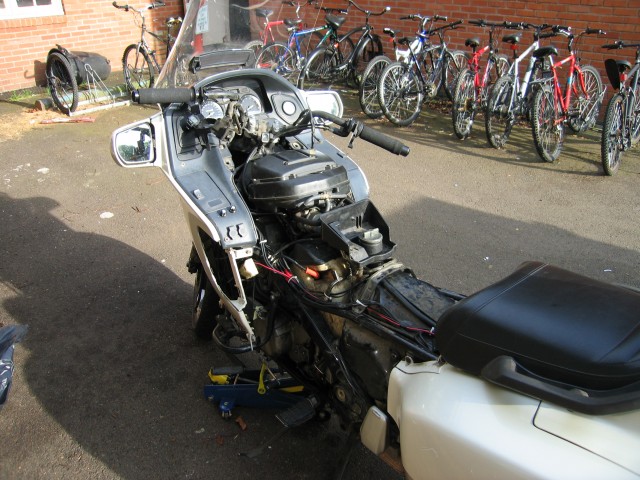
I removed a lot of plastic to safely take off and re-install the hydraulic lines.

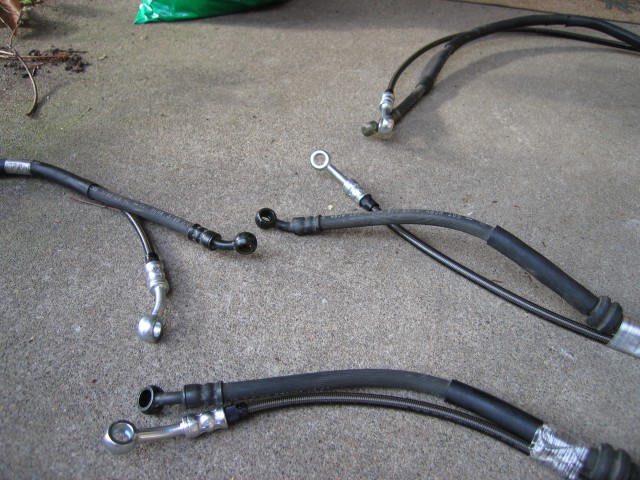
The new lines taped together with the old lines.  I got the two lines that run to the controls lengthened by an inch to compensate for my GenMar bar risers.  It ended up being a good decision.

The banjo fittings on the braided stainless steel lines aren’t quite the same as the old ones but they worked well enough.  I wrapped the braided stainless steel lines in electrical tape to help avoid damage.  Next time I have the bike apart, I am going to put some rubber cushions on the places where the lines can rub metal.


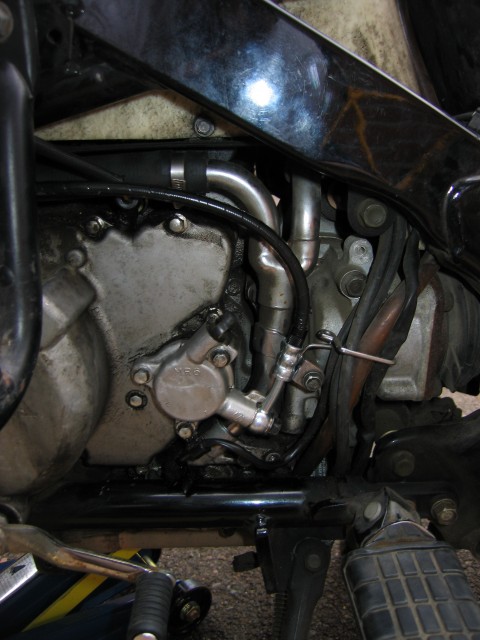
The line to the clutch slave cylinder installed.

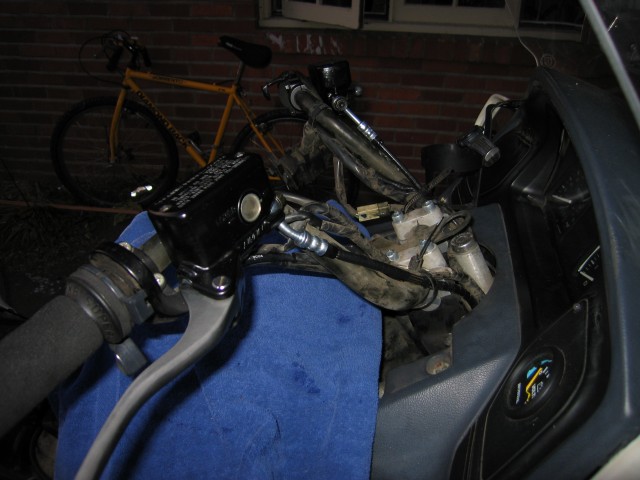
I used a thick towel to keep my plastics fresh and preserved.  Not a single drop of DOT4 fluid (as far as I can tell), landed anywhere to cause damage.

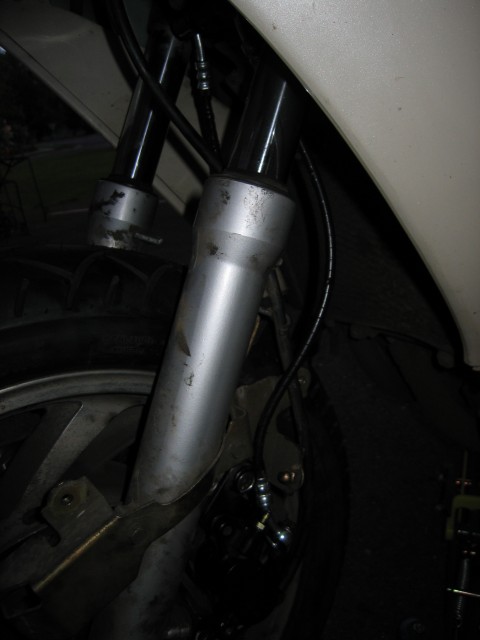
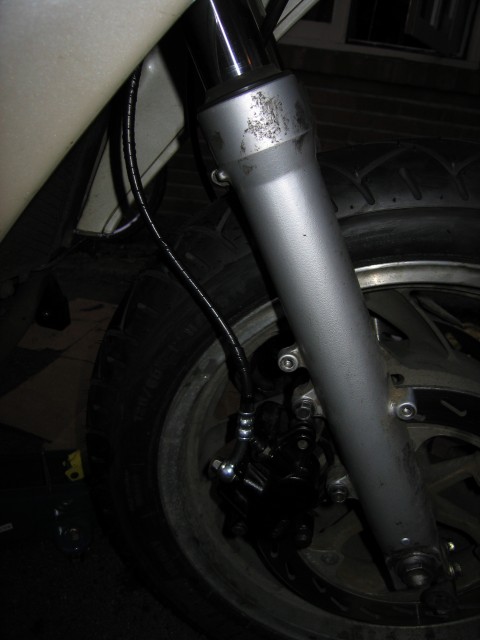
Lines installed on front wheel.


Bleeding the lines took some work but they’re rock-solid now.  For those wondering, this upgrade is TOTALLY worth the money.  You will thank yourself when you get it done.  And doing it yourself is actually very easy.  I was surprised at how painless the whole operation was from start to finish.