I found a twin PC800 in Corvallis! It turns out that it belongs to a nice fellow who works on campus. For most bikers, finding someone with a similar bike would be no big deal. For someone with a PC800 it is a life-changing moment. There are so few of us in the world!
Scorpion EXO 400 Helmet Soundproofing and Modifications
Last Fall I purchased a Scorpion EXO 400 helmet. It wasn’t the helmet I was hoping to get but the local motorcycle gear shops (all two of them) couldn’t get anything in my size except for the EXO 400. The shop owner at the store I purchased it from swore up and down to me that the helmet would be quiet and comfortable. She was right about it being comfortable. Finding an XXXL helmet really has improved my comfort level over my old XXL melon protector. However, the thing sounds like I have my head inside a jet engine when I ride my PC800. Had the shop allowed me to return it (strict no-return policy once the helmet leaves the door), I would have taken it back. But since it is was now mine, I decided to try to make some modifications to improve the noise situation.
Before you read any farther I would strongly recommend you don’t try this at home. In fact, don’t read any farther. It is dangerous to your health. I’m not responsible or liable for anything you do or do not do based on what you read here. You’ve been warned!
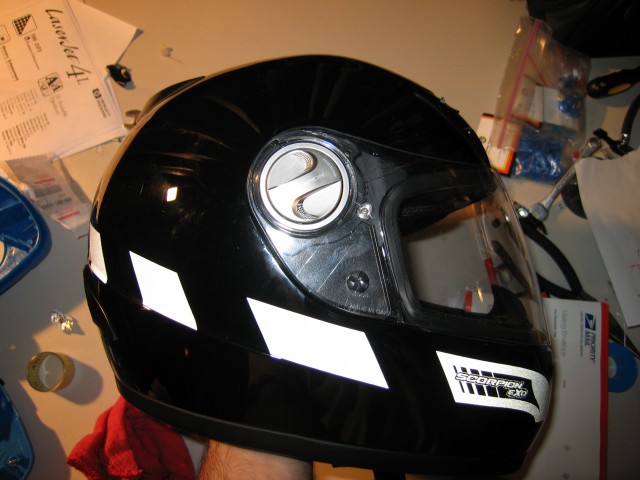
This is the unmodified helmet. I put the reflective strips on (waste of money to buy the Scorpion-branded reflective strips. Buy reflective tape and do it yourself for half the price) but otherwise the helmet is unmodified.
First I tried filling in the lock system that is used to change in and out face shields. It helped just a little but not very much.
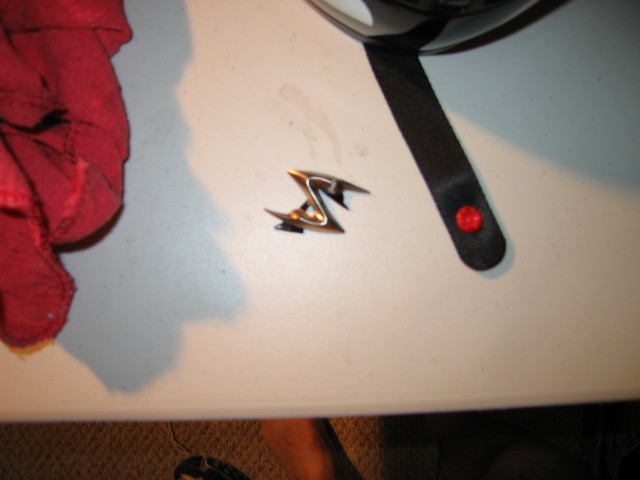
Next I decided the strange lightning bolt / “S” on the front of the helmet had to go. Not only does it look silly but it could be a source of noise.
And away it goes! Now the helmet looks much better.
The decal was held on by a few piece of double-sided tape. I used a pair of needle nose pliers to get it off the helmet.
Next I tried using some black silicone caulking to smooth out the rough spots on the back of the helmet.
Then I got serious. That is a whole bunch of clear silicone caulking all over the side of the helmet. It actually has lowered the noise level noticeably. My two theories on why it is quieter are 1) that the air flow is more laminar and 2) the extra material helps to deaden the sound reaching my ears.
The funny thing stuck to the face shield is a SuperVisor. It costs about $20 shipped and is entirely worth every penny. I used to have issues with getting sun in my eyes on evening or morning rides. Now I don’t have that problem. Also it has helped to reduce the noise I get in the helmet. I highly recommend it.
The other side of the helmet. I’ve gotten many comments about my “ratted out” helmet and questions about the “wicked accident” I must have been in to require this “patch job.” I smile and inform everyone that it is simply for soundproofing.
The whole helmet must look ridiculous going down the highway. I wonder what it appears to look like when headlights wash over the side of my helmet at night.
I also put caulking between the visor and the helmet. I was having some trouble with leaks in the rain down the front of the visor (still do but they’re less now). Also I suspected that there was an eddy current from the wind in that little open space.
Top view of the helmet. You can also see the four mounting tabs for the Super Visor on the face shield. It was nerve-wracking when I put those tabs on (once you start, you either go all the way or you’ve ruined a face shield) but it was so very worth it.
As an epilogue to this soundproofing expedition I will say that the noise level hasn’t been reduced all that much by these modifications. Yes, it is better, but the helmet is still too loud. The biggest improvement I’ve made to date was switching from a Clearview +3 to a Clearview +5 windshield. By no means is my setup noise-free but with those two extra inches of windshield between me and the air column, it has made an improvement. In the fall I think it will be time to buy another new helmet. This time I am planning to make a day trip out of riding to a bigger city where I might find a shop with XXXL helmets in stock that will let me try them out on the road before I buy.
As always, YMMV.
Andrea’s Leaking Head Gasket and Blown Connecting Rod Bearing
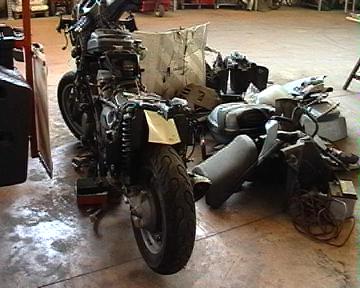
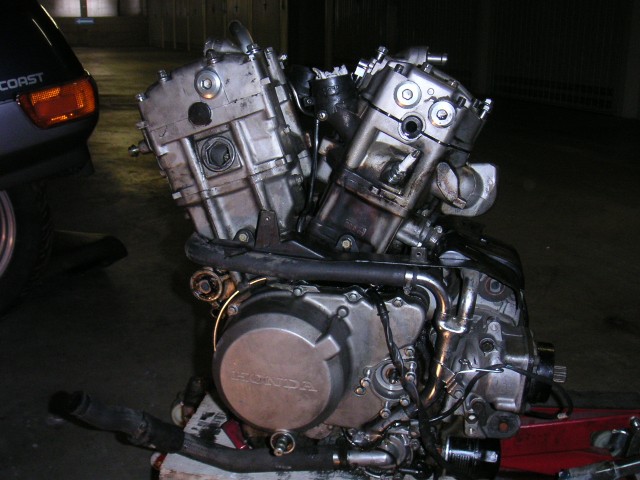
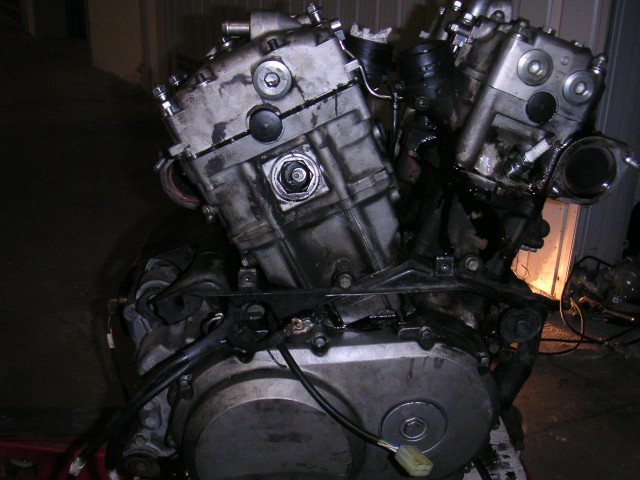
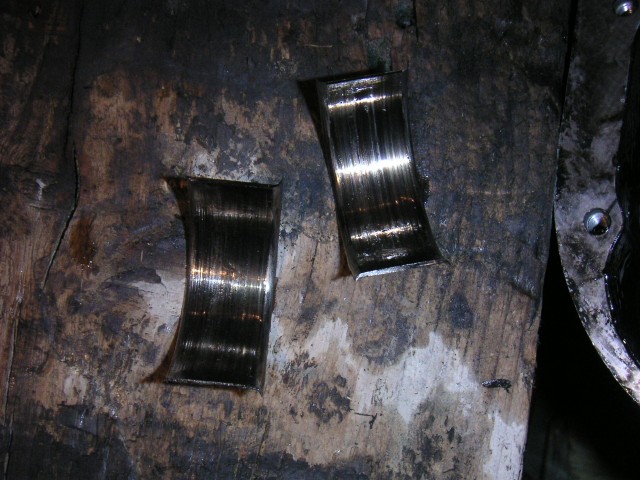
Andrea sent me these photos to post from a bike that was resuscitated. Here is Andrea’s explanation of the photos:
As you can see, on the first picture of the engine the leaking is coming from the front and rear cylinder just below the spark plug. It is exactly where it is located the head gasket.
The bike was sitting in a warehouse for ages, and I bought for less than $ 1,000 . I found it had a bad connecting rod bearing. Now it is perfect.
..note the sludge in the crankcase.
I hope these pictures will help…
It just goes to show that even fairly significant problems in our PC800 engines (very rare!) can be fixed with just a little effort. Thanks for the information, Andrea!
