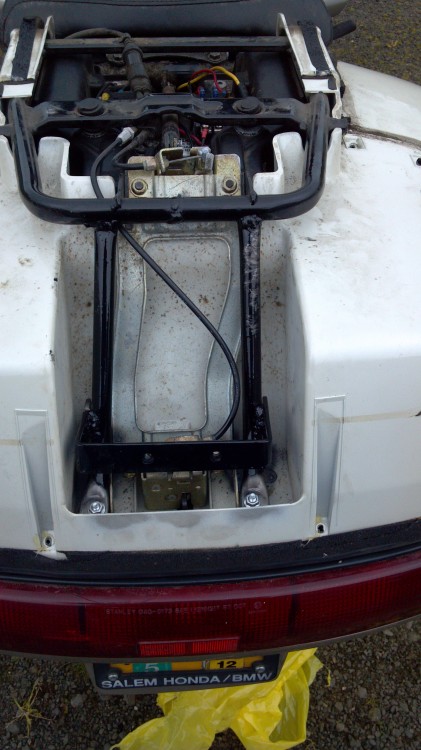
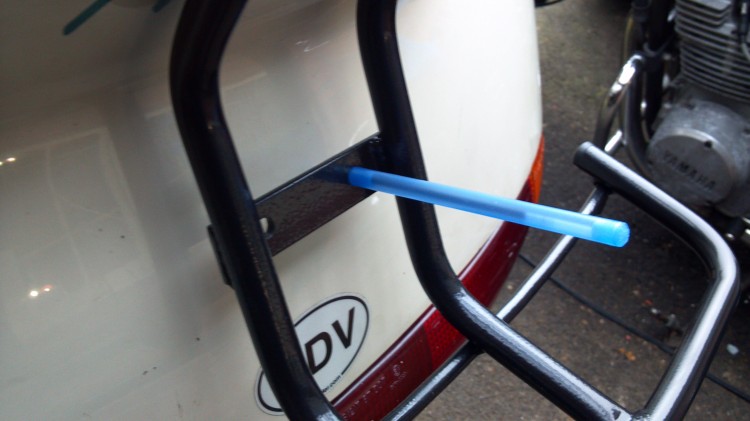
Installation of a MMoto Parts Complete Rack for the PC800

Several weeks ago I received an MMoto Parts Complete Rack.  A full write-up on the un-boxing of the rack is available here.  The short story of this post is that it isn’t all that difficult to install the rack and the rack looks absolutely beautiful once it’s in place.

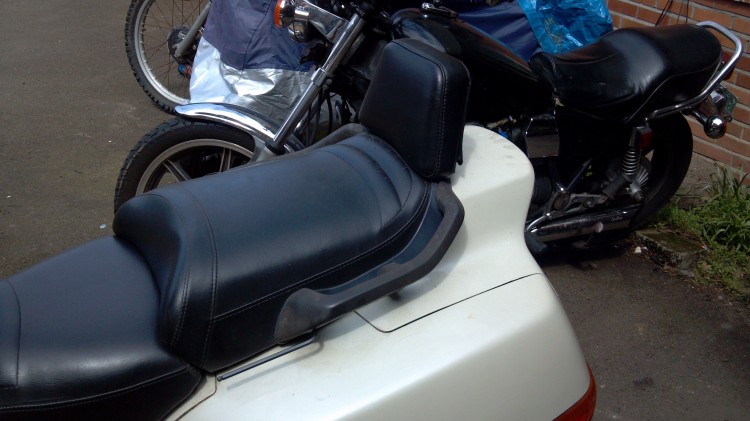
 This is the seat of my PC800.  The first thing you will do is say goodbye to the stock grab rails.

Unbolt the four bolts.  Mine were VERY hard to remove.  They had quite a bit of corrosion.  That’s as a result of my bike being stored outside under a shoddy cover.  Someday I will have the money for a nice heated garage.  Until then, I have to deal with corrosion.

Note that the two bolts are of different lengths.  The short bolt goes on the front and the large on the rear.  This is important for installing the rack and also if I were to put the stock grab rails back in place. 

These spacers fell out of the seat and grab rails when I pulled the grab rails off.  They turned out to not be necessary for installing the rack.

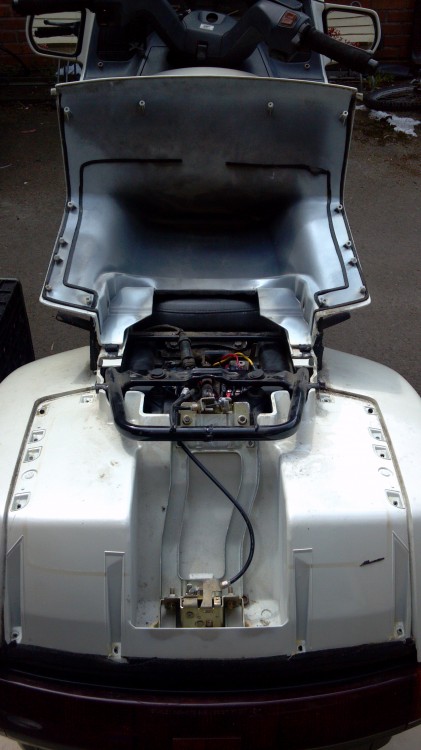
Next, undo all of the plastic screws holding the duck bill trunk lid in place.  I think there are about 14 or so of these screws.  There are two plastic tabs on the duck bill trunk plastic that are somewhat difficult to unhook.  Be gentle but forceful.  This would also be a good time to inspect the trunk cables and locks to see if you need to replace the cables or locking mechanisms.

The two bent unpainted pieces of metal go in the trunk as shown here.  Note that there are two bolts that you must install in place of existing bolts that hold the lower latch mechanism in place.

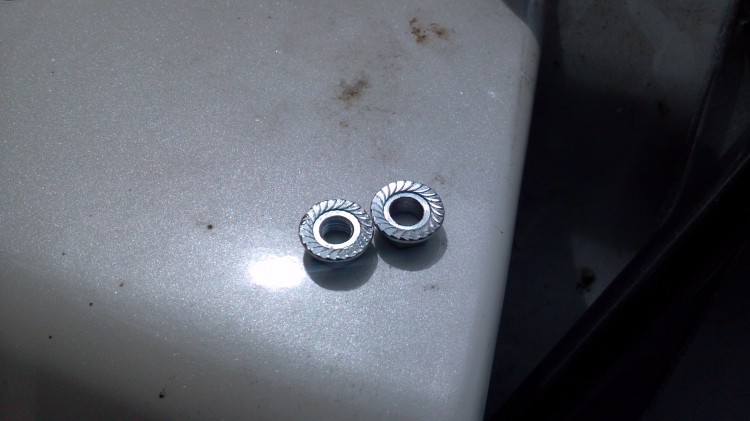
The bolts come with two nuts each.  One nut is larger than the bolt and acts as a spacer.  Put that on the bottom of the stack.  This separates the piece of bent unpainted metal from the latch mechanism framework.

The two nuts side-by-side for size comparison.  To the naked eye they look the same.  I figured out that there were two sizes by actually putting them on the bolts.

The metal pieces installed.  Note that I had to bend the flanges at the bottom of the metal pieces so that they would sit in the trunk properly and contact the upper trunk frame in a good location.

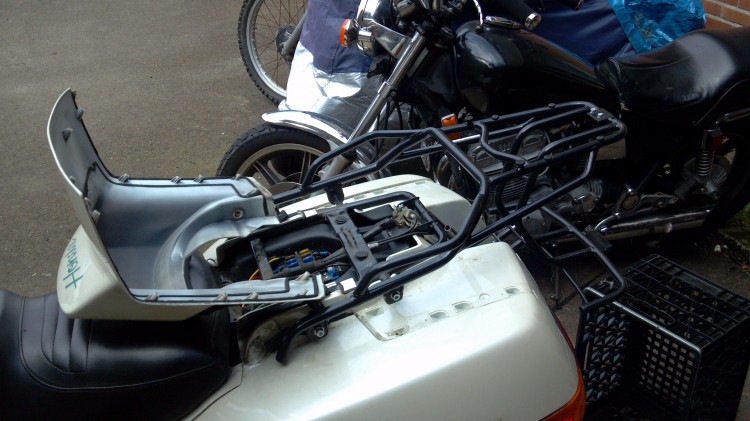
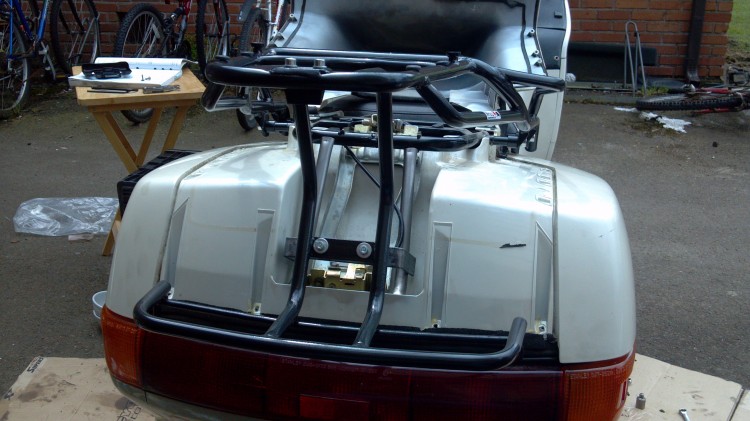
The first test fit of the rack.  The rack was a little difficult in getting lined up but I was able to do it by myself without any help.

Here you can see the substantial collars that are included (and powder coated!) with the rack.  Every single piece of hardware you need comes with the rack.

A rear view.  Having the trunk plastic off gives me some wonderful ideas for what I can do with that extra space.  It looks like a good home for some electronic equipment!  Note the black rectangle hanging down from the rear of the top of the rack.  By simply bolting that right side up, you are ready to accept Givi top boxes.

 Looking down at what needs to be welded.

 I took a paint removal wheel on a rotary tool to the frame in order to clear a place for welding.

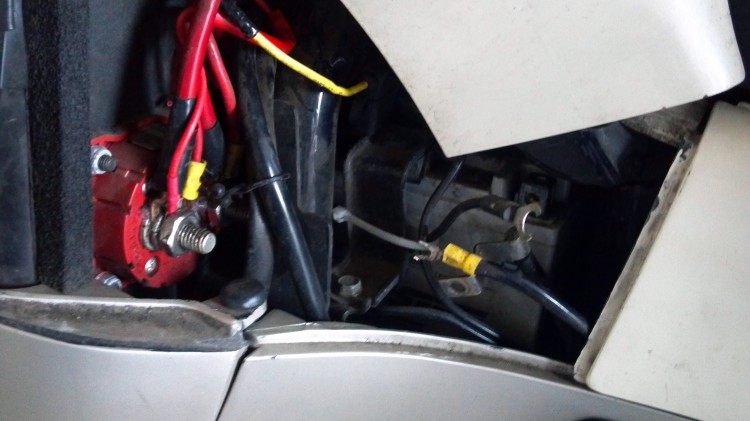
 Don’t forget to disconnect the negative terminal from your battery before you weld!!!!

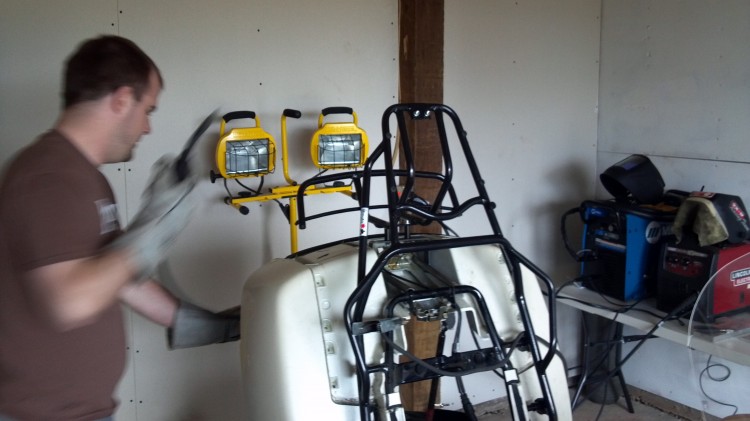
 My buddy preparing to weld.

 In retrospect, it would have been a good idea to put a drop cloth on the riders’ seat.

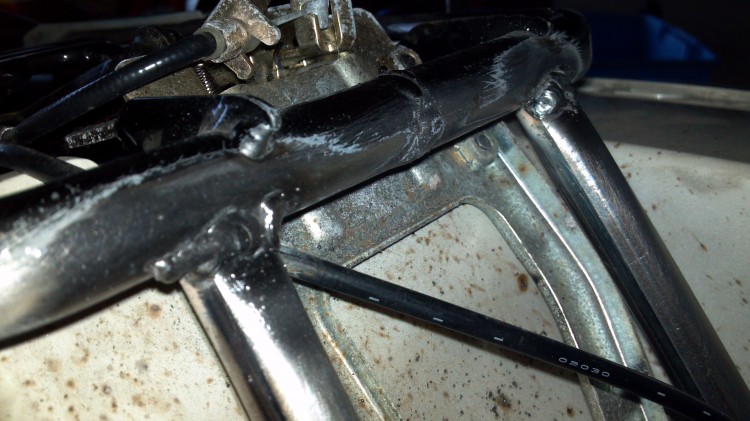
 Not the best weld on the planet but it will get the job done.


I attempted to paint the new pieces of metal black but we were having some issues with the wind.  Next time I am in this part of the bike, I will do a better job with the paint.

 This is how I determined where to drill through the duck bill trunk plastic.

All bolted on and ready to go!  Note that I think a passenger backrest would actually fit with the rack if you were to take off the stock grab handles.  I haven’t tried this yet but holding it up to the bike, it looks like it would fit.

The black spacers go right into the trunk.  In the future I will see about sealing that with a grommet or a little bit of clear sealant.

 I think I also might paint those bolts black.

The rack fully installed.  It is TOTALLY worth every penny I paid.  Next up on my shopping list is a nice top box.  After that, I want to find a good CB radio setup (maybe amateur radio, too) and deck it out in style.  I can’t wait to go touring now that I finally have proper external storage space.

Unboxing an Mmoto Parts Complete Rack for the Honda PC800 Pacific Coast

The Complete Rack from Mmoto Parts that I ordered on March 7th arrived today.  The purchase process went as such: I submitted my information as instructed to the Mmoto Parts website.  After not hearing anything for a few days, I emailed Andriy Taube, the proprietor of Mmoto Parts, directly on March 8th.  He responded immediately and forwarded the email sent from info@mmotoparts.com to my address.  Evidently GMail’s spam filter caught it by mistake or it went astray somewhere in cyberspace.  If you don’t hear from Mmoto Parts, try emailing Andriy directly at taube.andriy@gmail.com.  I made a PayPal payment to the Yahoo! email address Andriy specified on March 9th.  I would have been hesitant to do this but several people on the IPCRC have ordered from Andriy and been very happy with the finished result.  On March 13th after not having heard anything from Mmoto Parts, I sent Andriy an email asking if my payment had been received and the status of my order.  He responded promptly, said payment had been received, and further said the rack would ship in 3-4 days.  On March 17th, Andriy sent me the Parcel Post tracking number.  I used this website to track the package’s progress.  The only events that registered were the initial receipt of the package at the post office in Ukraine and the delivery to the local post office here in Corvallis, Oregon, USA.  The package arrived at my office on March 29.

In total it took less than a month from placing the order to receiving the complete rack.  That’s pretty good considering how far the package came!  Also I should note that I paid $231.75 USD total for the complete rack and shipping combined.  This price is no doubt subject to change based upon the exchange rate, production costs, shipping costs, etc.  As of when I bought the rack, that is how much I paid.

If you have any questions about the rack, purchasing process, how much it will cost in total, etc, I strongly suggest you email Andriy.  He answered all of my questions thoroughly and laid to rest any fears I had about ordering something from a business in the Ukraine.  Assuming the rack fits and works as it should (I see no reason why it won’t), I would strongly recommend Mmoto Parts for your PC800 rear rack and complete rack needs.

The box was pretty beat up from its journey across two continents and an ocean.  Everything was held together with strong plastic wrap and tape.

 Someone went wild with postage stamp cancellation.

Two metal bits sticking through the box.  These are for the U-shaped piece of metal that gets welded to the trunk lid frame.

Another part of the box that was still held together by the plastic but showed the punishment it must have received on its long ocean voyage.

 The shipping box opened.

You can see the two metal pieces that were poking through the box.  THey are the only things that aren’t covered in industrial strength plastic kitchen wrap and bubble wrap.

I found this parts package inside the plastic wrap and bubble wrap.  It was tucked in between the bottom luggage holder and the upper part of the complete rack.  Be sure to find this when you unwrap your package. Don’t throw any packing material away until you locate it!

This is the package on its own.  be careful when cutting it open.  You don’t want to scratch the finished parts inside.

Inside I found the above parts.  There are four bolts and collars, and two raw metal bars that have been bent, flattened at one end, slotted, and have bolts inserted in the slots.  The four bolts and collars are used to secure the rack onto the upper trunk bolting points.  The two bent raw metal pieces are welded in place under the exterior trunk lid plastics and they in turn have the internal U-shaped rack support piece welded to them.  Thank you to Andriy for clarifying that in an email!  Also thank you to Seth for independently confirming that!

 Detail of the raw metal bar and bolt.

 As you can see, there are two lengths of bolts and heights of collars.

The complete rack was extremely well wrapped in plastic wrap and bubble wrap.  It took me a good 15 minutes working cautiously with scissors to get the whole rack free.

The rack is now free and oriented in the proper direction.  I chose to have mine in black but several other color options are available depending upon your tastes.

The Mmoto Parts logo that has been tastefully placed on the right side of the rack (when looking at the bike from behind).  I am happy to have that badge on my motorcycle so that any other PCers who see the rack on my bike in the wild know where it came from.

Note these bolts and this bit below the bolts.  I believe that this, when flipped around, is used as part of a Givi top box Monokey mounting system.  The whole top of the Mmoto Complete Rack appears to be setup to accept a Givi Monokey top box or compatible box from another manufacturer.  Nice!

This U-shaped piece of metal gets welded into the trunk.  I shall have a detailed installation post after I have had a chance to install the rack on my PC800.

 Note the high quality rubber bumper.

 And another high quality rubber bumper.  Andriy really thought of everything with this rack.  It is very high quality.

A grab handle for your passenger and also so that you can still place the bike on the center stand with ease.  This is a VERY nice feature since I will be losing the Hondaline grab rails that are currently on the bike.

All of the parts that were shipped to me ready and waiting to be installed on my bike.  Assuming it fits and assembly goes smoothly, I must say that this is an excellent rack.  While the process of purchasing the rack and the time it takes for the rack to be delivered to your door might leave you sketched out and iffy about purchasing it, from my experience and the experience of others on the IPCRC, I believe that you can feel confident that you will get the rack you ordered in a reasonably timely manner and you will be happy with what you receive.  Paying a total of $231.75 USD for this rack shipped to my door sure feels like a steal of a deal!

Fuel Leaking from the Plastic Tree Between the Two Carburetor Bodies on the PC800

While I was working on my PC800 the other day I discovered that the carbs had gotten gummed up while it’s been sitting.  This is the result.  Fuel leaking out of the plastic tree between the two carb bodies.  I pulled the bodies off of the bike, opened the float bowls, cleaned out a little bit of gunk that had built up and exercised the floats, put it back together, and it was fine.  This is usually an indication of a stuck float valve or a flooded float body.  It’s an easy enough fix to do in an afternoon.