Editor’s note: I am preserving Leland Sheppard’s PC800-related content after his passing. This is one of his pages that I felt the PC800 community would want to have preserved. Leland may be on his final Iron Butt ride but he is not forgotten.
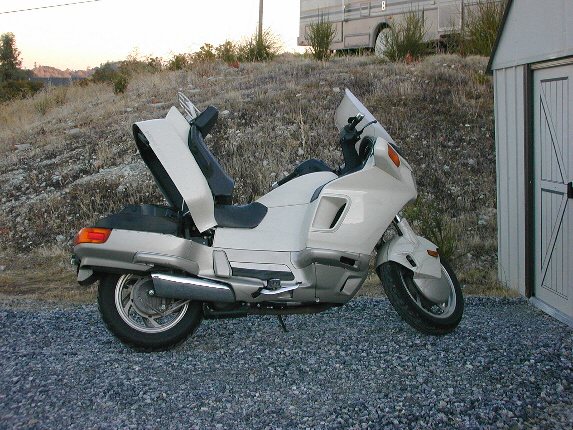
Getting Shadow Dancer Ready for the trip.
It was promising to be one of those days… (YESSSSSSSSSS!!!)
Date of trip: October 14, 2000
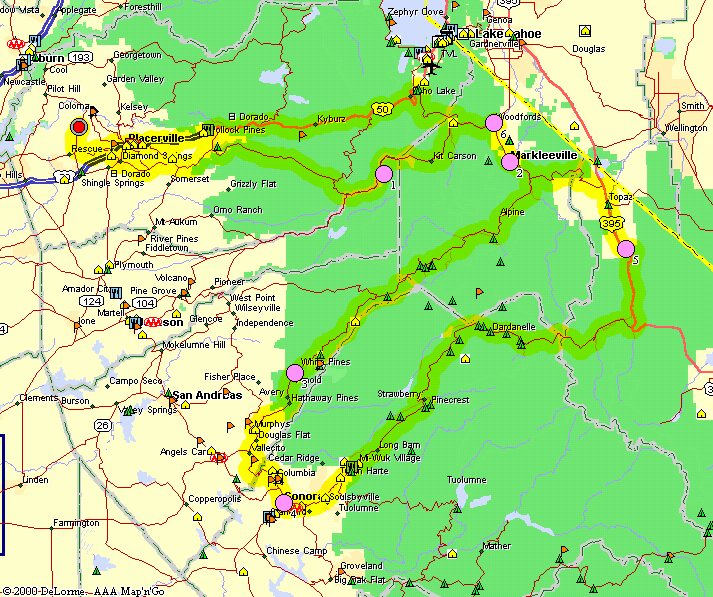
The route.
Start from Placerville.
Take US50 east to the Sly Park Road exit in Pollock Pines.
Take Sly Park Road south to the junction with Mormon Emigrant Trail.
Turn left (east) on Mormon Emigrant Trail to the junction with CA88.
Turn left (east) on CA88.
Go east on CA88 past Silver Lake to the sign for Carson Spur.
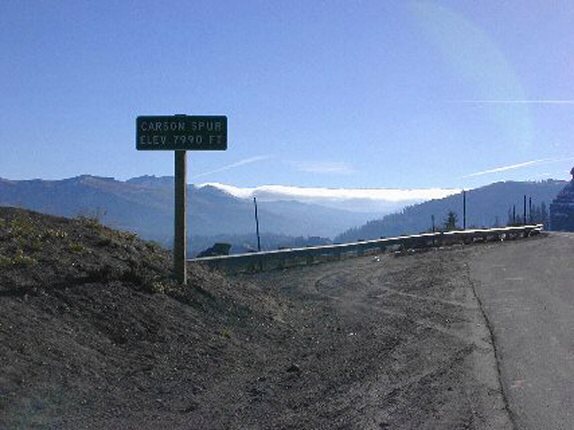
This is the first summit at 7990 feet.
Continue east on CA88 past Kirkwood Ski Resort and Caples Lake to Carson Pass.
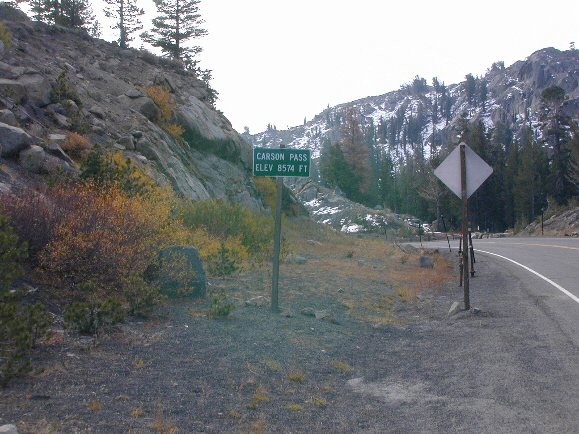
This is the second summit at 8574 feet.
Continue east on CA88 through Hope Valley, past the junction with CA89 to Tahoe, down the canyon to Woodfords.
Turn right (south) on CA89/CA4 (toward Markleeville).
Continue south on CA89/CA4 until CA89 splits.
Continue west on CA4 to Ebbetts Pass.
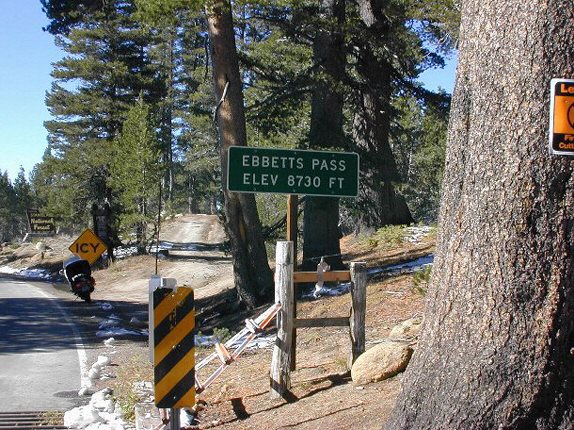
This is the third summit at 8730 feet.
Continue west on CA4 to Pacific Grade Summit. This is the fourth summit at 8050 feet. (no picture available)
Continue west on CA4 through Arnold and Murphys to Angels Camp and the junction with CA49.
Turn left (south) on CA49 at the stop sign.
Go south on CA49 to Sonora and the junction with CA108.
Take CA108 east.
Continue on CA108 east to Sonora Pass.
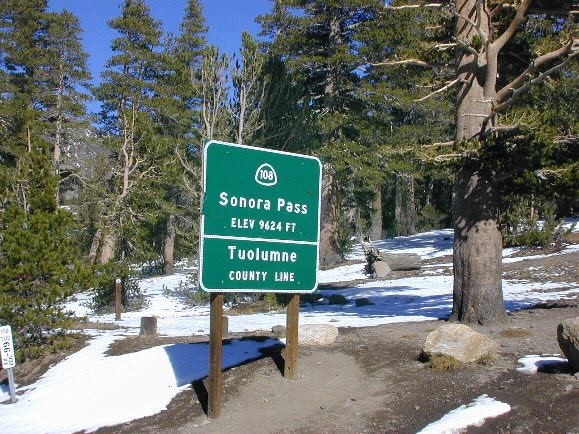
This is the fifth summit at 9624 feet.
Continue on CA108 east to the junction with US395.
Turn left (north) on US395.
Turn left (west) on CA89.
Continue west on CA89 to Monitor Pass.
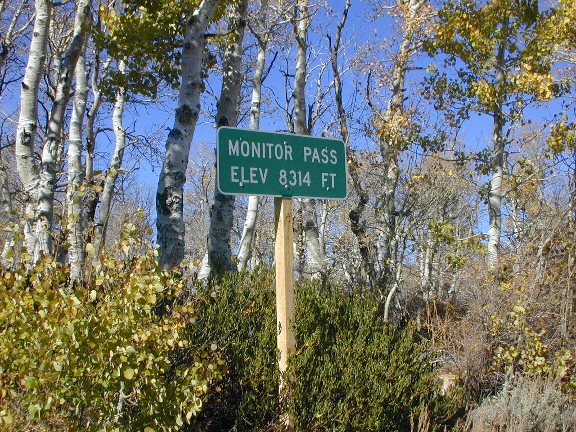
This is the sixth summit at 8314 feet.
Continue west on CA89 to the junction with CA4.
Turn right (north) on CA89/CA4.
Continue on CA89 (through Markleeville) to the junction with CA88 (at Woodfords).
Turn left (west/north) on CA88/CA89.
Continue on CA88/CA89 to the junction with CA89.
Turn right (north) on CA89 (toward Lake Tahoe).
Continue north on CA89 to Luther Pass.
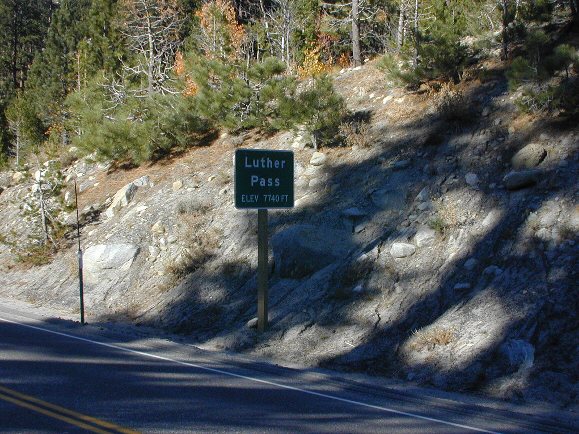
This is the seventh summit at 7740 feet.
Continue north on CA89 to the junction with US50 (at Meyers).
Turn left (west) on US50.
Continue west on US50 to Echo Summit.
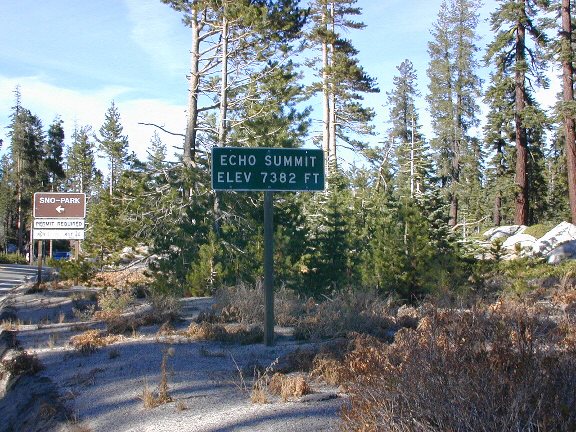
This is the eighth and final summit at 7382 feet.
Continue west on US50 to Placerville.
Total distance: approximately 380 miles.
Gasoline:
I filled at Placerville, at Sonora and again at Placerville. There are a number of other gas stops along the way.
Speed, Time:
I drove 65-70 on most stretches that would tolerate road speeds. In the corners, I was moderately aggressive.
I completed the ride from Placerville to Placerville in 8 hours and 15 minutes. The only stops I made were very brief except for Markleeville where I had a candy bar and small cup of the coffee I was carrying (5 minutes) and in Sonora where I gassed up, ate a small standing lunch and used the restroom (about 20 minutes).
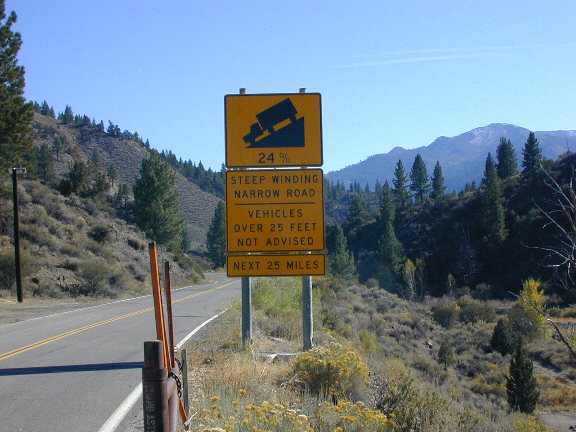
Cautions:
The roads through the passes, particularly Ebbetts and Sonora, are VERY narrow. In some places like one wide lane. You need to watch carefully for oncoming traffic.
If you are going very early or very late in the season, you might find sand on the road (as I did) in many places as you get near the tops; they use it to give traction when it is slippery…
If you are going early or late in the season, dress very warmly. I had a very heavily insulated suit on (my warmest) and a sweatshirt over my street clothes and at one point was very cold (a candy bar and a small cup of hot coffee and the sun coming out from beneath the clouds took care of the problem).
Summary:
I could have taken more time and still made it comfortably in one day. That would allow more stops for photos, butt breaks, etc. Next time I will plan on 10 or 11 hours.
The views are breathtaking at every turn. Pure eye and soul candy. Great motorcycling on these roads. Lots of corners for folks like me that love them.
I will do this one again as soon as I can.
Most of these passes are closed in the winter so it pays to check with Cal Trans Road Information before going to be sure that the roads are open. There had been a storm earlier in the week and until Friday night I didn’t think I was going to be able to make the trip; Ebbetts and Sonora had been closed all week. They opened up on Friday so I went…