Long Term Testing of a Garmin InReach Explorer

The Takeaway: We highly recommend the original DeLorme InReach Explorer or the newer Garmin InReach Explorer SE to anyone who travels outside of cell reception alone or who has a medical condition that may need immediate attention beyond where cell towers are led.


Our Garmin InReach Explorer in the cab of the Albino Rhino.

Our Garmin (formerly DeLorme) InReach Explorer satellite transponder has been through a lot of traveling with us.  We picked up our unit in the spring of 2016 and have been using it continuously since then.  After nearly 20 months of experience with the InReach Explorer, we can say that it is a good device and is well worth the investment for anyone going out 4x4ing, overlanding, or generally exploring beyond cell service.

The original motivation for purchasing a satellite transponder was to be able to summon help in the event of an emergency while we were 4x4ing or backpacking.  Our parents are in their late 60s and early 70s, and while they are in excellent health, Douglas and his dad do like going backpacking several days off the end of the nearest road and 100 miles from the nearest cell tower.  While we haven’t had to use the SOS function on our InReach Explorer, our parents’ friends have had multiple instances of using their satellite transponders to summon help in an emergency.  One friend had the symptoms of a heart attack a day’s hike from the nearest road.  An acquaintance broke a leg on a seldom-used cross-country route three days from the nearest help.  In each case, a few presses on their satellite transponders and a helicopter was on the way to pick them up.


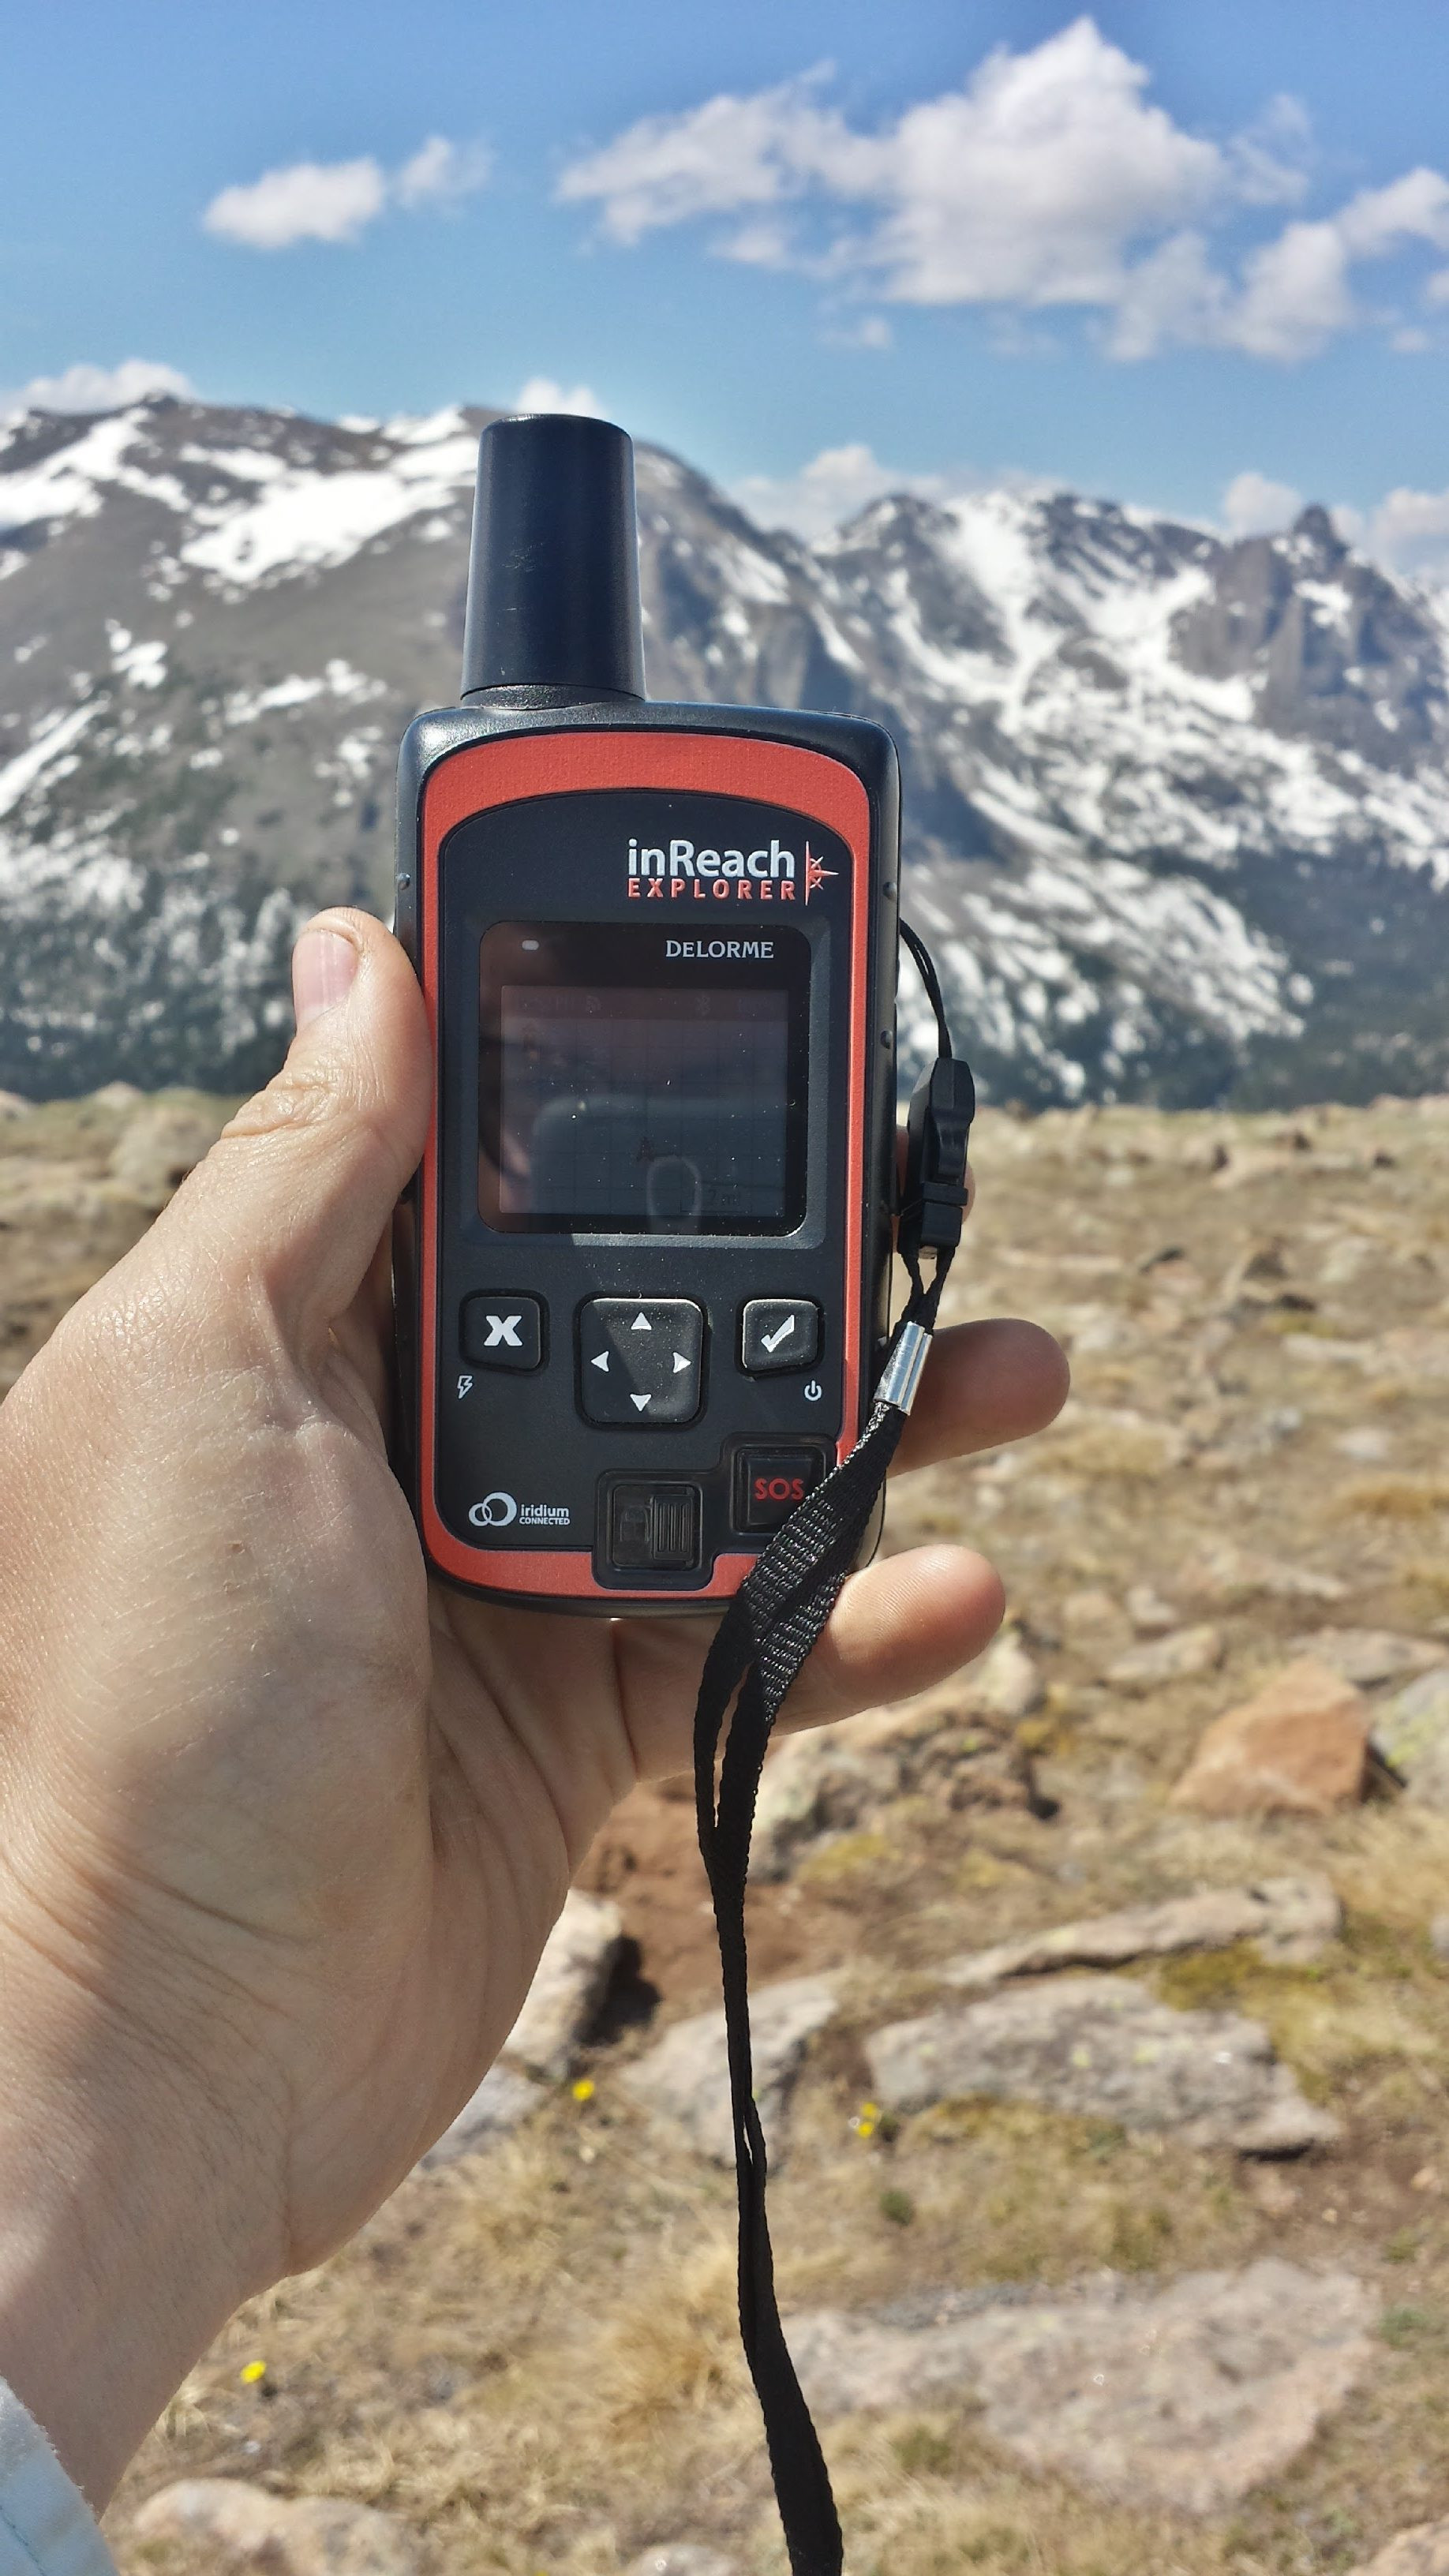
Out with our InReach in Rocky Mountain National Park.

With over 20,000 lifetime miles logged on our InReach Explorer, we have only had one problem while running an older version of firmware.  During a week-long backpacking trip in the Central Sierras of California, the InReach Explorer locked up and stopped transmitting data, responding to inputs, or doing anything.  We thought for sure we had a very expensive paperweight on our hands.  Worse yet, we were concerned that our friends and family who were monitoring our trip would be worried about us suddenly ceasing transmission.  However, after a day of absolutely nothing from the unit, we tried plugging it into an external battery pack and lo and behold the screen lit up and showed that the battery was charging.

As best we can tell, the InReach Explorer locked up while we were using its built in bluetooth capabilities with a cell phone to look at some DeLorme maps on the phone and send a message to a family member.  For whatever reason, that caused the device to lock up and blank the screen.  No data was transmitted to the Iridium satellite constellation for an entire day.  However, the device was still using energy and eventually discharged its battery completely which powered off and reset the unit.  Plugging it into an external battery pack started its battery charging and allowed us to restart the InReach Explorer.

Since this one incident, we have updated the firmware several times and have never experienced another problem, even after running the InReach Explorer for several weeks at a time.  We believe there must have been a bug in that old firmware which caused the problem.  It’s always a good idea to keep the firmware up to date.  It’s also always a good idea to carry multiple forms of communications equipment.  We usually carry an amateur radio with us as well.


Sending a message on the InReach Explorer from inside our tent.

While there are other satellite transponders on the market such as the SPOT 3 Satellite GPS Messenger, we prefer the Garmin InReach Explorer.  The InReach Explorer uses the Iridium network which is a highly reliable, global satellite constellation that works anywhere in the world.  A friend has used their InReach Explorer all across Asia and in the Pacific Ocean without problem.  The full and easy two-way messaging capabilities of the InReach Explorer are easy enough even our parents can use it.  Our parents carry one when they travel with their RV in the desert.

Another great feature of the InReach Explorer is the live map page that can be shared with family and friends.  Our family and friends can follow along with our adventures in real-time and send us messages in case of trouble.  The GPX files and waypoints recorded on the device can also be accessed through the web interface which some users may find useful.


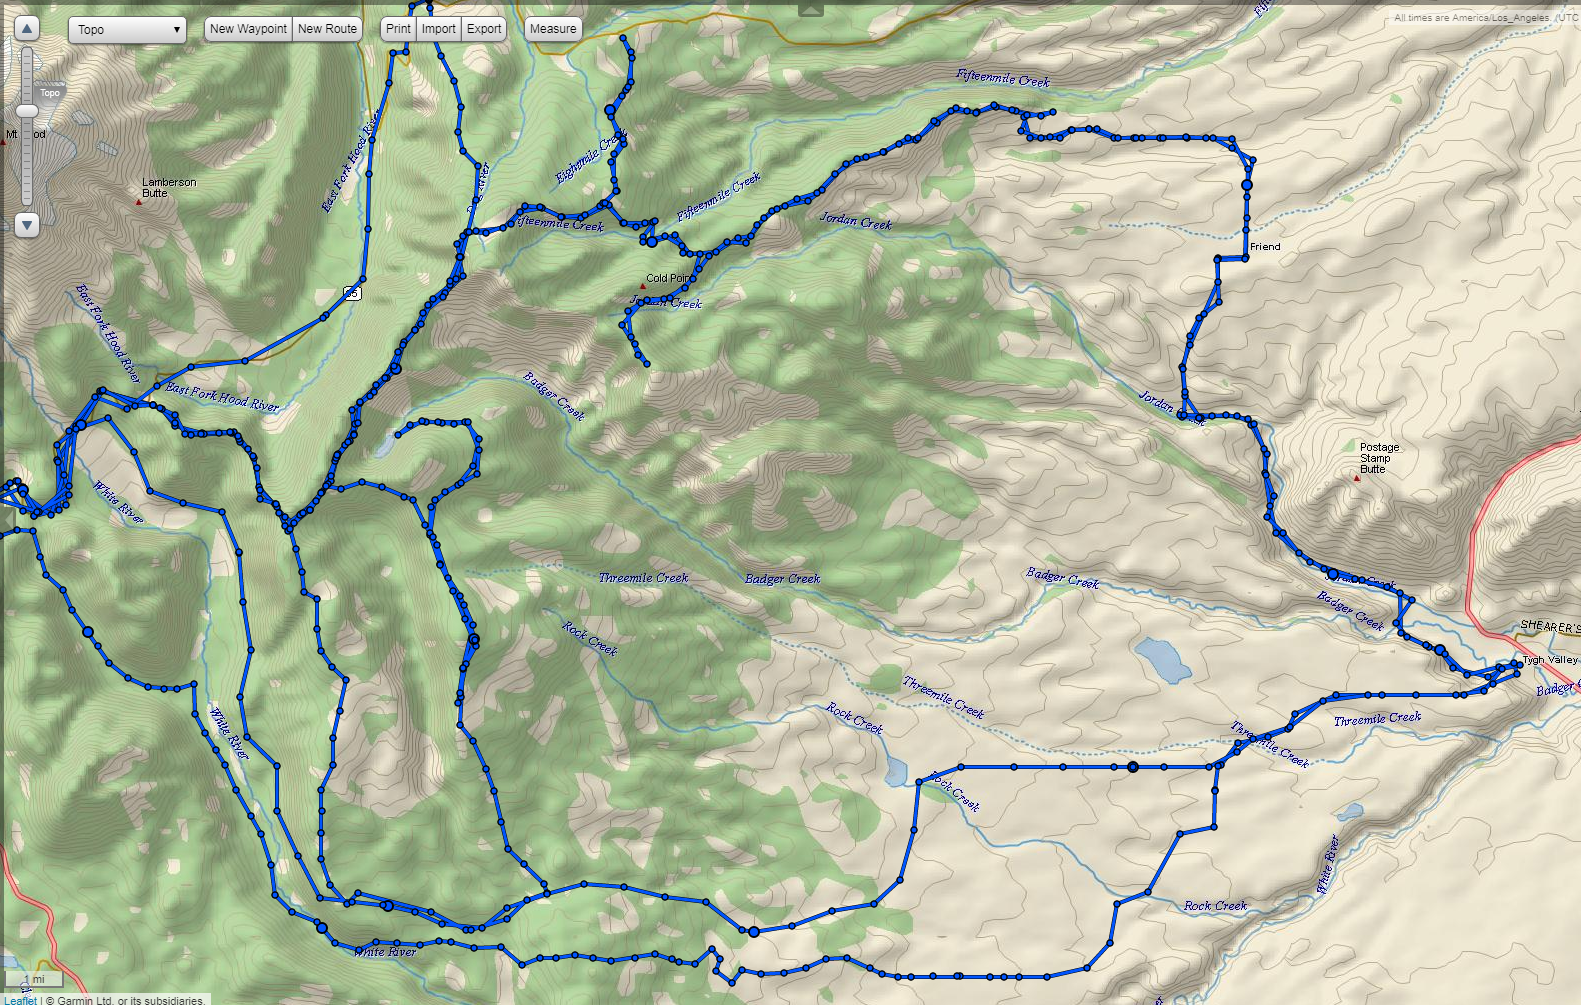
This is an example of a Garmin InReach Explorer map from a couple of recent outings in Mount Hood National Forest. We have 10 minute tracking intervals setup for our public map page (it has a password so not anyone can see it) and 1 minute tracking interval on the device itself for later analysis.

In summary: we highly recommend the Garmin InReach Explorer for anyone who travels outside of cell reception on a semi-regular basis.  If you have a problem, this little device just might save your life.

Putting Fender Flares on the 4runner


Some UHMW plastic and a few parts from the hardware store make good fender flares.

Outside of Colorado, just about every other state in the union requires fender flares.  There are a few companies that make wider fenders and that make bolt-on fender flares.  However, we weren’t too interested in spending a bunch of money to solve the problem.  Instead, we chose to buy some cheap (less than $30 worth) UHMW plastic sheeting (either 1/4″ or 1/8″… we forget which.) and a few parts from the hardware store to make our own fender flares.

No, these flares aren’t particularly pretty or perfect.  But yes, they do provide full coverage and hold up well on the highway or the trail.  The plastic has enough give that incidental contact with brush or branches on the trail won’t break them.  However, a big impact from a rock will most likely bend some sheet metal as it breaks the plastic.  We’re okay with that risk considering how easy it is to get used stock quarter panels for 4runners.


We used a heat gun to help the plastic conform to the wheel arch. You don’t need to use too much heat to get the plastic to bend to your will.

Close up of the UHMW plastic bolted to the wheel well and the fender flare.

We found our local Ace Hardware had hardware in stock that worked perfectly on our truck. We used some 8mm body panel nuts (the black paper clip looking thing), 8mm bolts, and a washer and split washer to tie everything together. We replaced the stock wheel well plastic hardware with this new hardware. If we were to do it again, we might consider going to 6mm hardware instead so there is a little more clearance around the body panel nut.

The rear fender flares went on pretty easily. We only needed a little heat to mold them sufficiently. We used 45″ long and 6″ wide UHMW plastic sheets to make these fender flares.

All four fender flares are installed. They look better than garden edging and pieces of children’s swimming pools but not as good as fender flares that can be purchased on the internet.

A view of the fender flares from the rear. They fully cover the tires.

The next step for us is to install some mud flaps and we’ll be fully street legal on most of the west coast.  After that, we need to look into some removable bumper extensions to comply with bumper height laws in some nearby states.  Oh, and we need to make some covers for our off road lights so we can drive on highways in certain states.

Stainless Steel Exhaust Option for the PC800 Motorcycle

Roger from the UK recently wrote me about a stainless steel exhaust system for the Honda Pacific Coast PC800 motorcycle. This is the first time that I’ve seen a stainless steel full exhaust for our bikes. I am sharing some of the information that Roger sent over in case this helps anyone looking for a different exhaust for our wonderful bikes. Roger writes:


PLUS SIDES:
– It won’t rot, it’s easy to fit and it looks neat.
– You can buy the front lower pipe separately.  This uses the o.e. sleeve gasket at the collector box, but not at the joint with the header pipe.
– It has a 10 year warranty.

DOWNSIDES:
– It doesn’t use the o.e. ‘sleeve’ gaskets, just jointing paste.
– The system isn’t balanced – it is two separate pipes and mufflers (which isn’t so important on a softly tuned engine?)
– The R/H mounting bracket requires a 15mm thick spacer in order to use the twin lobes of the original mount on the frame.  The system is not rubber mounted like the original.
– To remove rear axle the r/h can has to be swung downwards (remove mount bolt – which is accessible- & slacken joint clamp).  Doing this obviously breaks the paste seal on the pipe joint.
If you want silence than you MUST specify ‘California Spec’ baffles. They’ve sold over 50 sets to date and I’m the first one to complain.

Since they’re going to cut mine open and replace the baffles I asked if they could (at extra expense) weld in a ‘cutaway’ in the r/h can to enable axle withdrawal without having to ‘drop’ it.  I’ve no idea whether this is feasible.  They obviously have a standard can to which they add brackets and pipes to suit.

Roger from the UK

Predator Motorsports in the UK sells the stainless steel exhaust system. If you’re ordering it, be sure to ask for what Roger asked for — the “California” silent model which has extra baffles to quiet the exhaust down.

When you go to their website, use the search tool and type in “PC800 exhaust” to get the right parts. You will probably want to email with the company to make sure that you get the quiet version — it’s not what comes default from their factory.

One note that Roger really wants to emphasize is:


My complaint [is] regarding the noisy standard baffles – […] their standard baffles are obviously less restrictive than the ‘California spec’ in that apart from the noise element, the tick-over increases by 300/400 rpm – the only adjustment necessary.

Roger from the UK

If you are planning to buy this exhaust system, be sure to think carefully about how loud you want your pipes and talk to the manufacturer before you place your order to get pipes that are the right volume and level of restriction for your ride.

Roger’s stainless steel exhaust.
Check out that wonderful real left hand side muffler! All stock PC800s have a faux left hand muffler.
Looks great on the right side, too.
Looks great from the back!