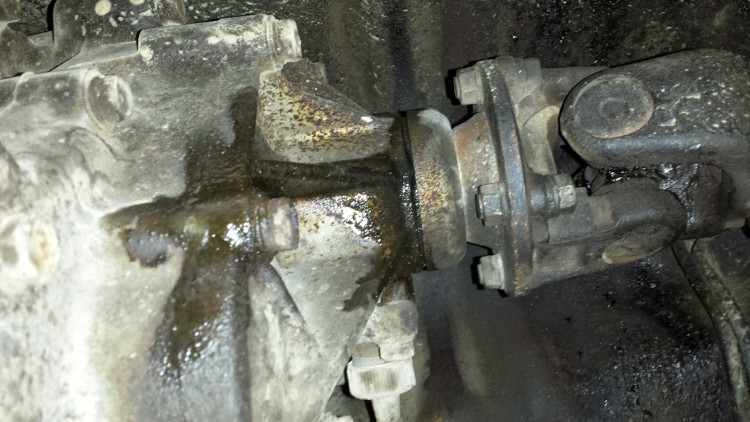
I did some work over the long weekend on my 1st generation 4runner. One thing I noticed while crawling around underneath the truck is that I appear to have a leak coming from the rear seal on my transfer case. That should probably be fixed at some point… Although I’m thinking of putting a Marlin Crawler Box into the truck. I’ll probably just monitor the fluid level and let it continue to slowly leak.
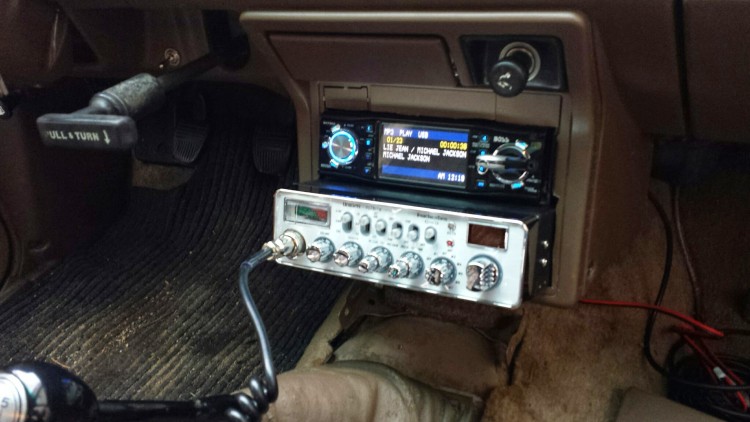
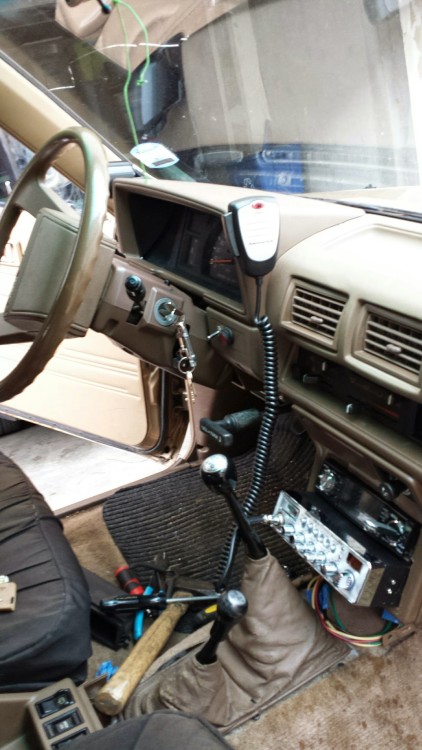
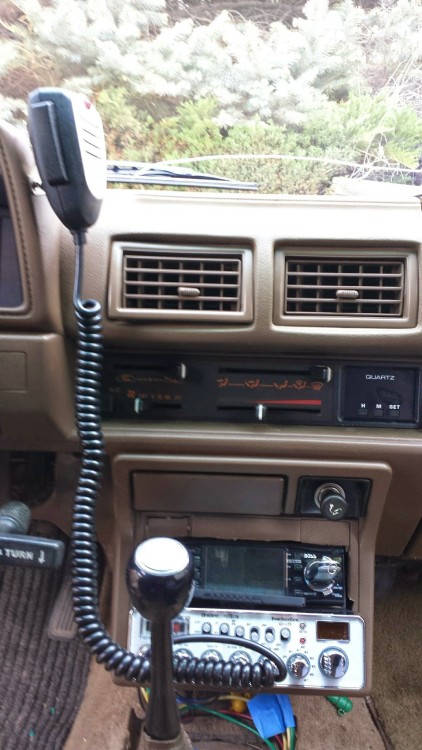
In the truck I decided to mount a CB radio into the DIN spot below the head unit. The previous owner put in the existing head unit. I went with a CB radio that has a SWR meter built in and a weather radio function.
It looks clean installed in the truck. The mic cable does interact with the shifter a little bit but not enough to cause a problem. At some point I might get a 90 degree connector to move the cable out of the way.

While I was at it, I lengthened the harness for the ECU to be able to locate the ECU in the glove box. A little extra height isn’t a bad thing with critical electrical components.
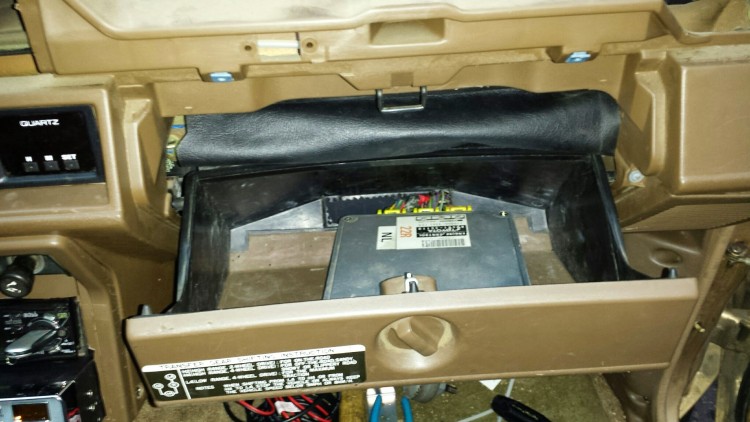
ECU snugly in the glovebox.
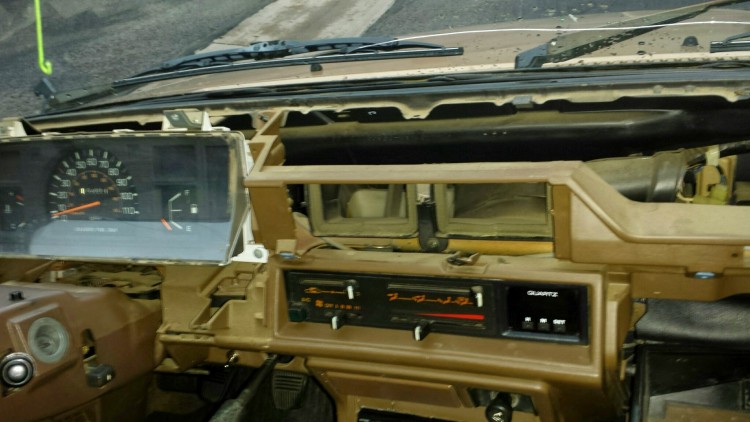
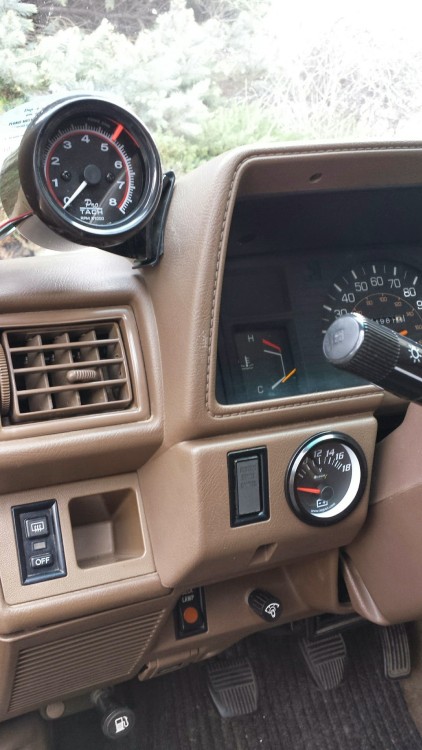
I dismantled the dash to run wires and search for the wire that carries tachometer signals from the ignition control module up into the dash. While my truck is a DLX model, the tacho sensor wire was still in the wiring loom. Many people replace the DLX gauge cluster with an SR5 cluster (be sure to replace the oil pressure switch with an oil pressure sensor if you do this!). I decided to keep the stock DLX cluster and instead install a little aftermarket tachometer.
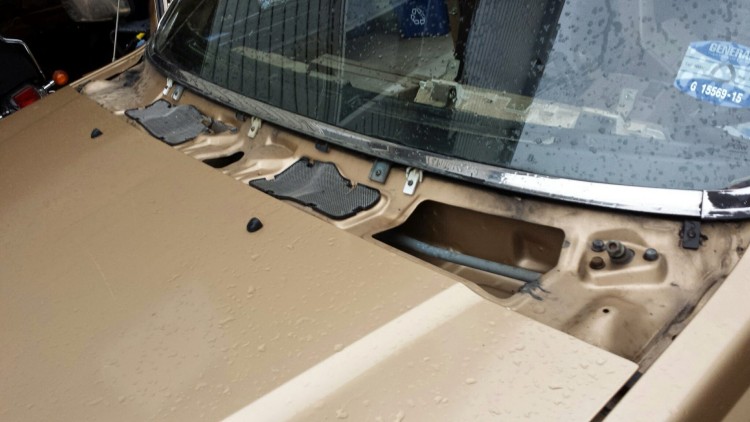
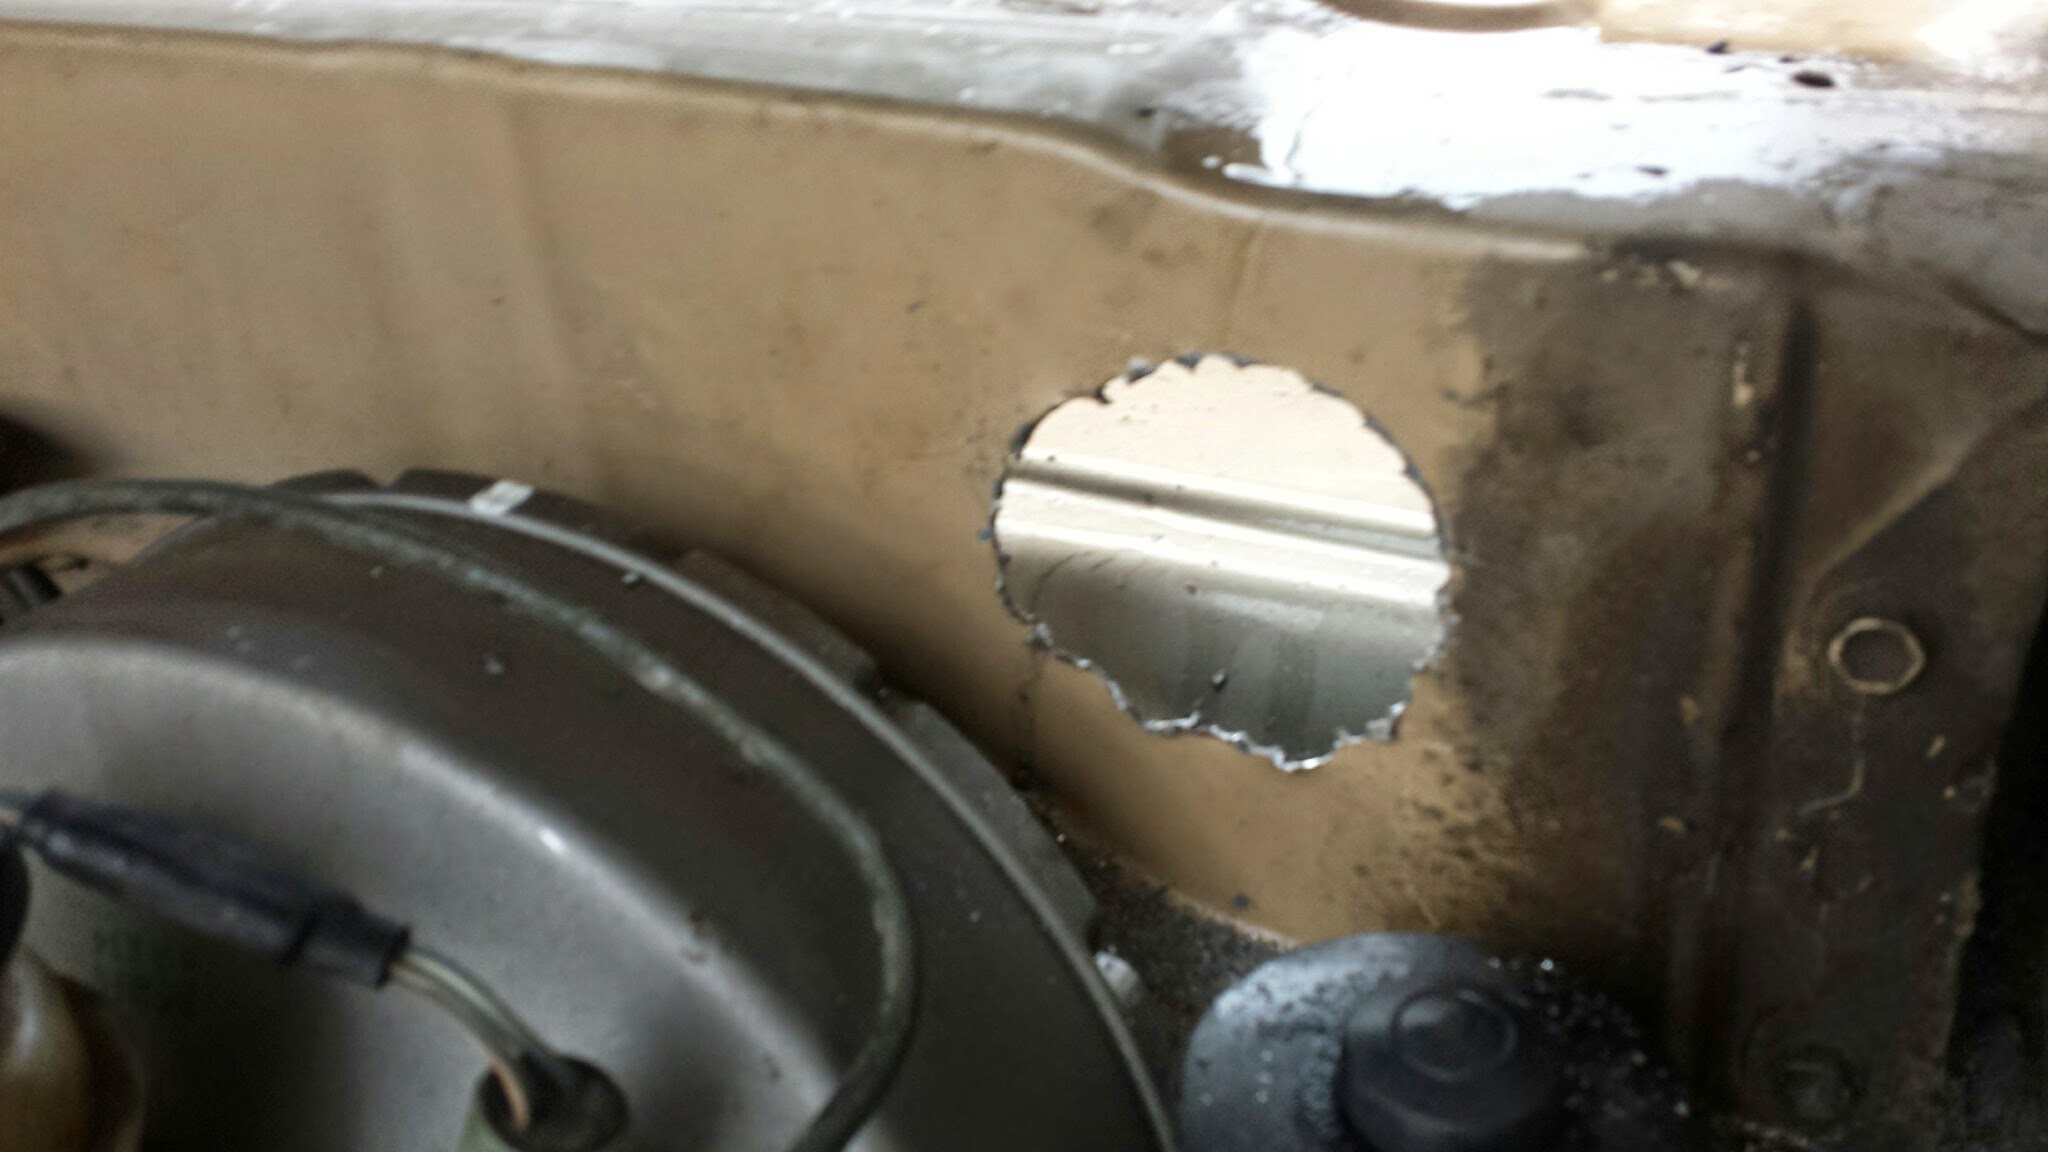
I removed the valence cover over the windshield wiper mechanism and cabin air intake to search for a possible route for cables to/from the engine bay. There aren’t any spare grommets in the firewall on my truck. I finally settled on drilling through a couple pieces of sheet metal to make a large diameter route to pump all of my cables through.
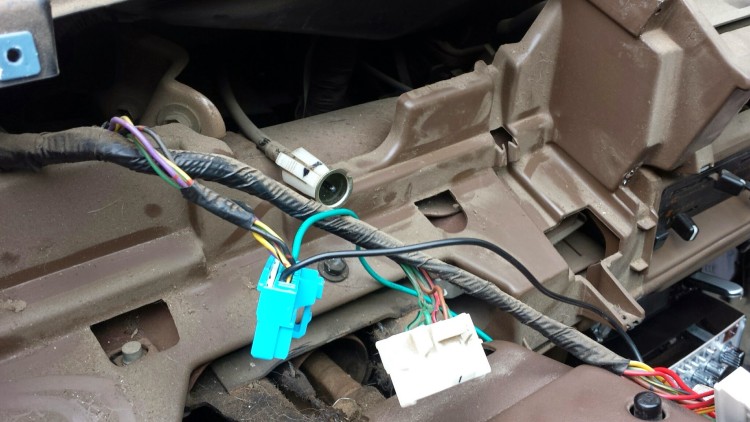
I did some creative rewiring of my harness to get the tachometer signal (green wire).

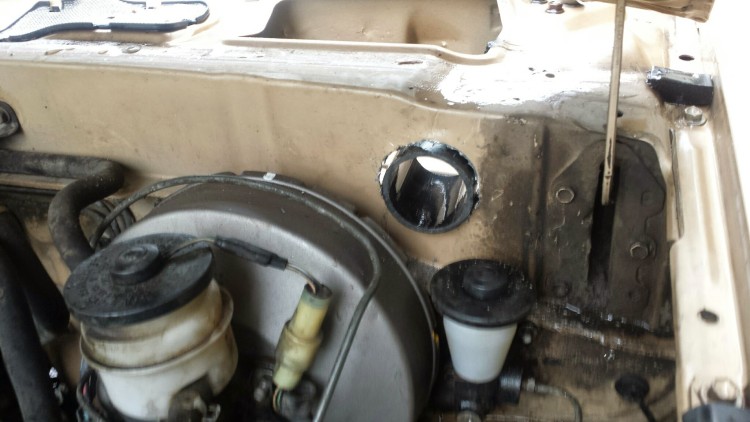
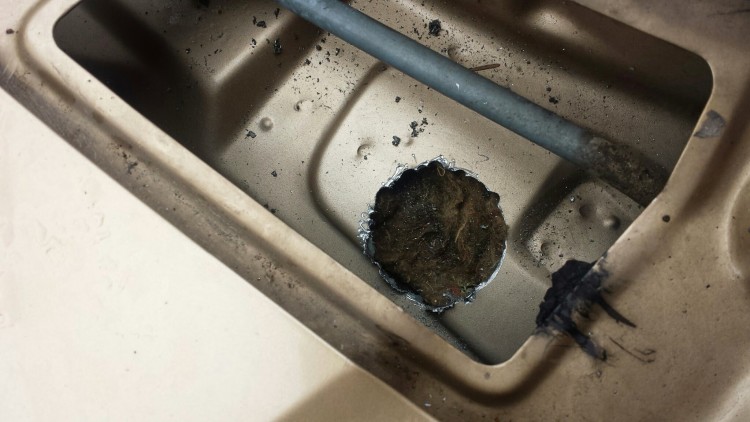
A hole through the firewall from just above the brake booster and clutch master cylinder into the empty space behind.
Some pipe temporarily fit into the hole to check for fitment.
I drilled a hole straight down into the driver footwell.
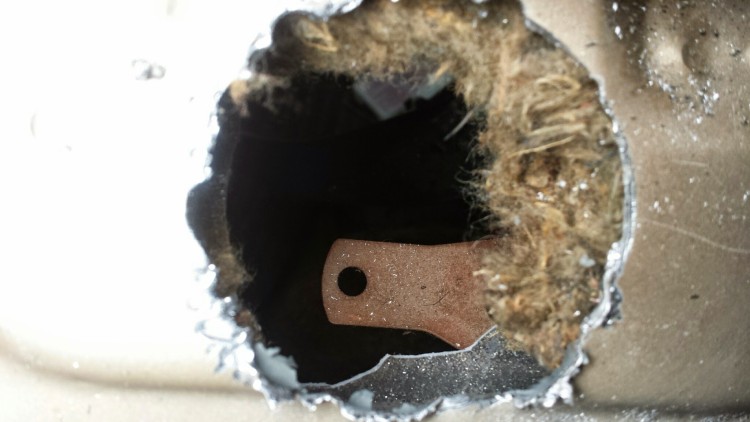
Looking through to the footwell.
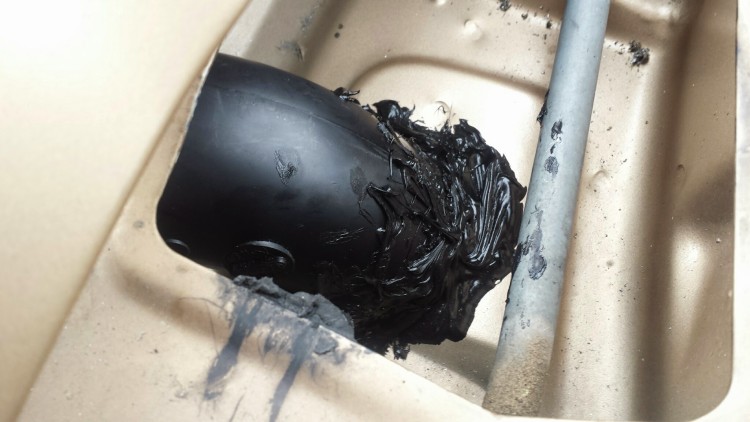
I found a 2″ PVC 90 degree bend at the local home improvement store. I used RTV to thoroughly seal it onto the metal. This hopefully will keep water off of my feet.
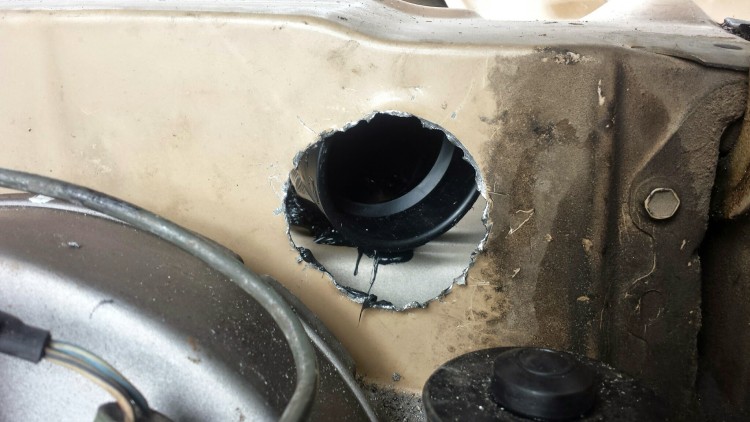
Looking at the 90 degree bend through the hole in the firewall.
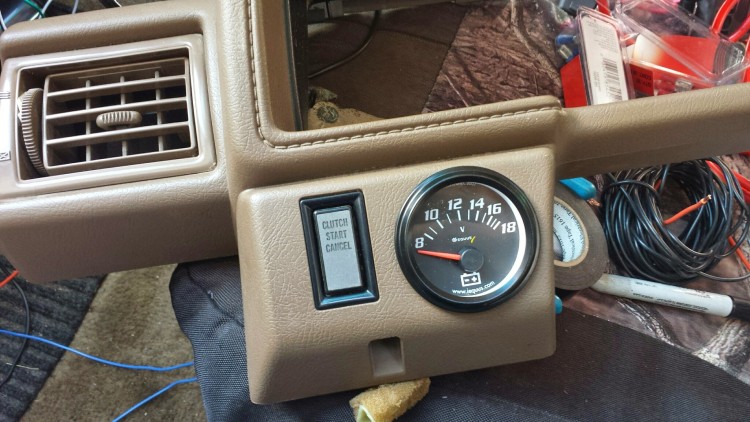
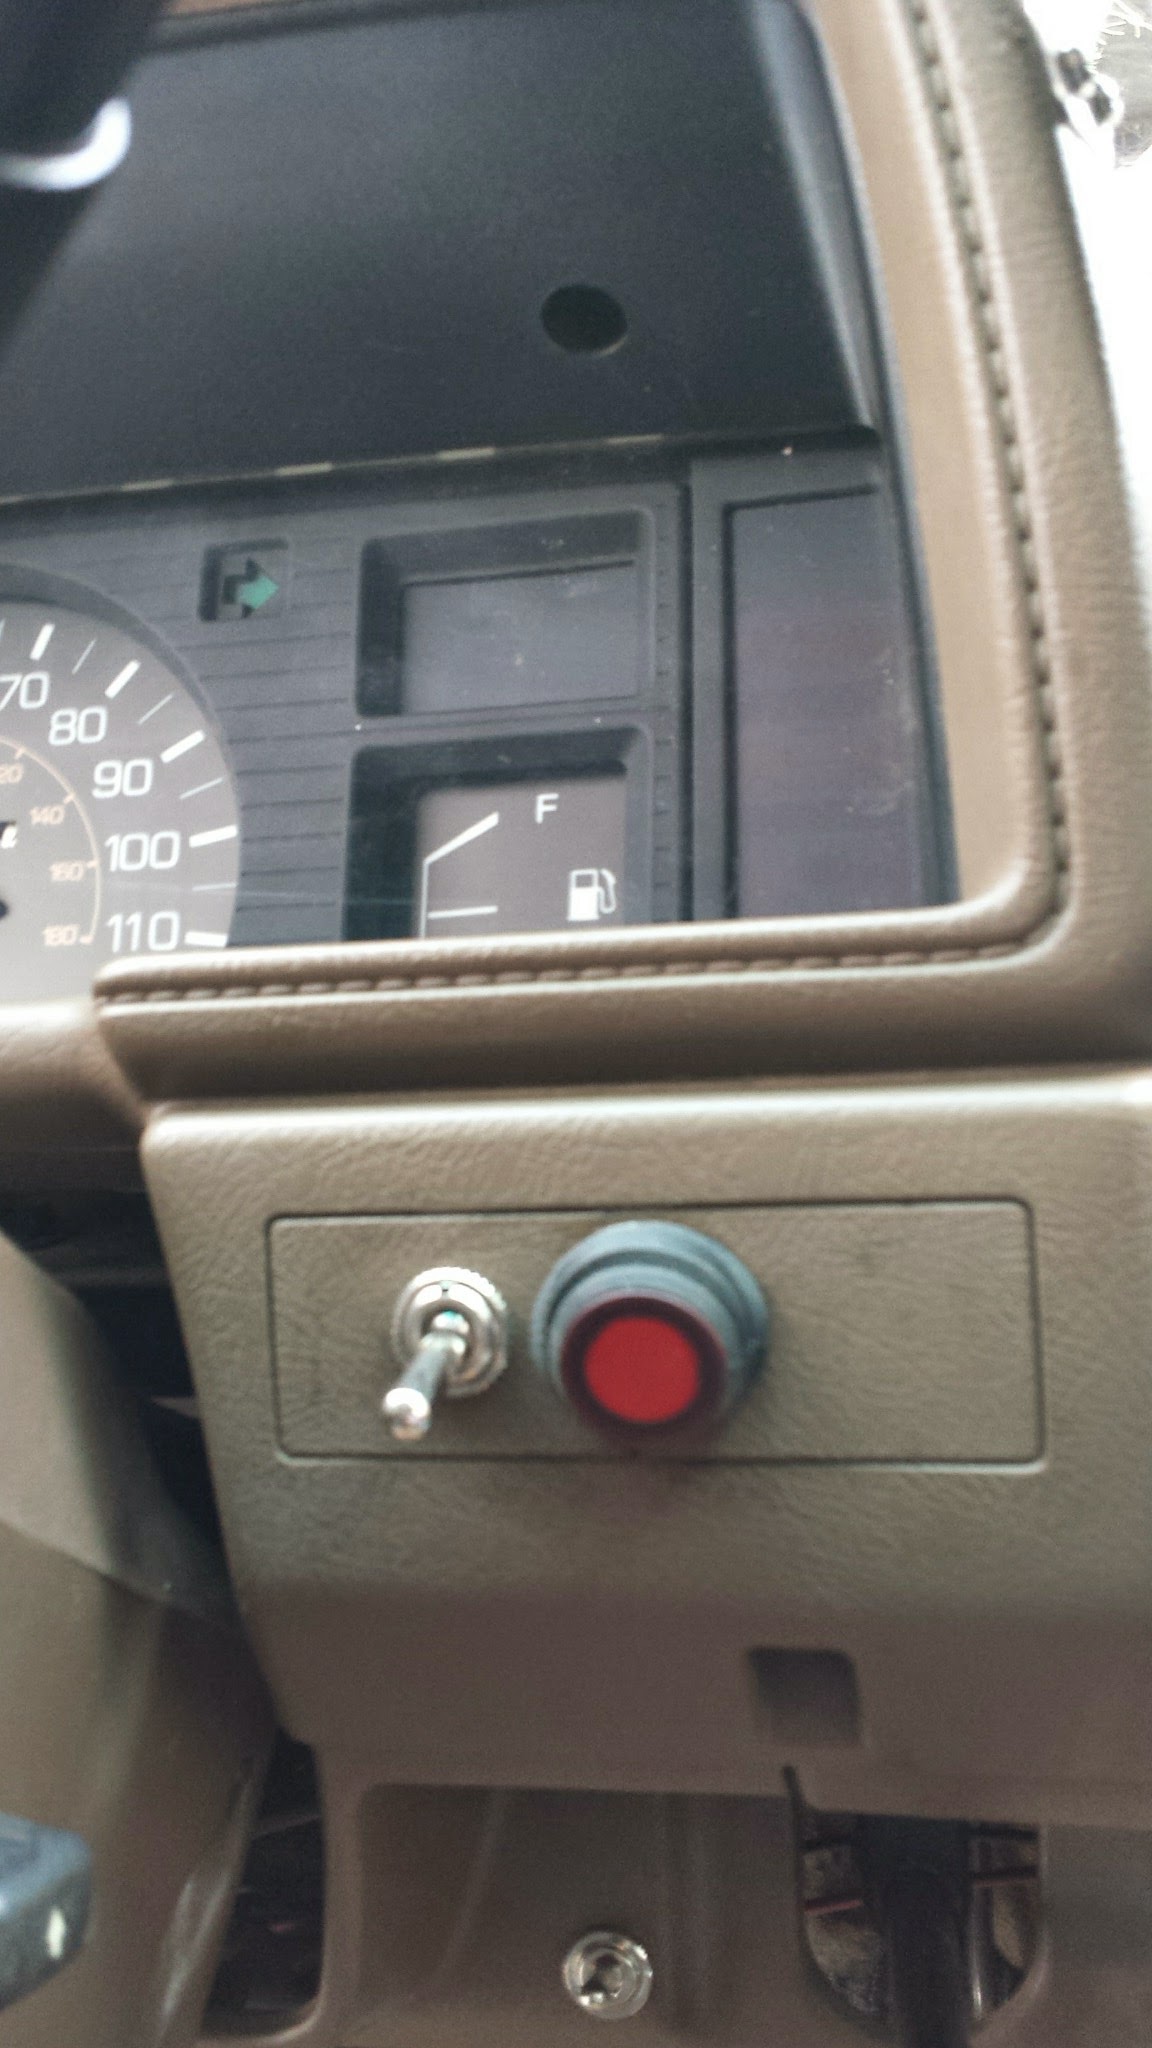
While I had the dash apart, I put in a voltmeter in a blank space left of the steering wheel.
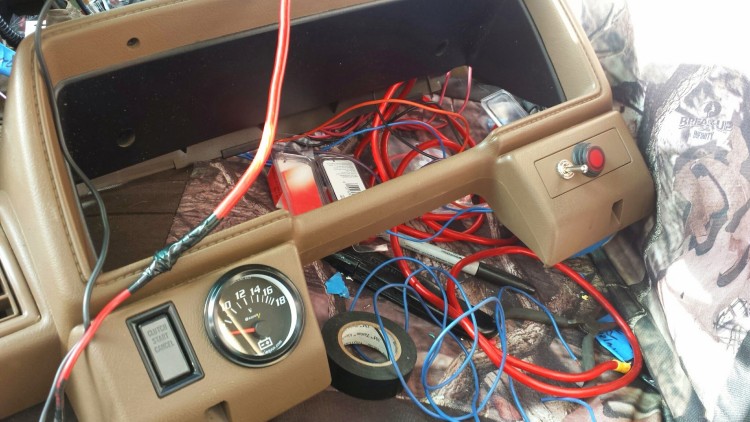
Lots of wiring!
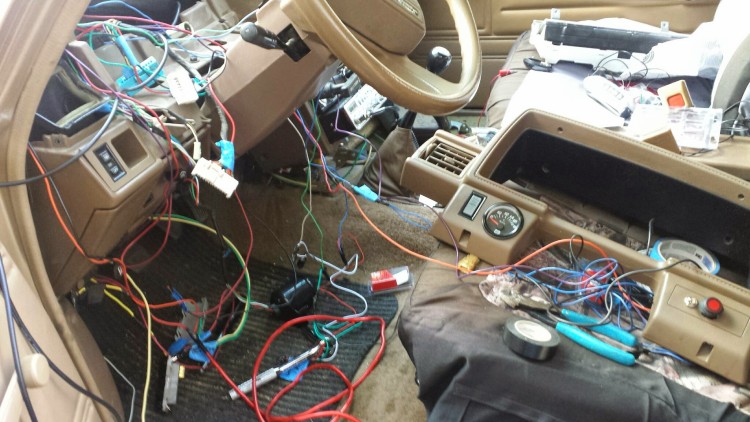
This is probably every electrical engineer’s worst nightmare: allowing a mechanical engineer to touch electrical things.
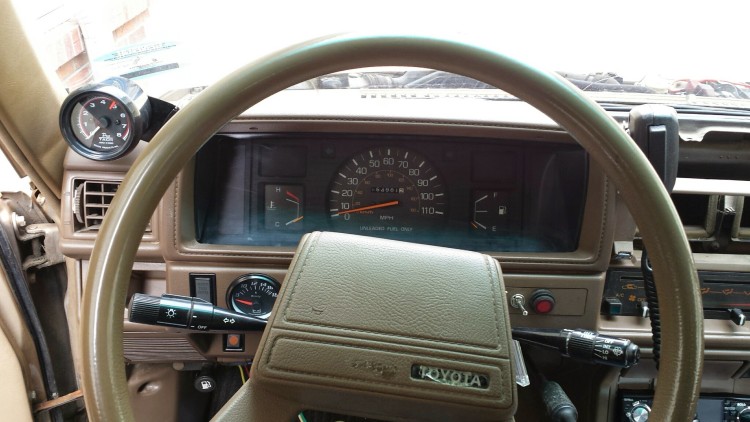
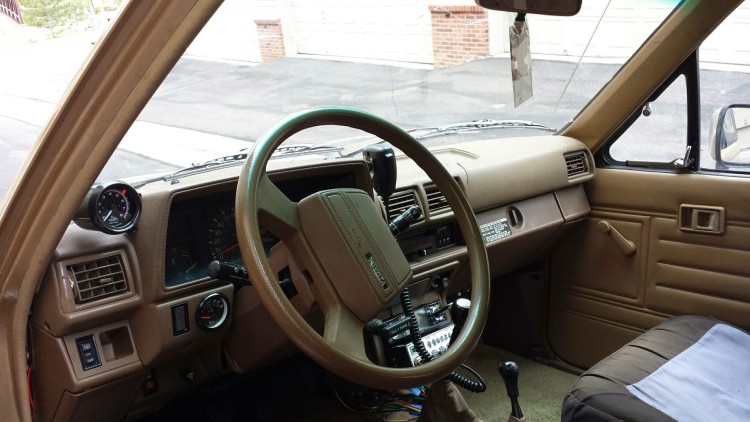
Everything on the dash installed. Tachometer in the upper left. Voltmeter in the lower center left. Switches to control an auxiliary fuse panel in the lower right.
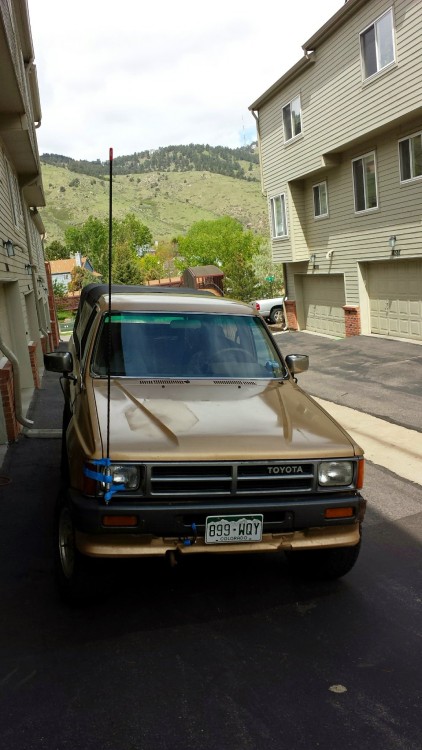
A mockup of the five foot tall Firestik CB antenna that I will be mounting to the tube bumper that is on order.

I was left over with a few spare parts when I reassembled the dash. Most of the parts come from relocating the ECU. A few screws came from not rescrewing a few bits of the dash to make for easier removal the next time I need to get into it.
It looks pretty good! There is still room for a RAM mount or two in order to have a Baofeng handheld radio attached to an external radio (2M/70cm capable) for communicating with others on the trail and hitting local repeaters. I also plan to have another RAM mount to hold a tablet for on-the-trail mapping functions and maybe APRS in the future. Also in the works is a 10 meter radio that will sit probably in the left side passenger footwell.
Another view complete with air freshener that the previous owner had left (unopened) in the glovebox.
Left side view.
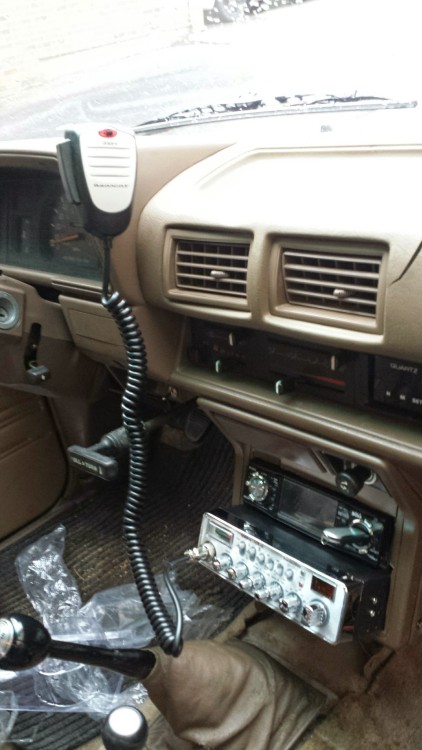
CB radio all mounted up.


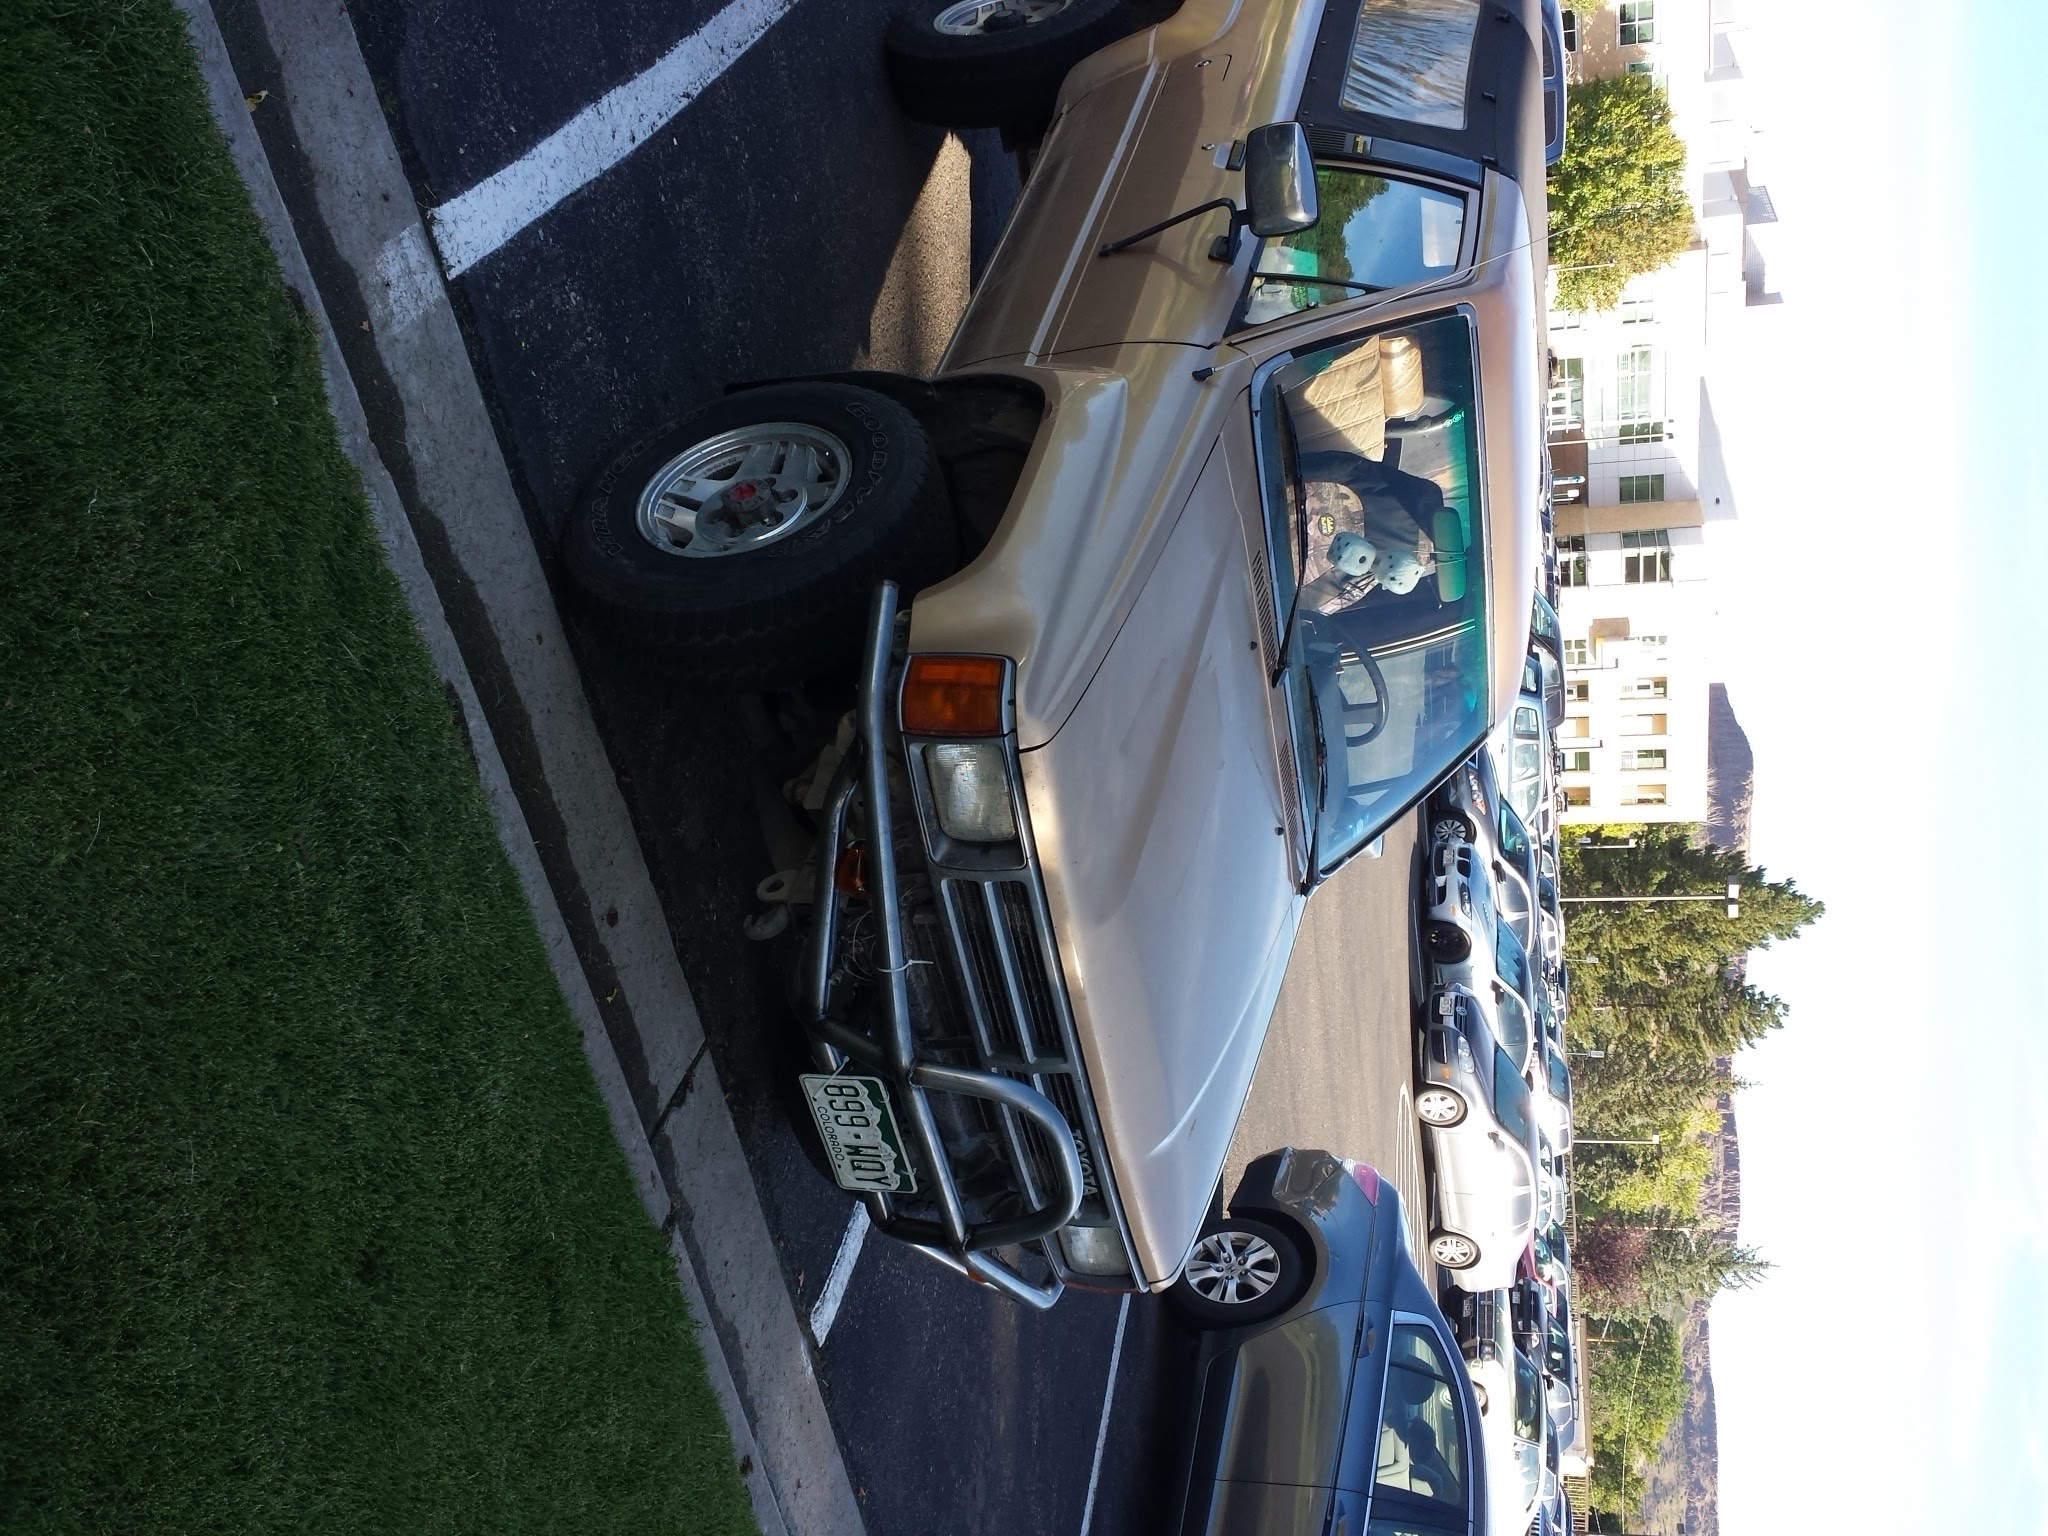 Installed (mostly). I need to pick up a few more bolts to finish the job. Also need to decide which winch I’m going to purchase to make it a useful tube bumper. And where am I going to bupt my CB antenna now? Maybe on the roof one I make a roof basket?


