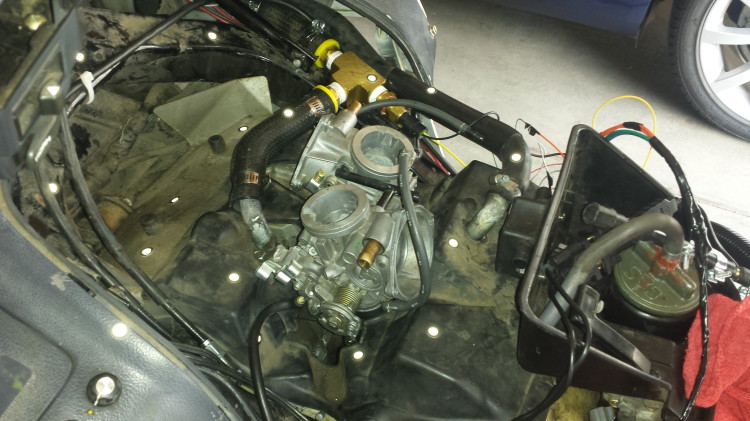
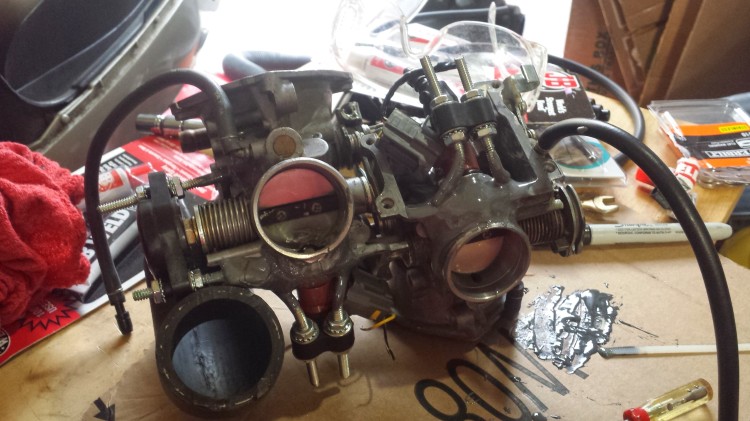
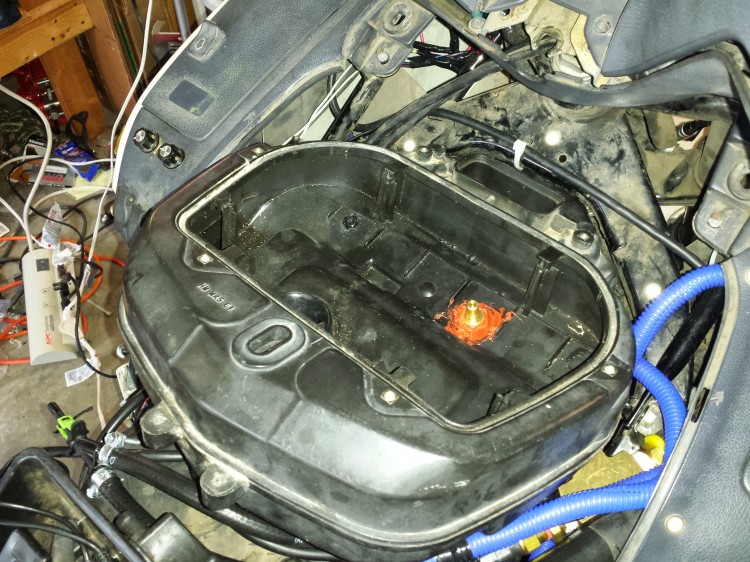
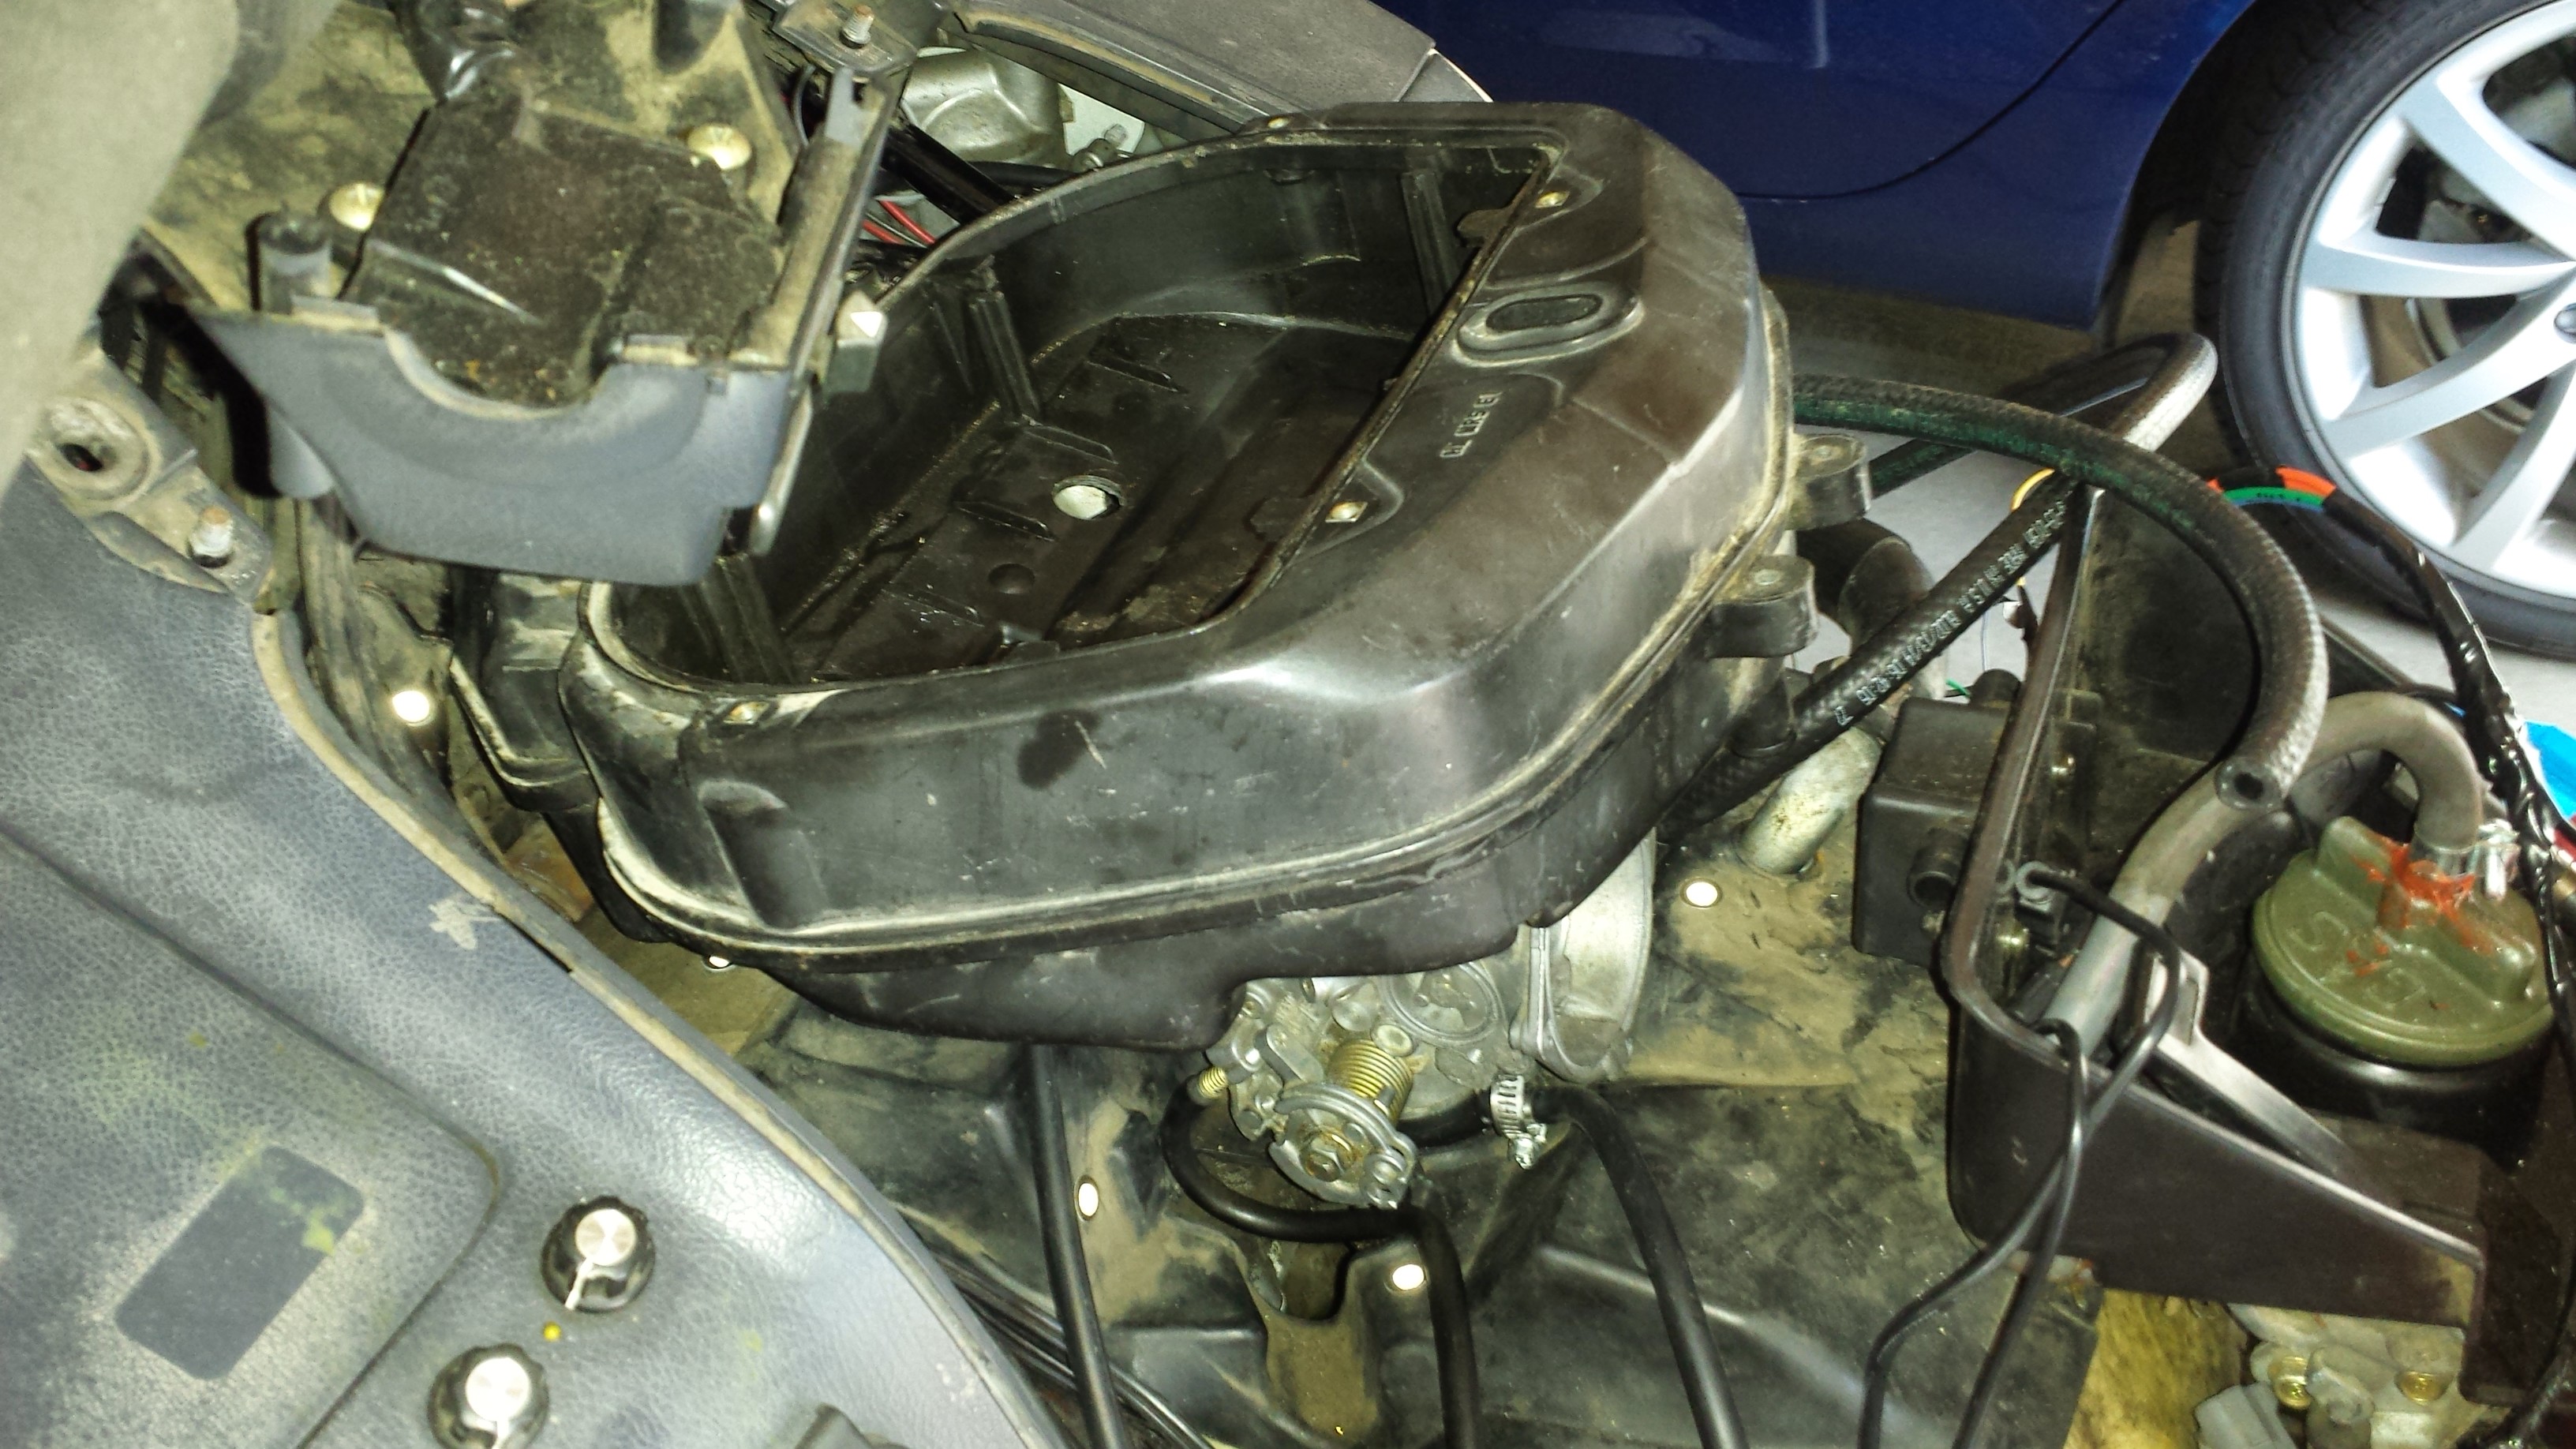
 The last time I posted an updated on my Honda Pacific Coast fuel injection project, I was moving ahead with using a VT1300C throttle body. I had started to make 3D cad files to have a metal adapter 3D metal printed to fit everything together. Alas, I discovered that the VT1300C throttle body will not work on the PC800 due to the geometry of the PC800 engine and the VT1300C throttle body. There just isn’t any manageable way to make an intake runner to couple the throttle body and the engine together. The picture above shows a mockup with some moulded rubber hose. Yeah… not going to work.
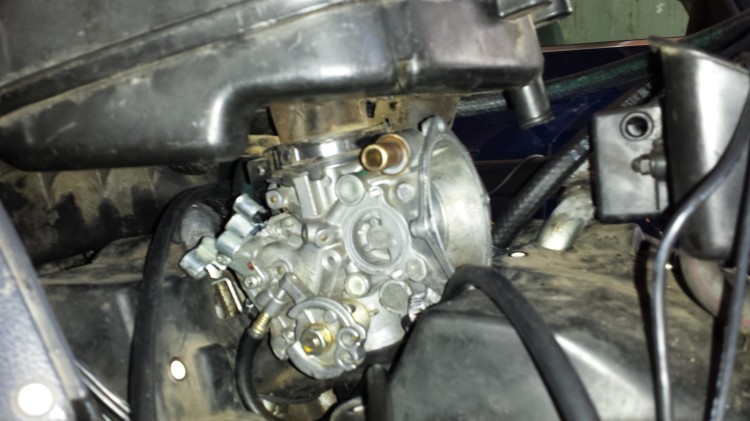
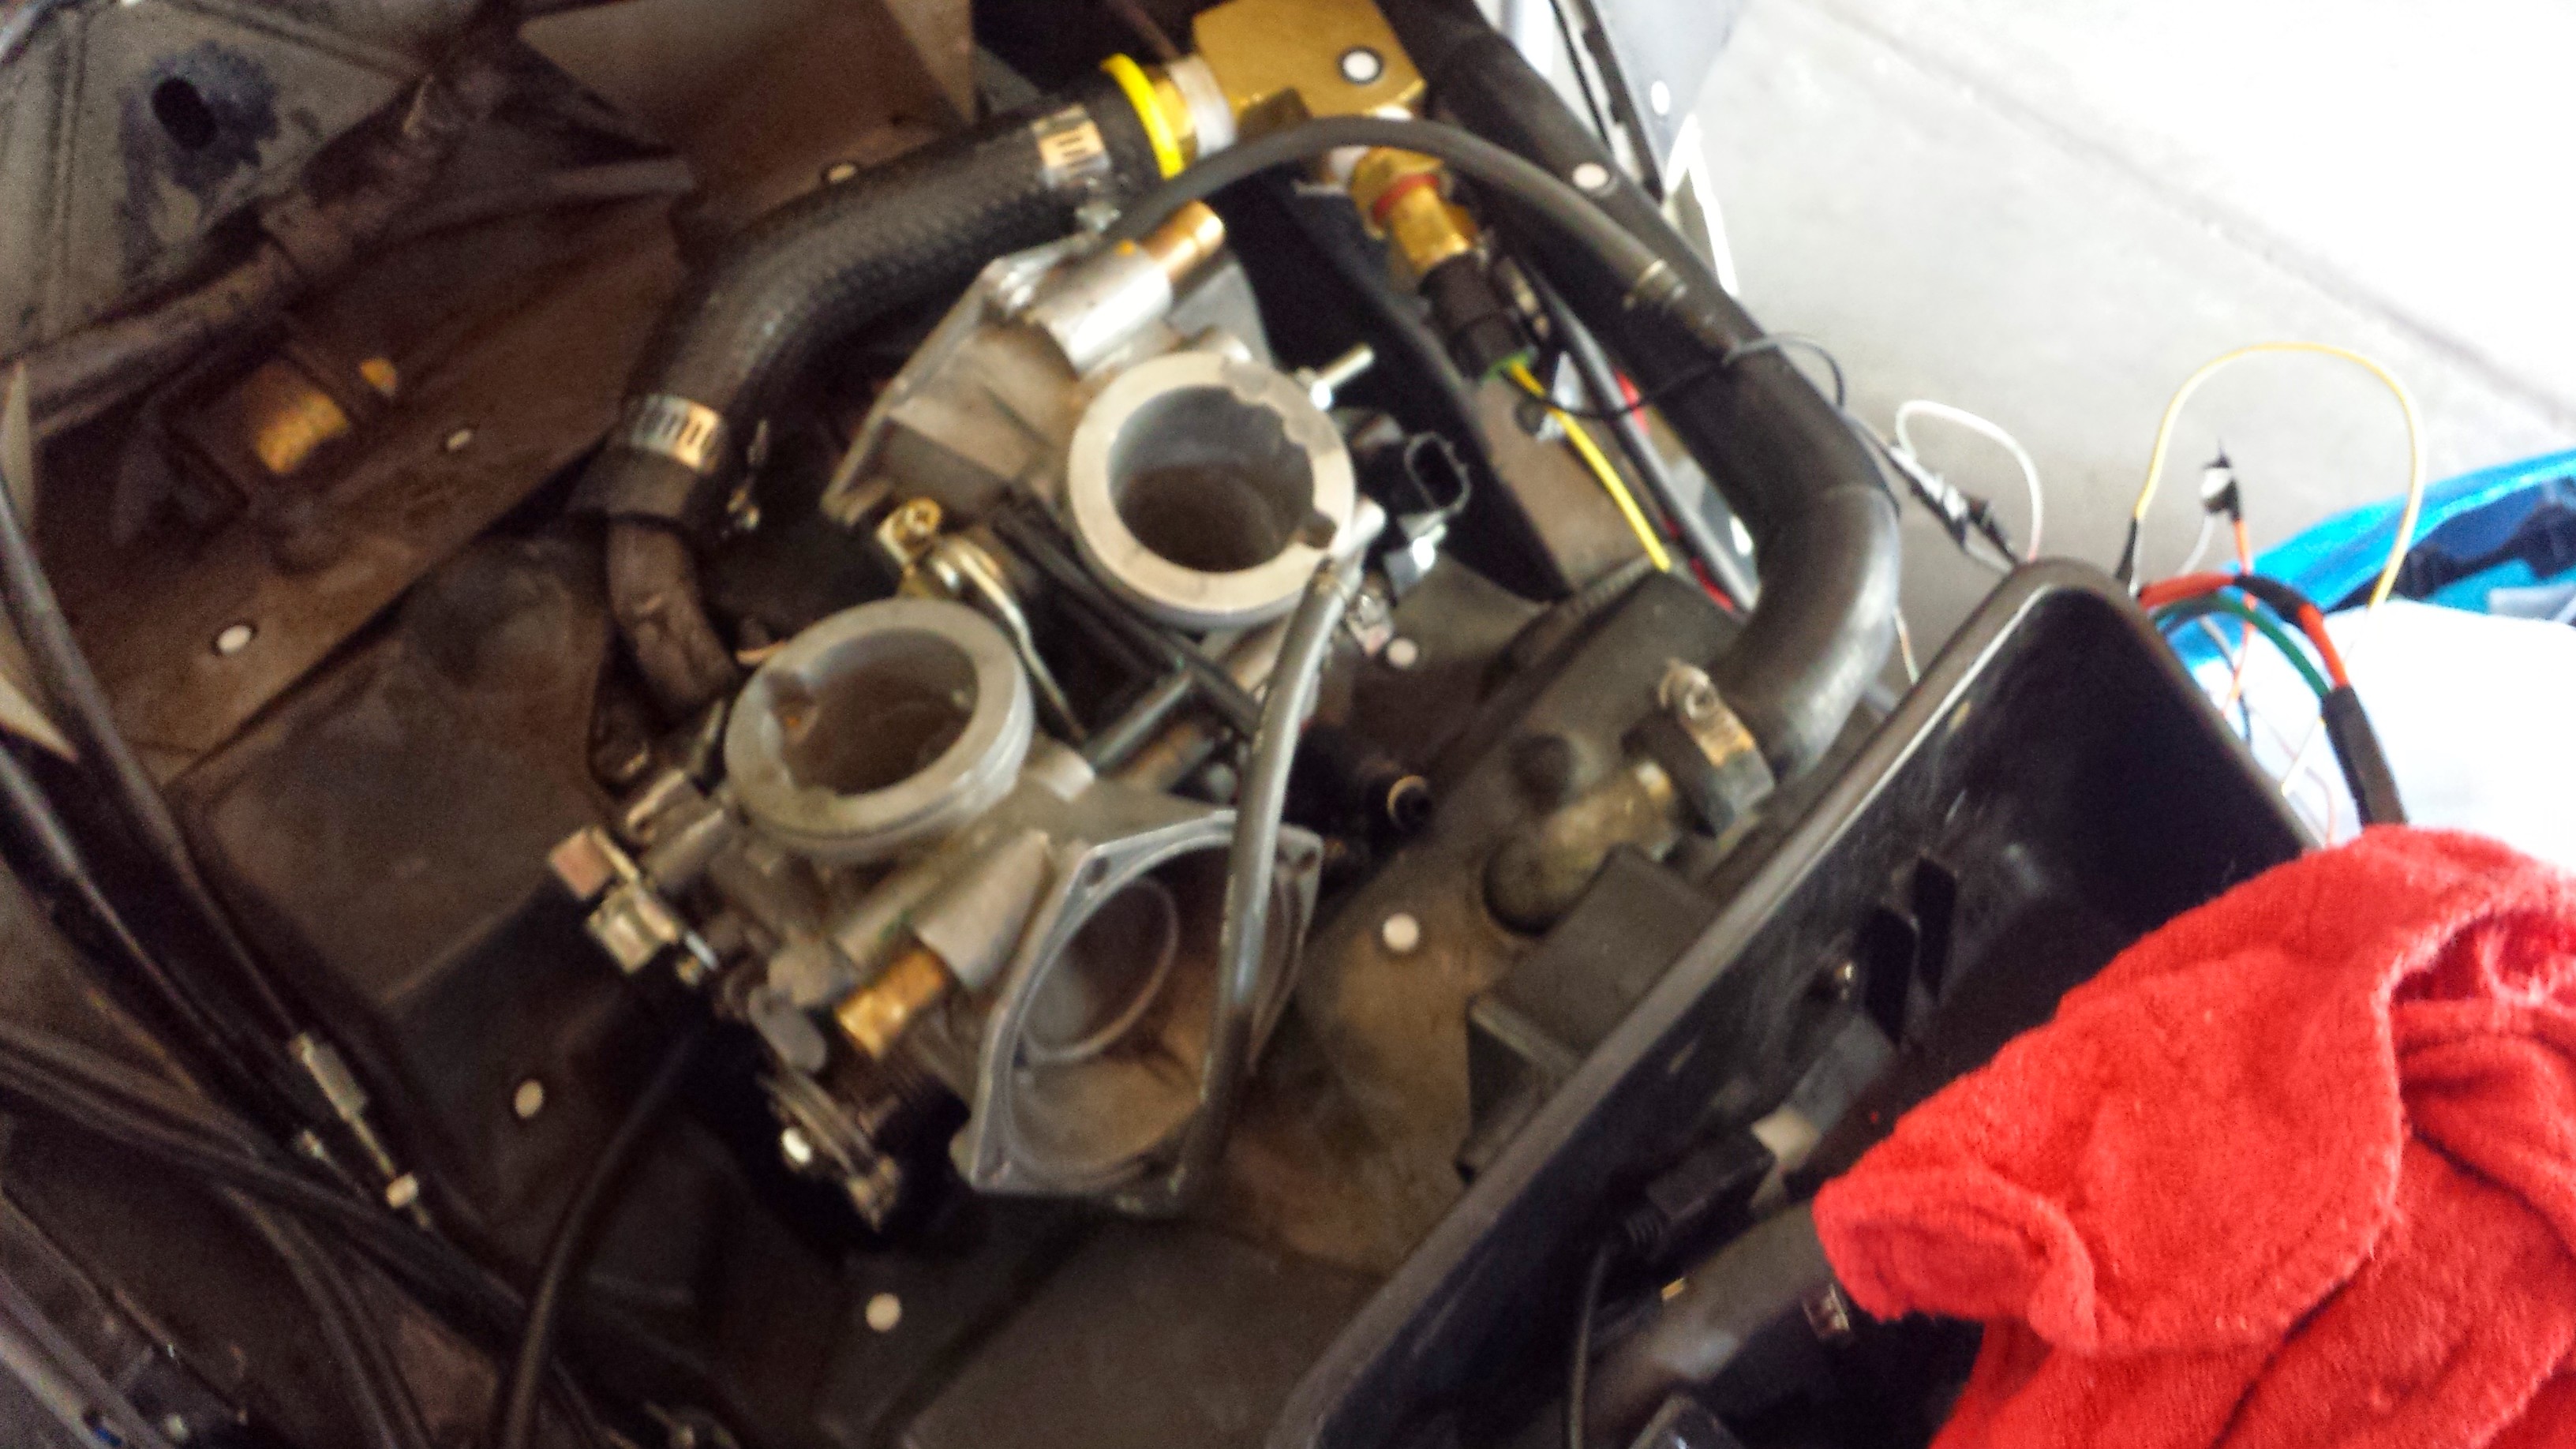
 Thus I moved back to using the PC800 carb that I had started modding several years ago.

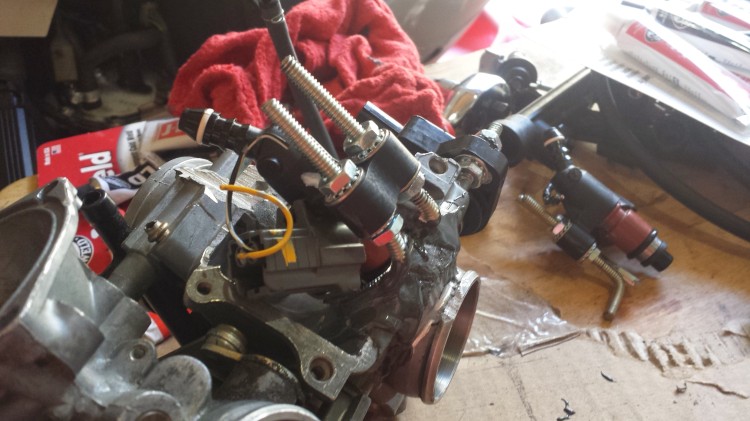
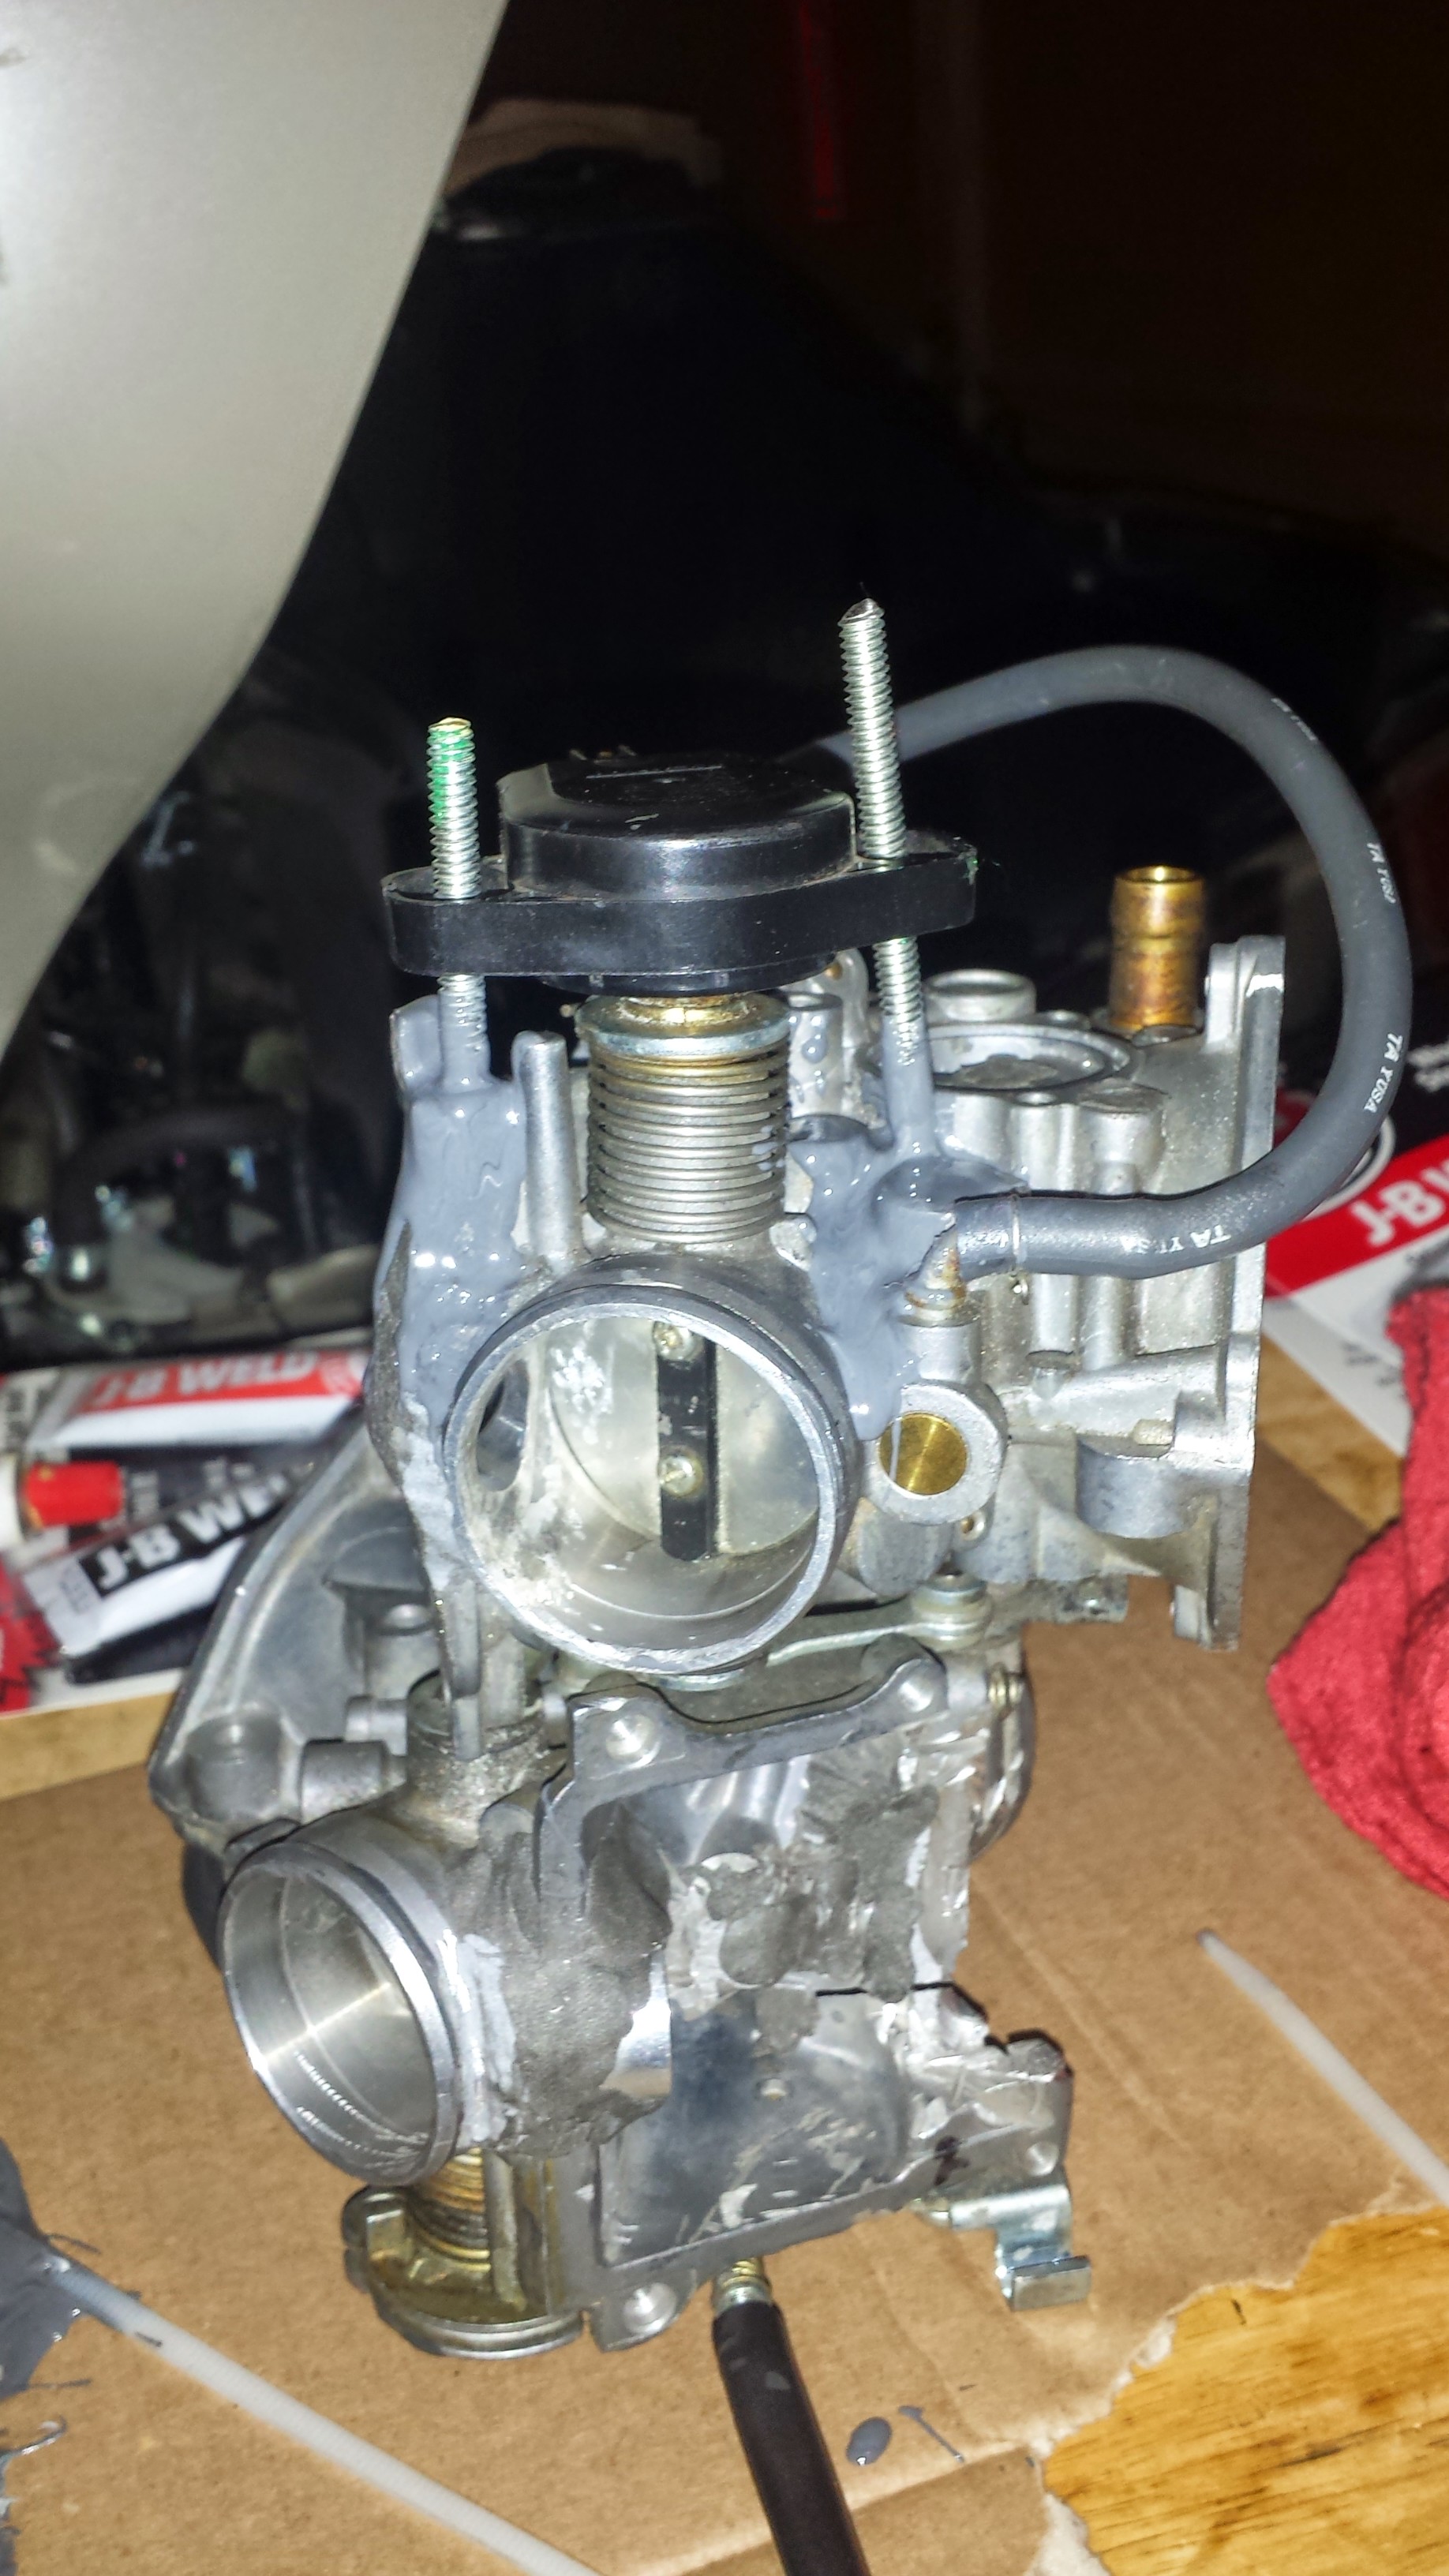
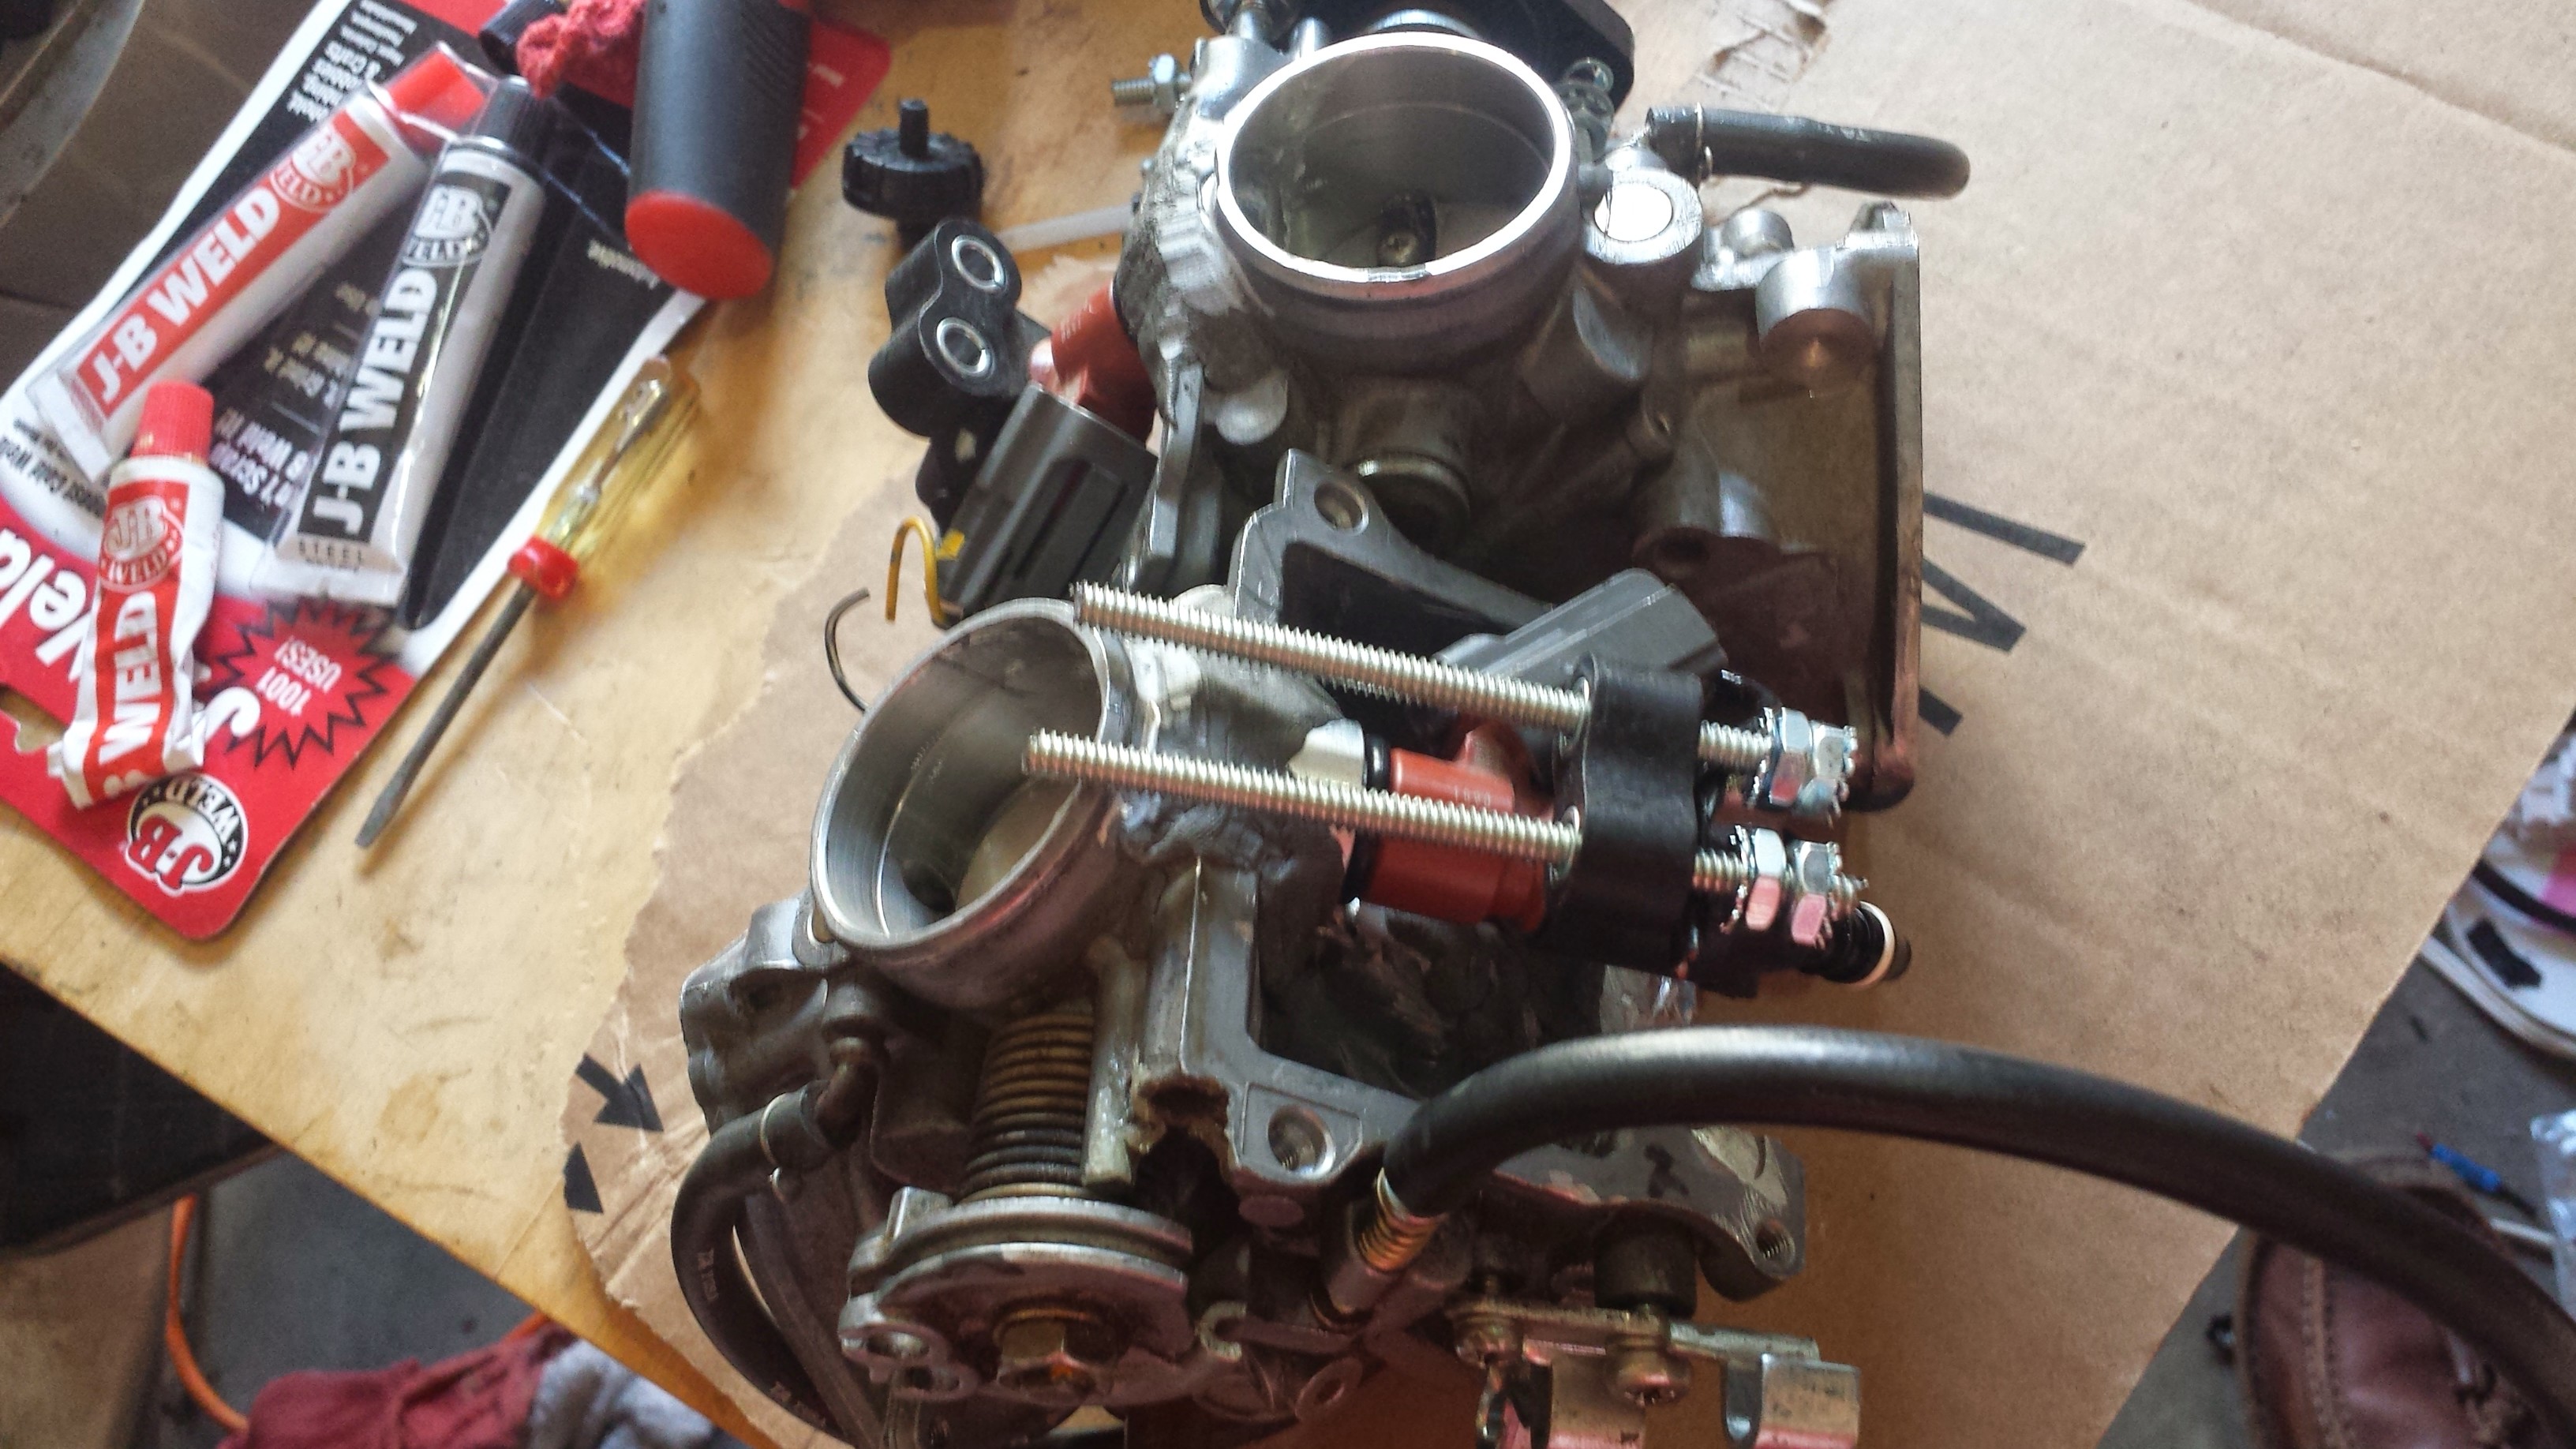
I pulled off the fuel injectors and fuel injector retention clips from the VT1300C throttle body to use on the PC800 carb-converted-to-throttle-body. Turns out that they work pretty well together. Note that this isn’t the end orientation of the retention clips.
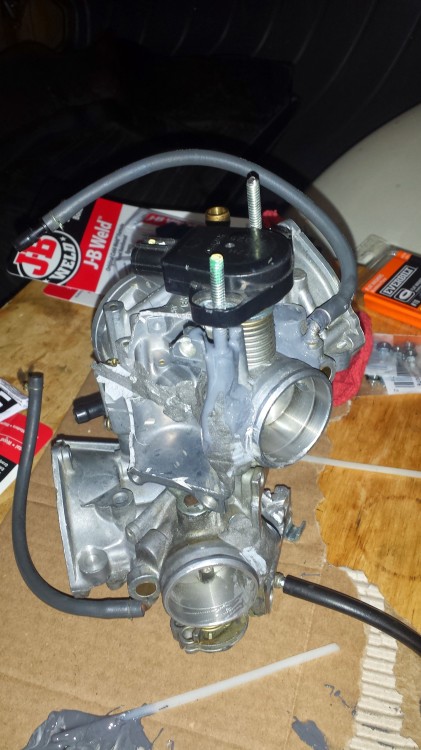
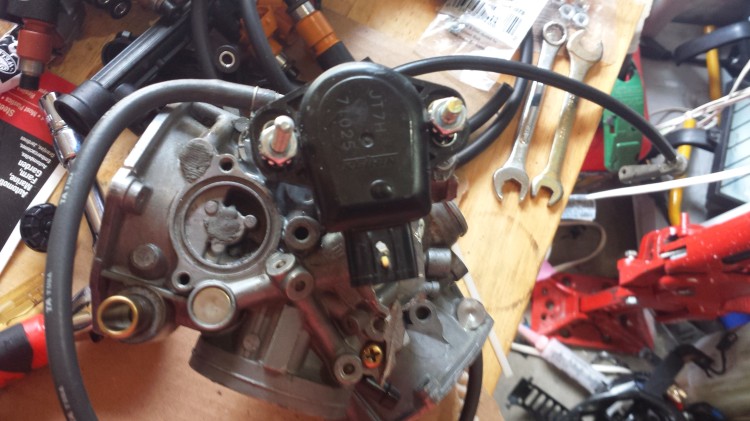
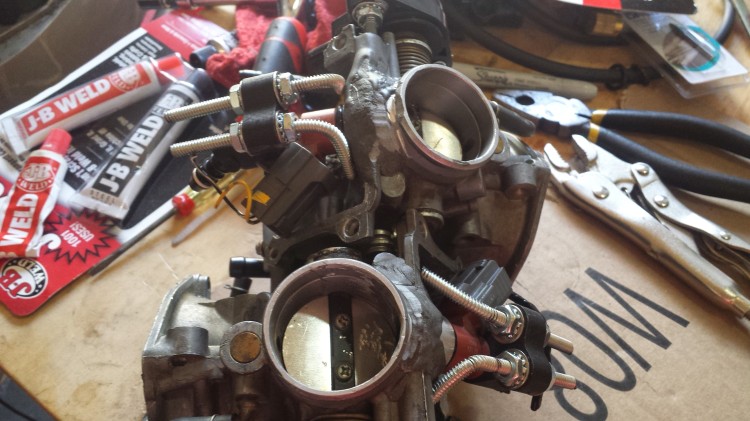
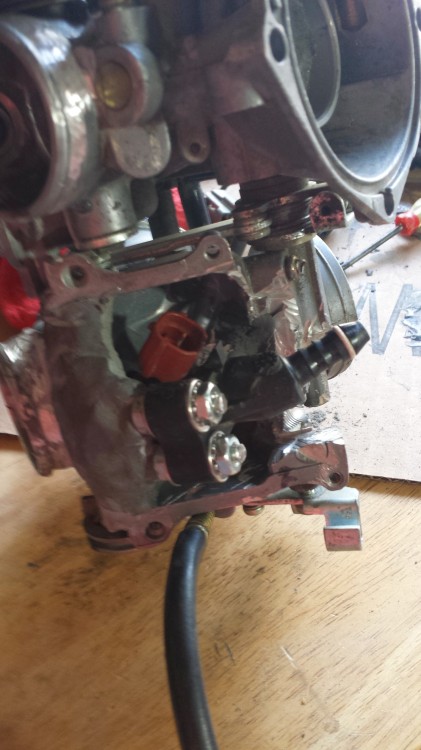
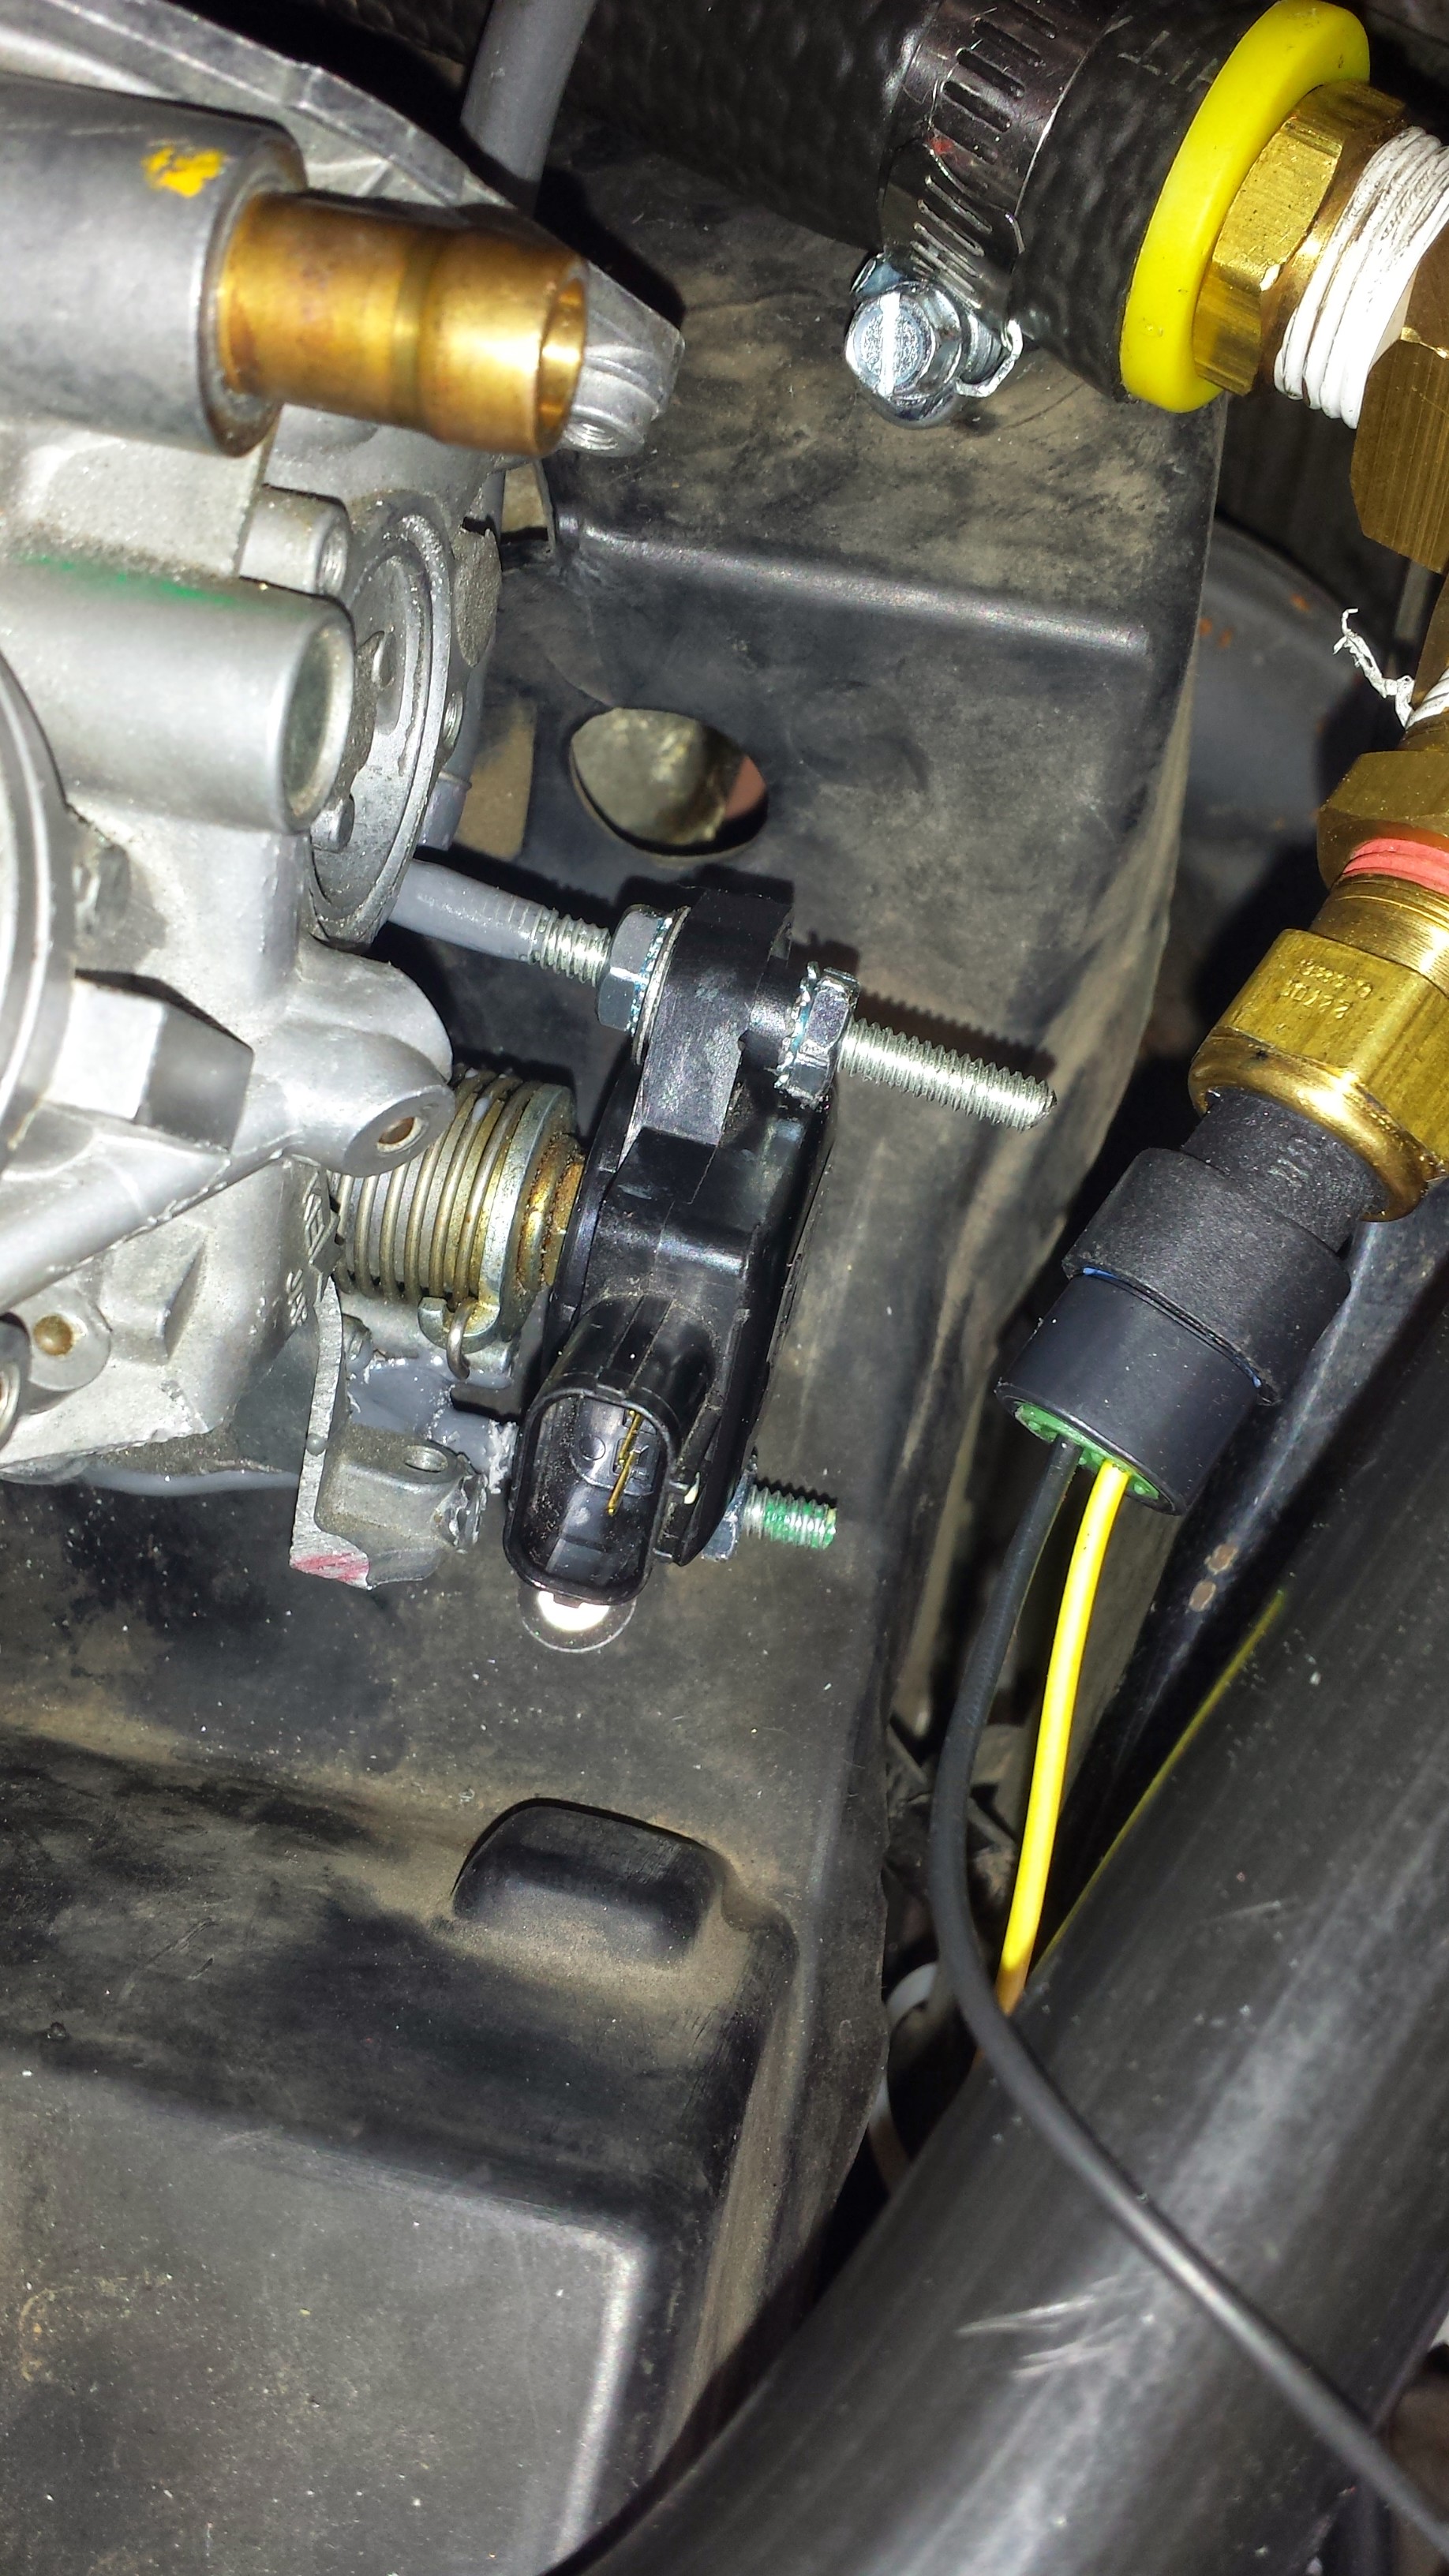
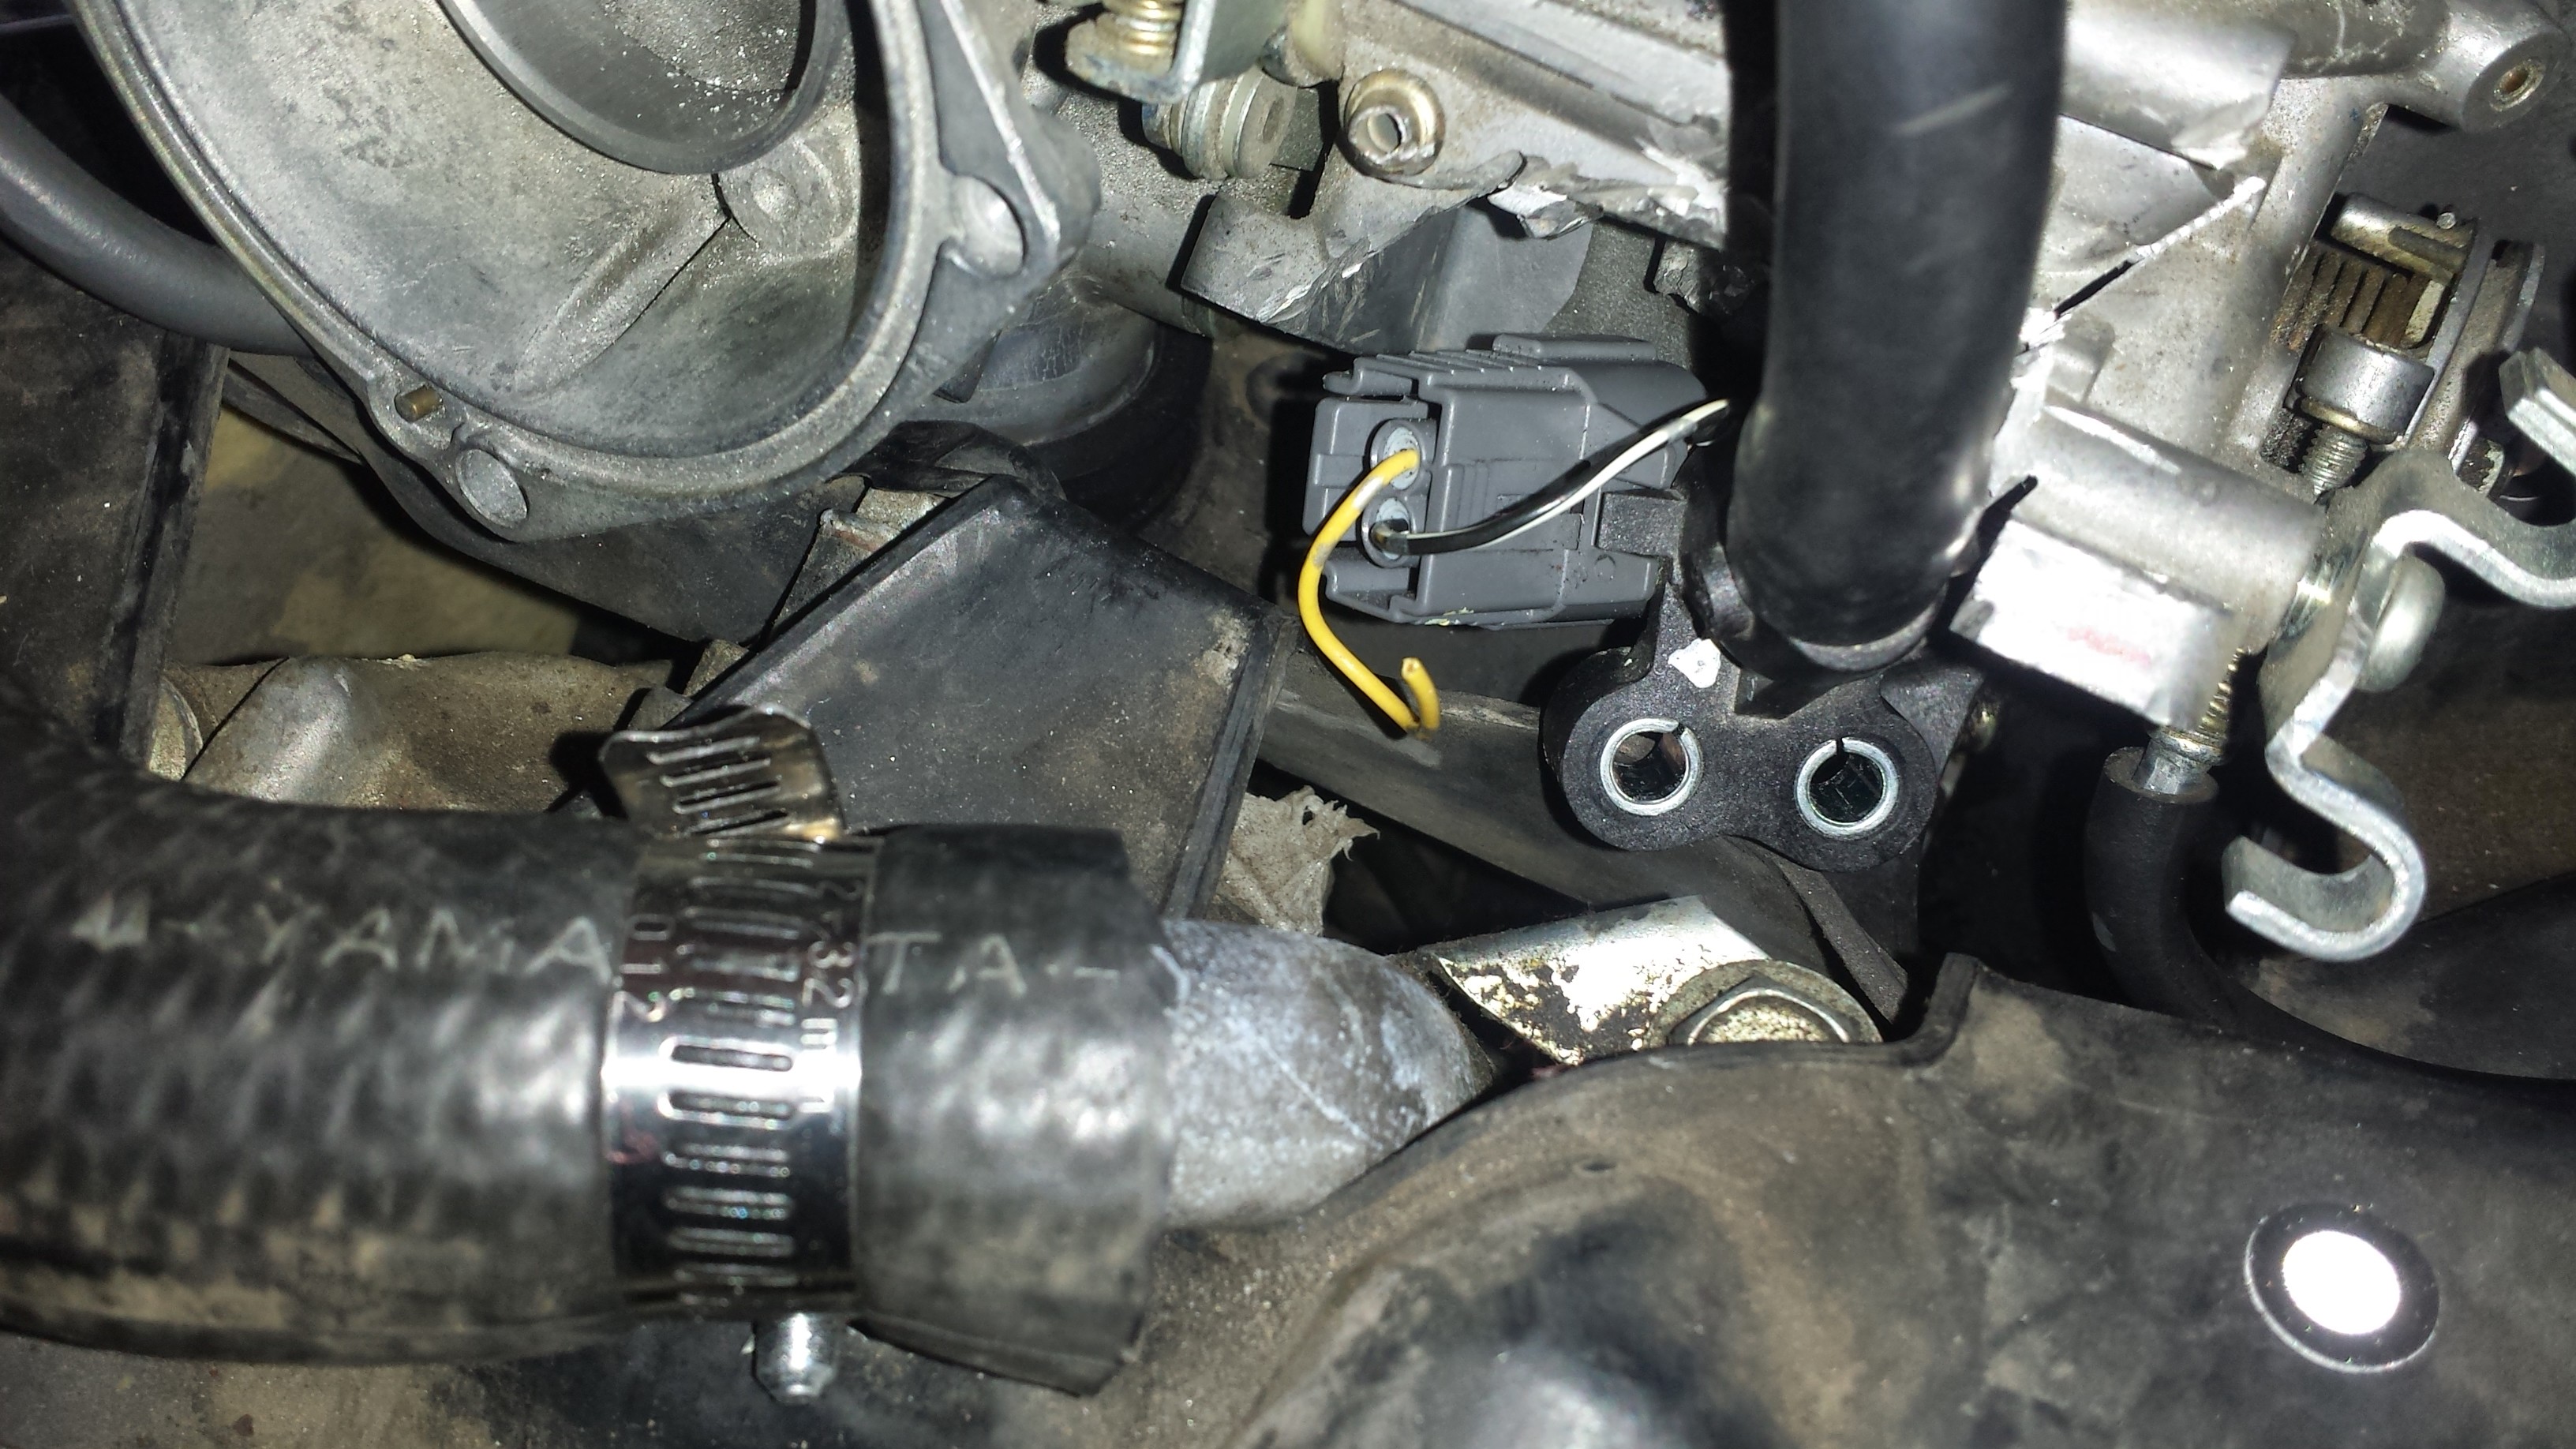
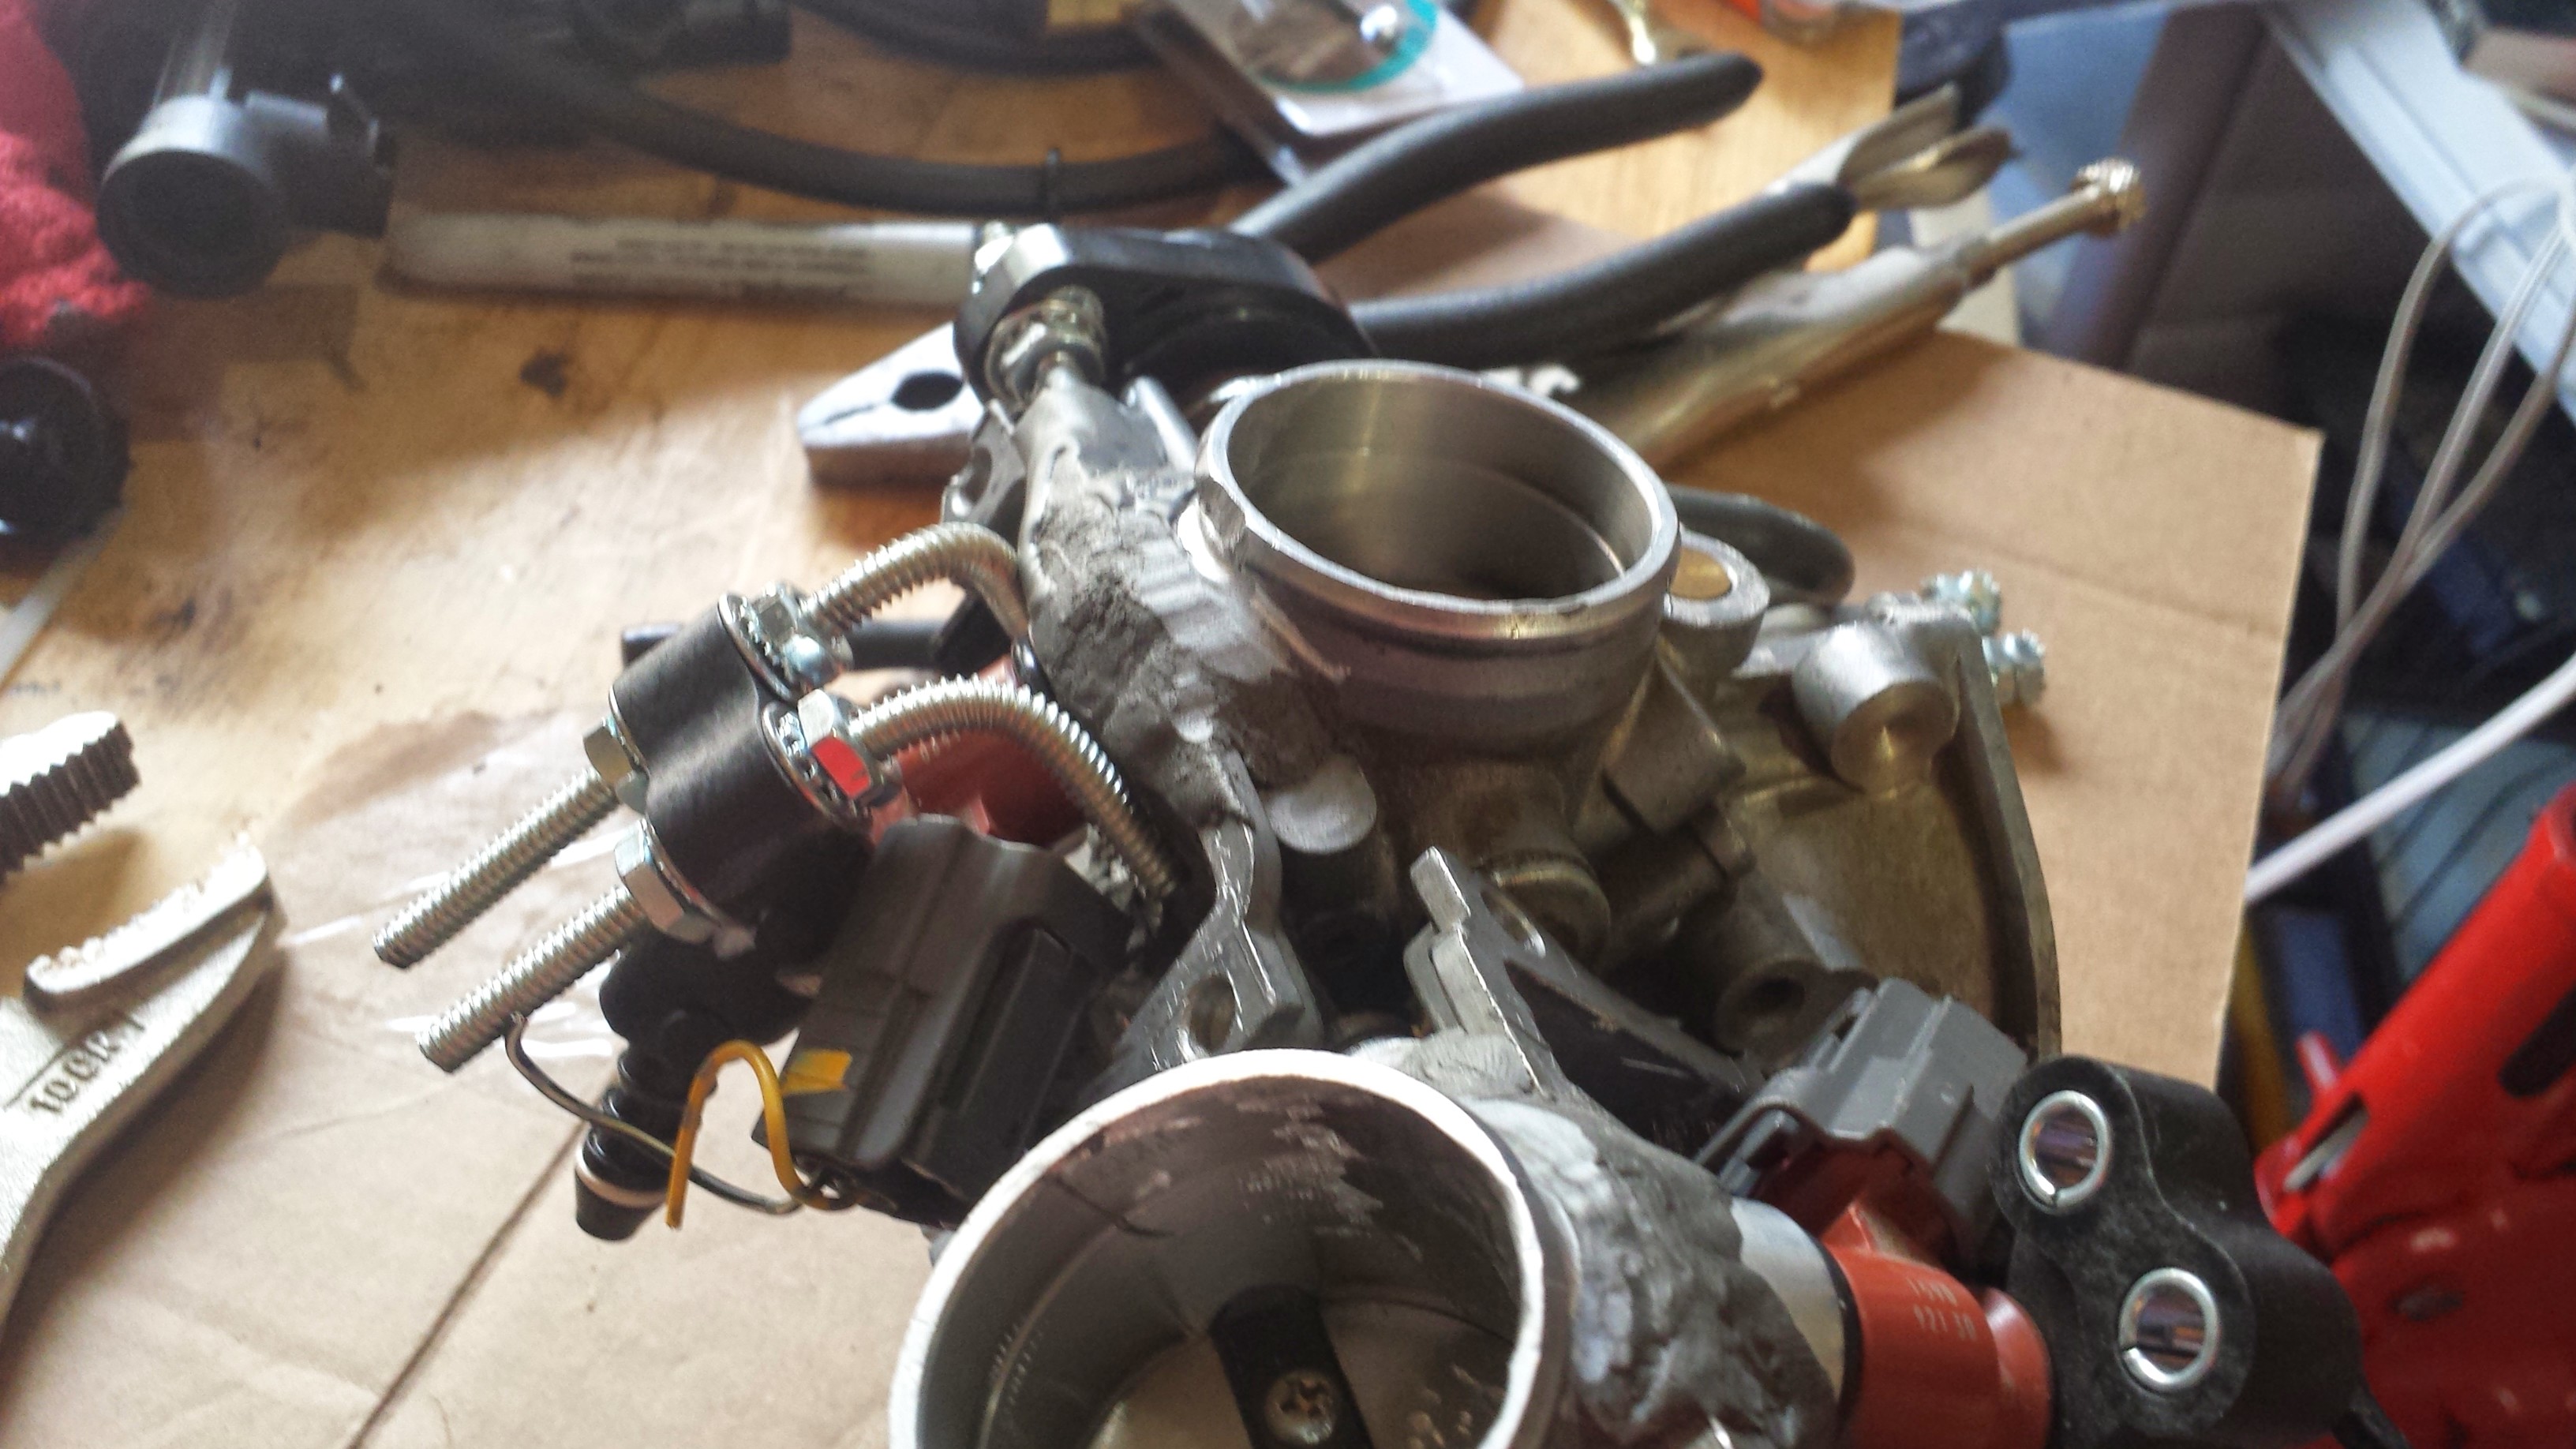
I then worked on installing a throttle position sensor off of a set of CBR600RR throttle bodies I had purchased some time back as part of this project. I used some allthread and JB Weld to make a mounting point on the right hand side of the carbs. The bolt that runs through the carbs from the throttle cable wheel to the spring on the other side works well for turning the potentiometer inside the TPS.

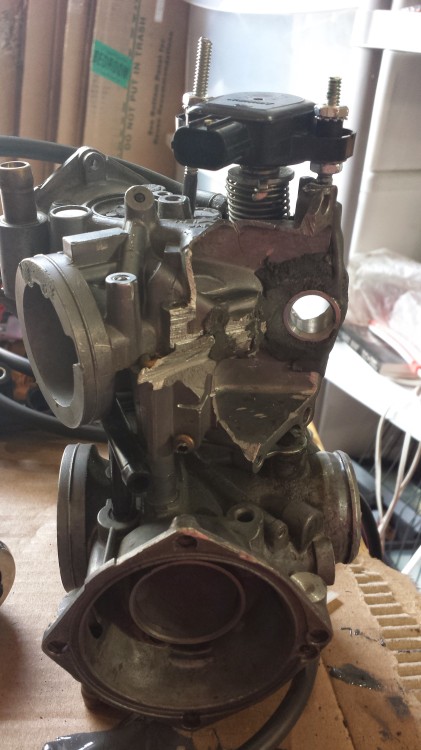
Another view of the gloppy mess of JB Weld.
I used some washers and nuts to hold everything together.
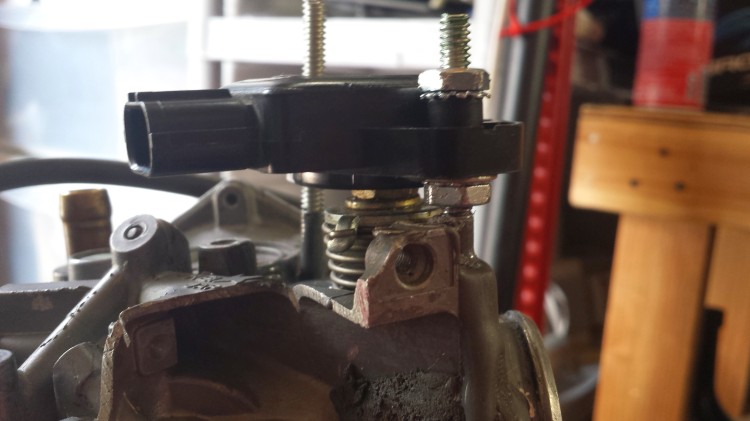
I also had to make some plastic spacers due to size issues with the nuts.
 I’m a bit surprised that it worked as well as it did.
No issues with clearance.

It tucks in nicely next to everything.
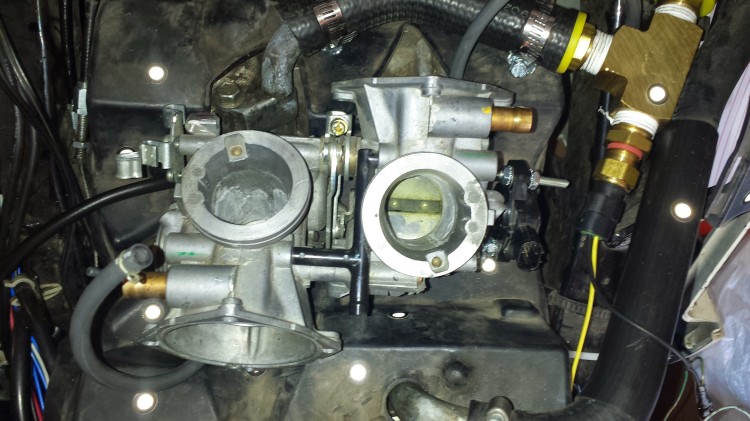
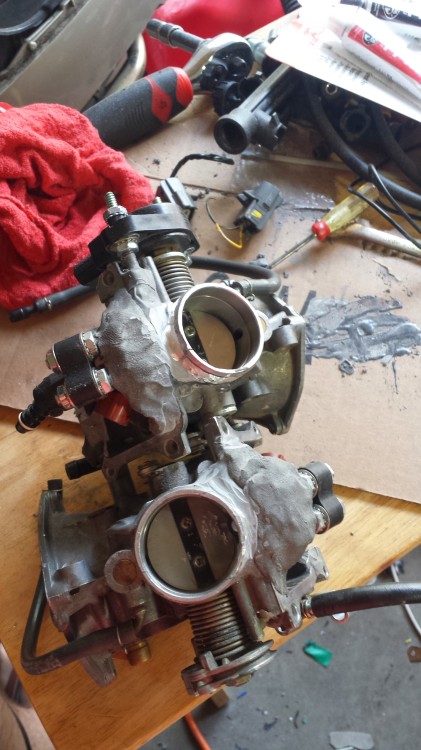
 Next I worked on placement of the injectors and their associated parts. Surprisingly, I found that I didn’t need to cut any additional material from the old PC800 carbs to fit the injectors and their retainers into the top of the engine area.
Looks good here, too!

More test fitting.
 I cut up some allthread to make retaining the injectors and the high pressure fuel lines a possibility.
 Then I bent the allthread so that I could use some JB Weld to hold the allthread to the PC800 carbs.
Both sides bent up and ready for JB Weld.
Putting a layer of JB Weld on.
It got pretty goopy using normal JB Weld.
 The next day I used some JB Weld in the stick form like I had originally used on the injector bungs to finish the job and make everything very secure. I ended up going with the normal stick rather than the high temp stick. Hopefully that doesn’t give me problems later.
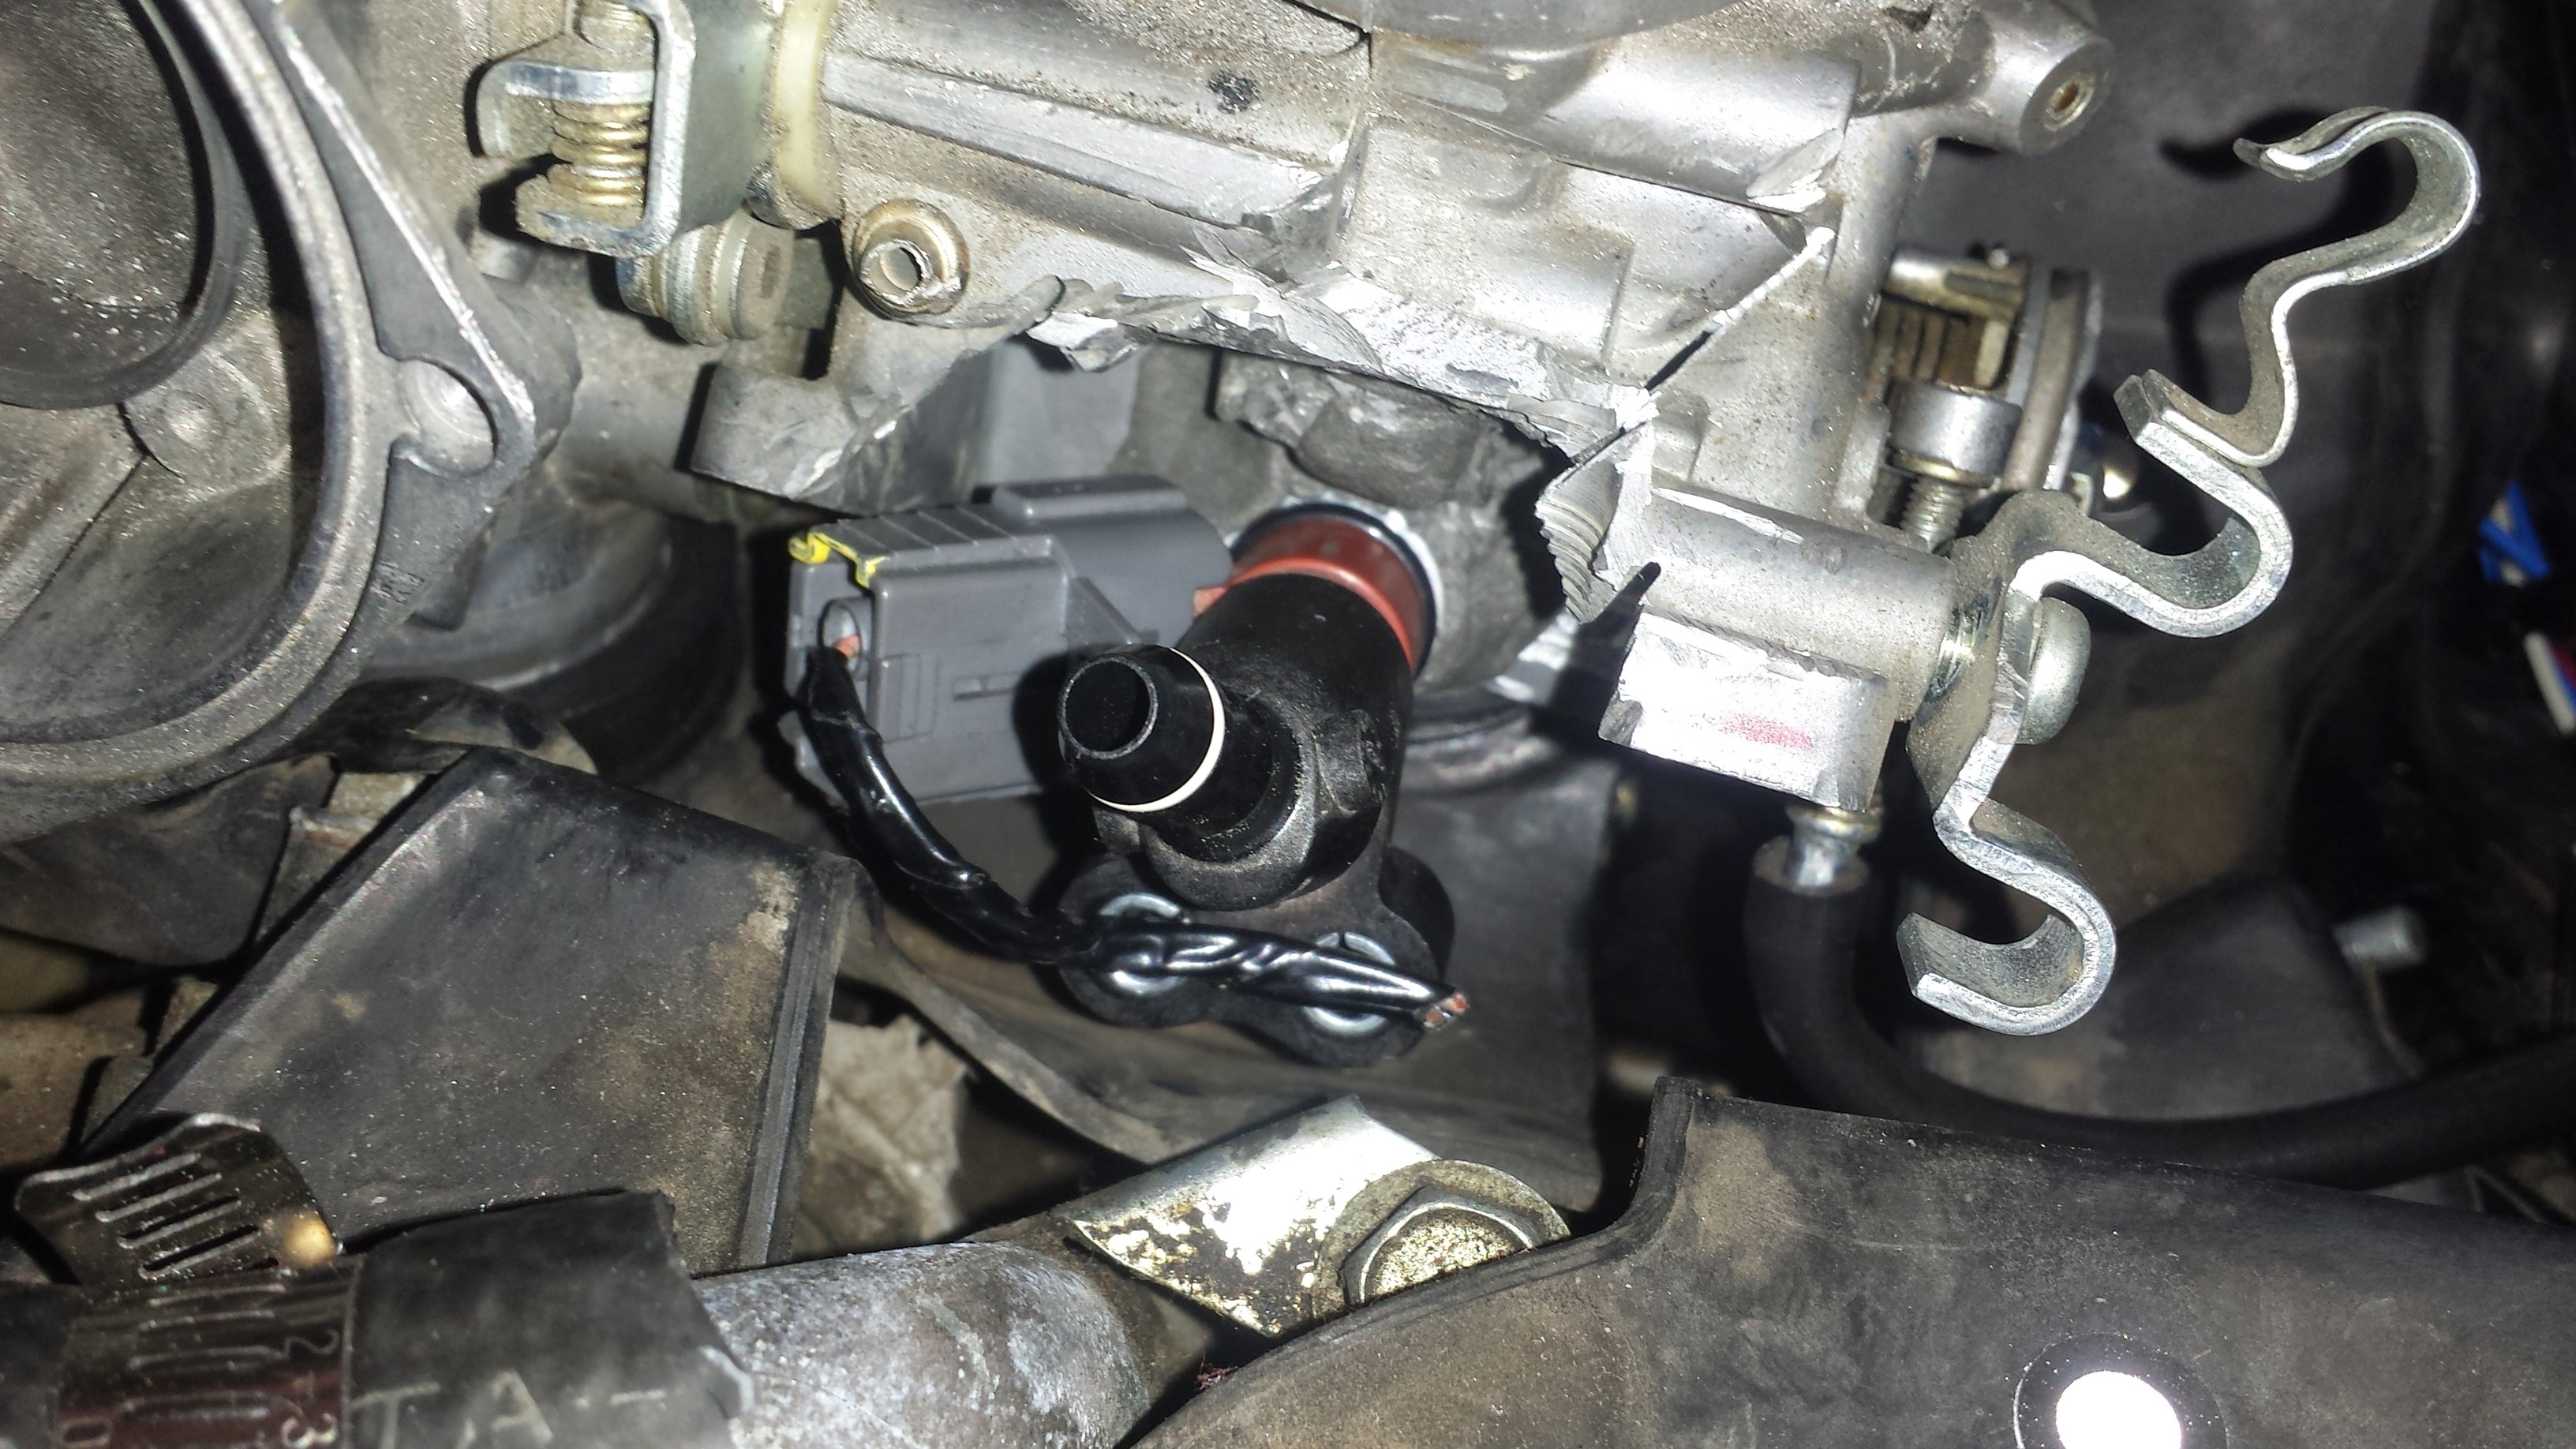
Closeup of one injector mounted in place. I trimmed the allthread short so that everything fits into the space above the engine without interference.

Test fit in the engine. Everything looks good.
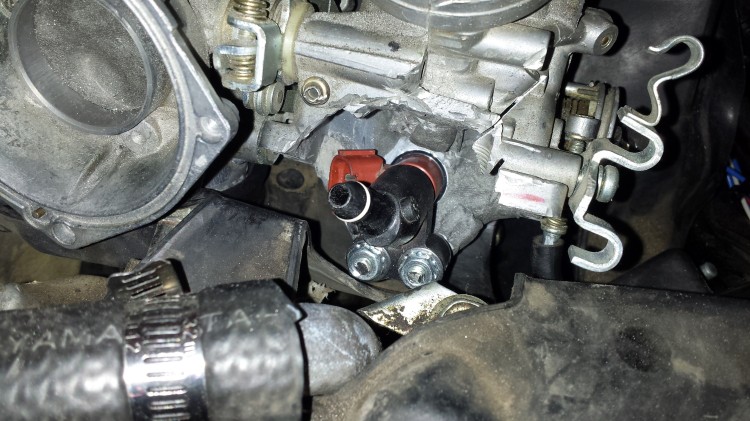
Plenty of clearance.
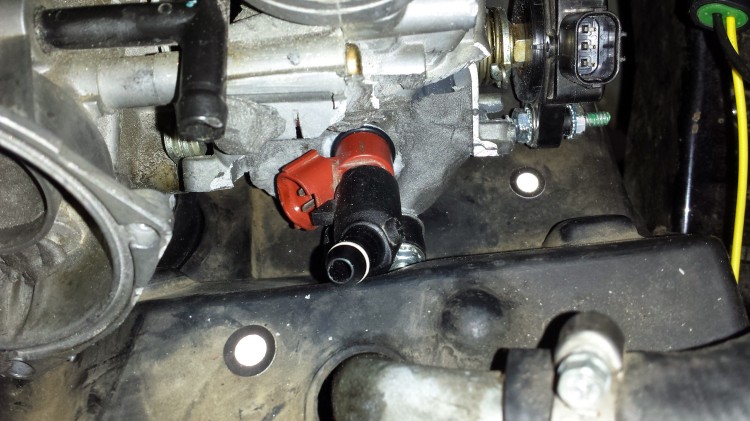
Good on this side, too.
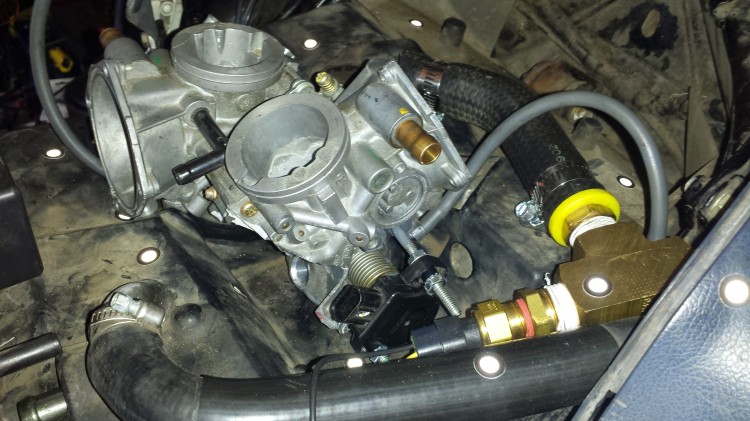
 Next I worked on getting the fuel lines plumbed in to clear the stock air box.
Everything looks good here, too.
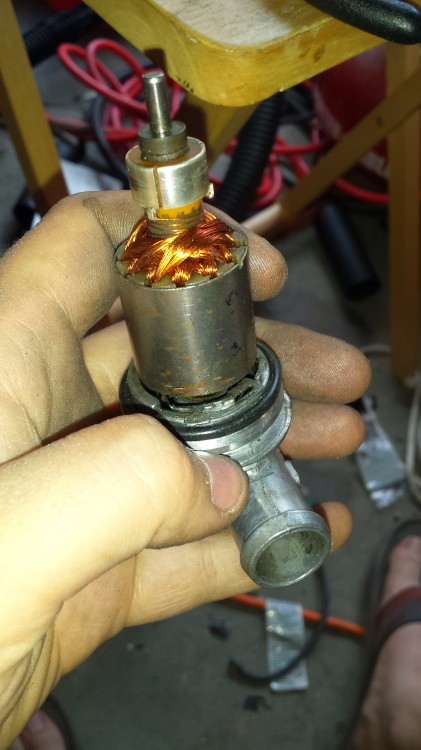 Then I took some time away from the carbs/throttle body to modify a Bosch idle air control valve to work as the IAC for this project. The spring was old and tired so I had to open the unit up to modify things internally. I ended up moving the retainer for the spring about 1/8th of a turn and using some JB Weld to hold everything in place. This is a Bosch 0 280 140 505. I bought mine on EBay for a few bucks compared to quite a bit more as a new part.
 I still need to get a vacuum cap for the top large barb and a three wire plug for the bottom to interface with the MicroSquirt. That will probably happen this afternoon. Wiring is straight forward for the three pin Bosch units.
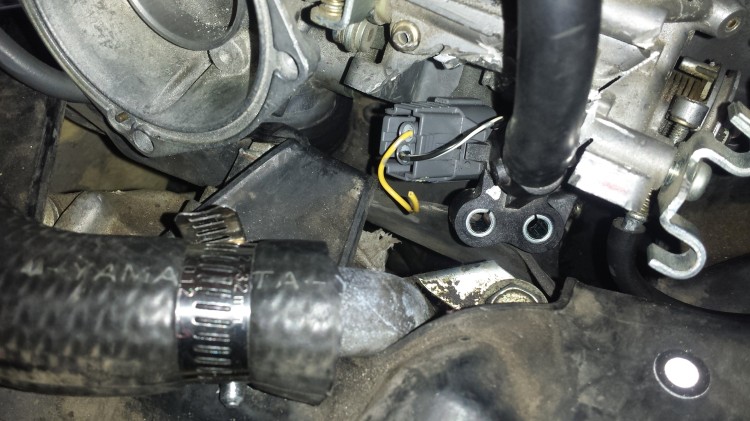
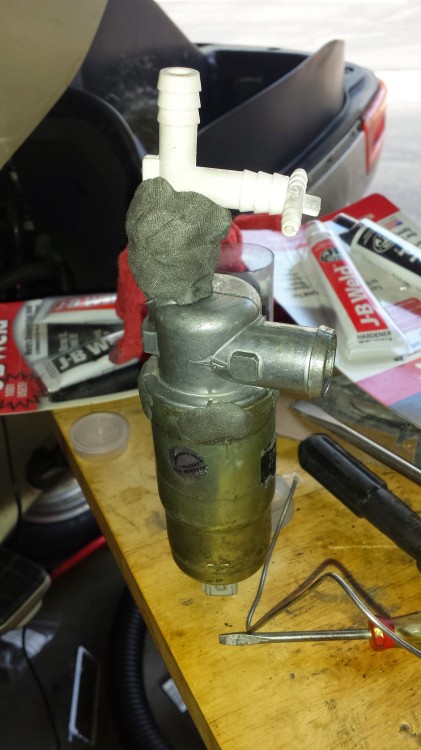
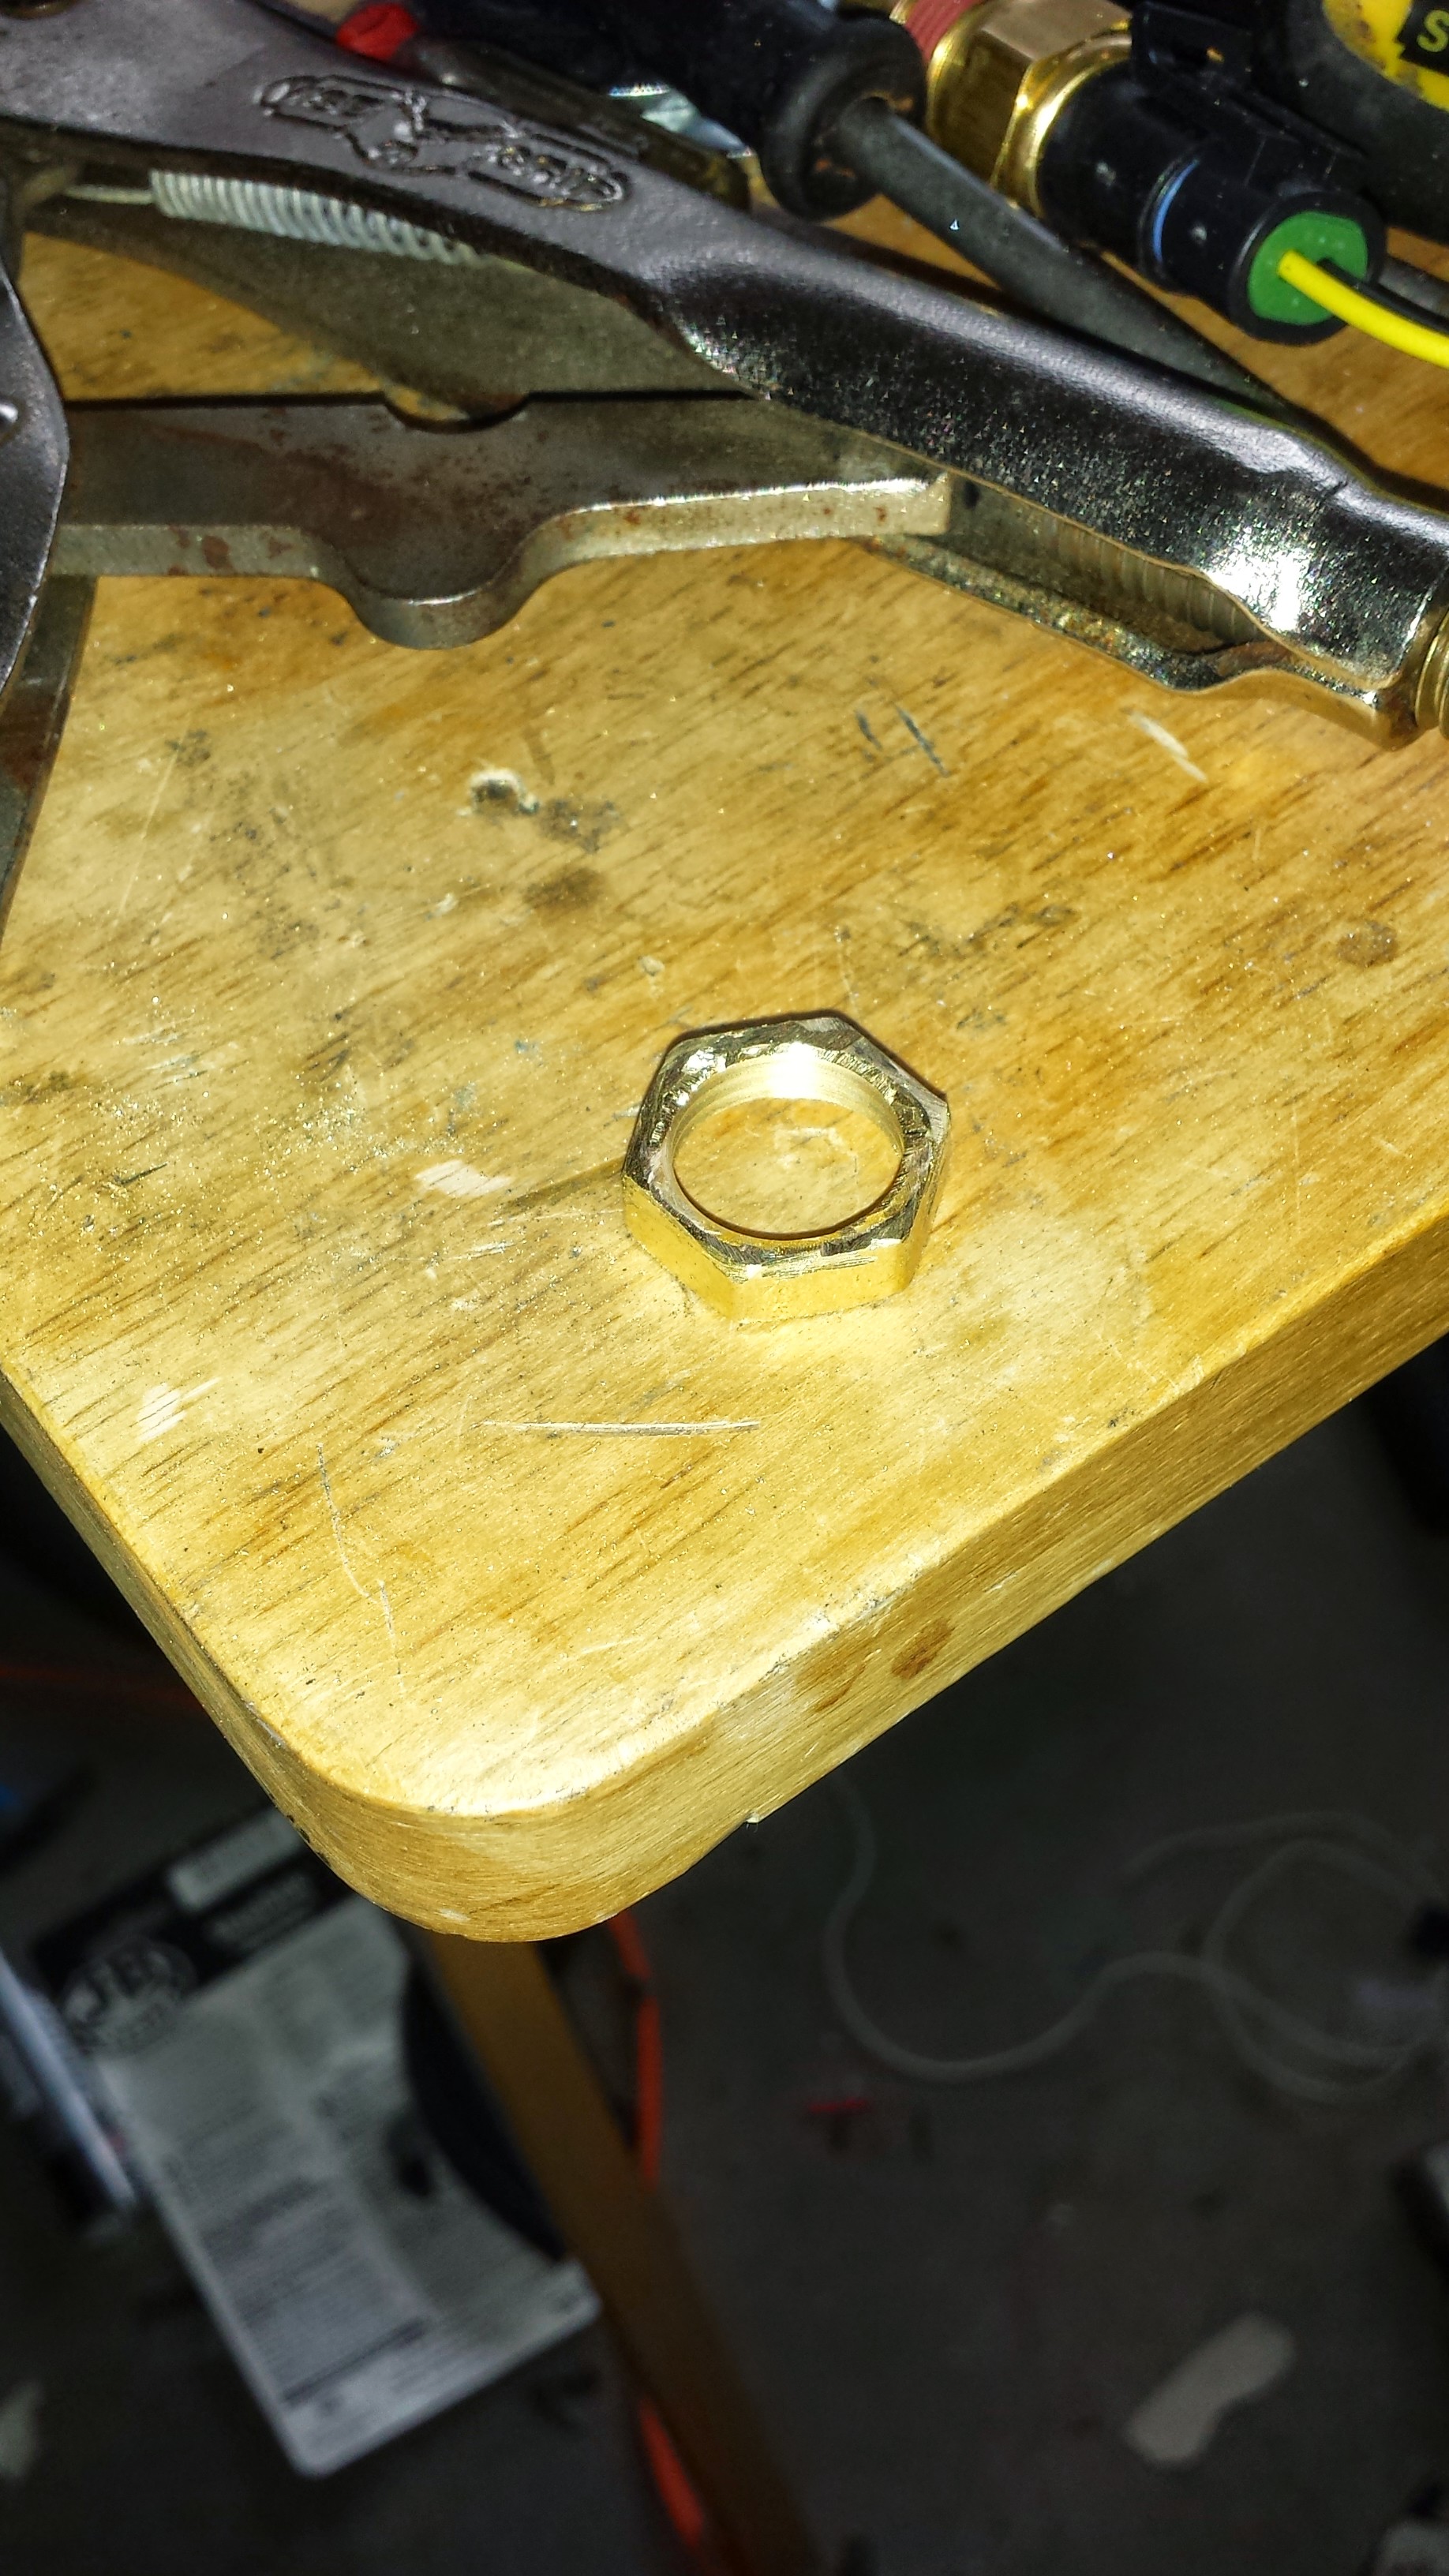
 Next up, I modified a brass water pipe fitting to work with the temperature sensor that I installed in the PC800 air box to work as the intake air temperature sensor.
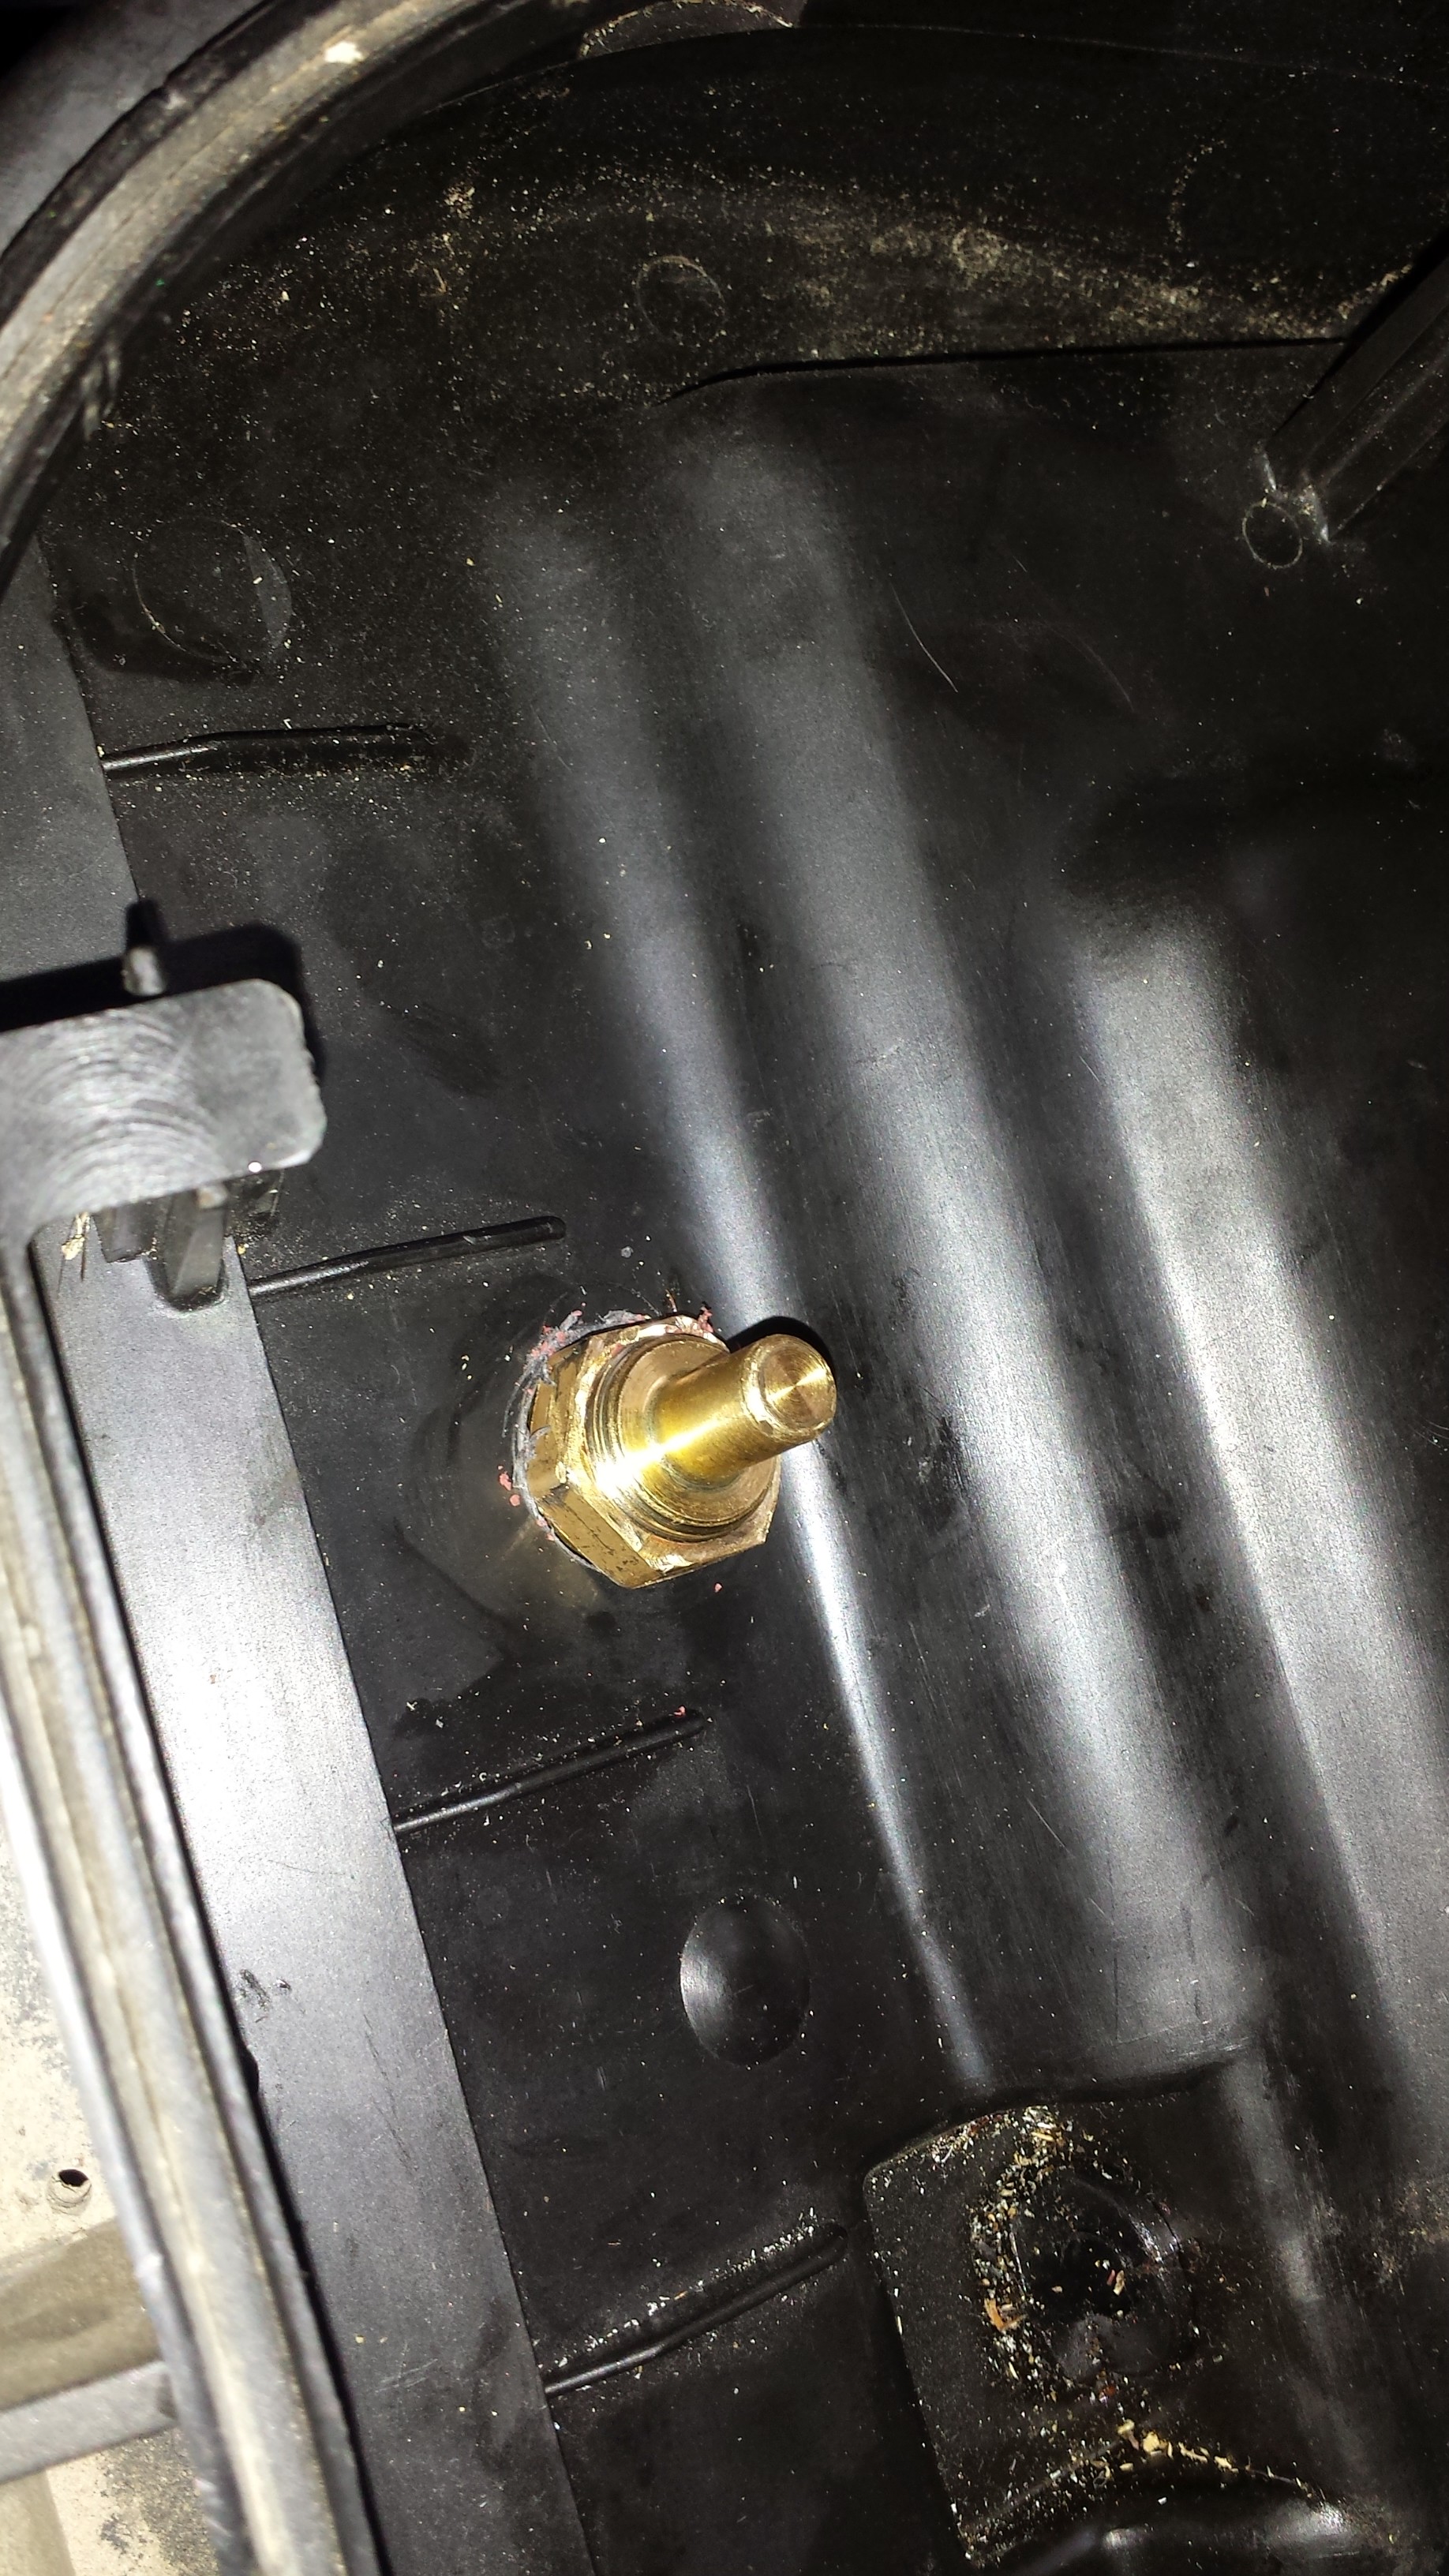
 Here’s the IAT installed in the air box.
 Another view before I gooped it with RTV sealant.
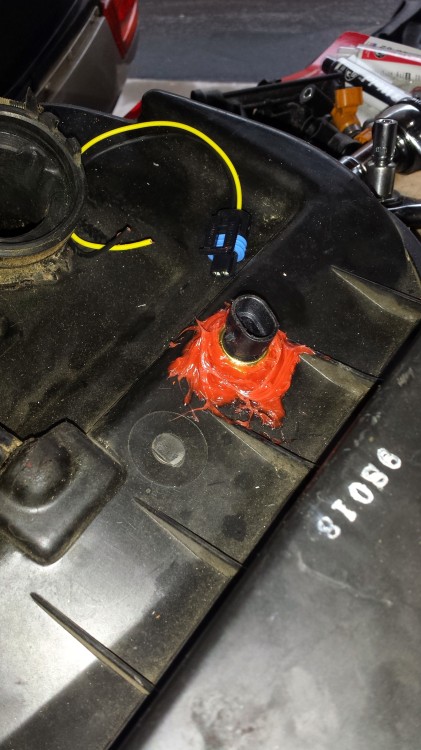 Sealant on the bottom.
 Here it is as a test fit.
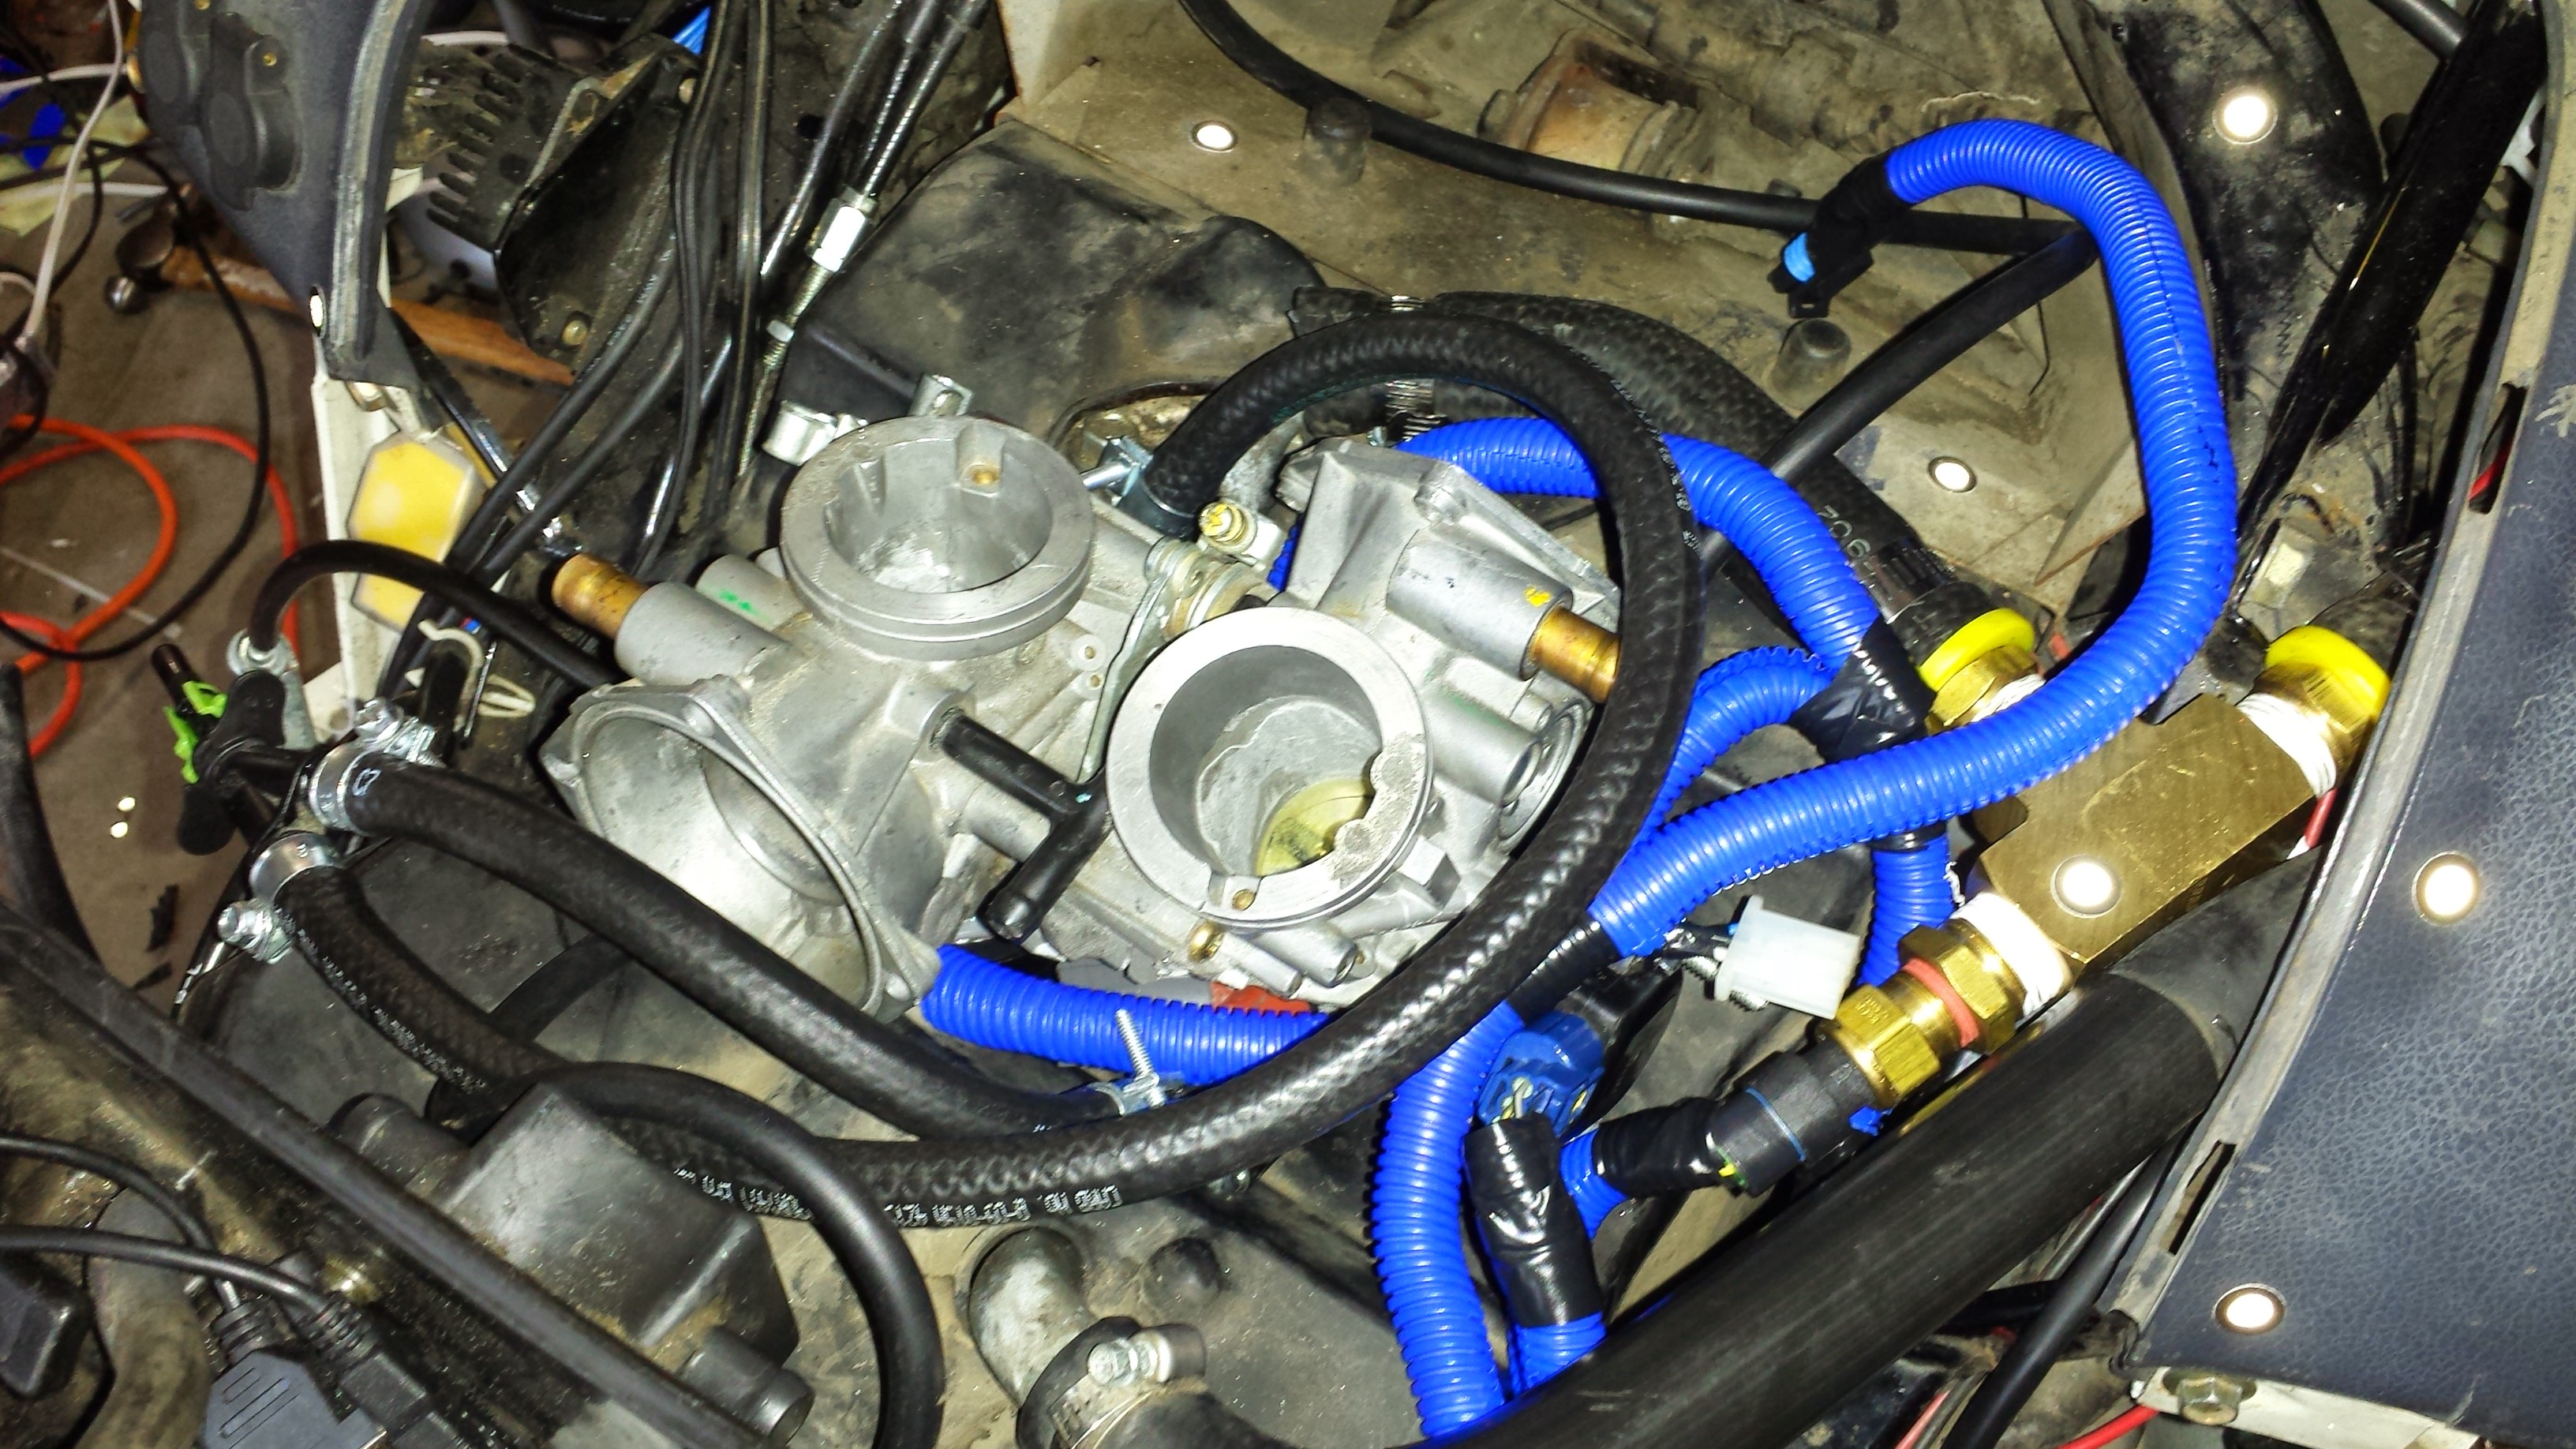
 I then worked on installing the wiring in the bike in a clean way around the throttle body. I used some convolute tubing to tidy everything up.
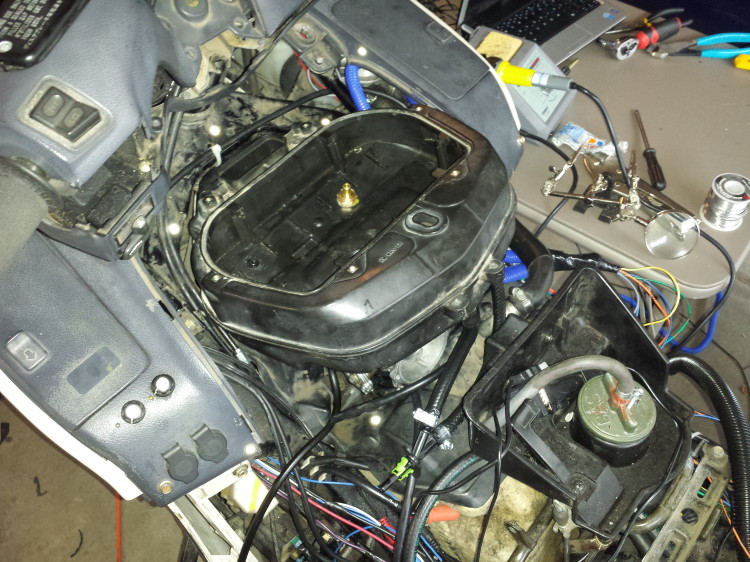
 Then I mounted the air box onto the carbs and connected everything up.
Then this happened! 😀
Yes, the bike ran (just a little) on my first try starting it up with fuel injection. I have no fuel leaks (so far) and I have the start of an idle tune. There are still some things to do to the bike before I can button everything up and tune beyond idle. I discovered today that I misplaced the breather tube that connects the head cover outlet on the rear cylinder to the air box. The Honda part number is P/N 17225-MR5-000 and it is no longer made or available. Luckily I found one on EBay that should be here within five days. I also still need to install the Bosch IAC valve on the bike although that doesn’t have to happen right away. Both the vacuum lines that will connect to the IAC and the air box barb that will connect to the breather tube have their holes currently plugged so it will not impact initial tuning.
Were it not for being such a rainy day, I would be down in the garage working on the tune. However, I don’t want to risk burning up everything in the garage since I can’t put stuff outside due to the wetness falling from the sky. My next real chance will be on Friday. Maybe then I’ll start getting a decent tune put together and be able to button up the wiring.


