This post contains information on how to use a Canyon Dancer Bar Harness to safely trailer a Honda Pacific Coast PC800 motorcycle without damaging the bike, the plastics on the bike, or the trailer.
Editor’s note: I am preserving Leland Sheppard’s PC800-related content after his passing. This is one of his pages that I felt the PC800 community would want to have preserved. Leland may be on his final Iron Butt ride but he is not forgotten.
Site was last updated on 5/11/2005.
Introduction/Overview
The Pacific Coast is not the easiest motorcycle to tie down in a trailer or truck because most of the normal tie-down points are covered with plastic.
Honda’s prescribed method of tying down the PC is to remove the crash bar covers and attach the tie-downs to the crash bars. This method works fine. I have had each of my PC’s towed once and both times we attached the tie-downs to the front crash bars. No sweat; worked fine.
But, for those of us that would just as soon not remove plastic to haul the bike, are we stuck? Thanks to a company named Canyon Dancer, the answer is an emphatic “NO!” Canyon Dancer has designed an ingenious harness that allows the handlebars of a motorcycle to be used for tying it down. This is probably no one’s prescribed method of tying down a motorcycle but because of the design of the Canyon Dancer harness it is not only doable, it causes no harm to the handlebars whatsoever.
You can contact Canyon Dancer at: www.canyondancer.com
How the harness works
Basically, the harness consists of two cuffs, a strap attached to each cuff and a loop on the end of each strap. A cuff is fit over the hand grip at each end of the handlebar. The strap attached to the left hand cuff goes through the right hand cuff. The strap attached to the right hand cuff goes through the left hand cuff. The strap coming out of the right hand cuff is attached to the right hand tie-down. Conversely, the strap coming out of the left hand cuff is attached to the left hand tie-down. Because of the crossover of the straps, when the left hand tie-down is tightened, it is pulling back on the right hand cuff and the right hand tie-down, when it is tightened, is pulling back on the left hand cuff. Essentially, what this does is to cancel out the opposing forces on each side of the handlebars.
It Does Work
I’ve watched time and time again as I’ve tightened down on the tie-down straps. The handlebars will flex very slightly but that’s it.
I have used the Canyon Dancer Bar Harnesses to tie down and trailer my PC800s for over 27,000 miles behind my motorhome. I have probably loaded and unloaded the bikes over two hundred times which means the handlebars have been lashed down and released that many times. There have been NO ill effects on any of the bikes as a result.
I prefer not to have to disassemble my PCs to trailer them, particularly where I may load and unload the PC multiple times in one day. So I use the Canyon Dancer harness and tie the PCs down using the method described below.
Materials Required
The harness costs about $30.00 which I consider to be a bargain. I own two of them so that I can haul two PCs with me if I choose.
In addition to the Canyon Dancer harness, I use two pair of Ancra inifinitely adjustable (non-ratcheting) tie downs per bike. The adjustables are generally recommended over the ratcheting tie downs for motorcycles because it is harder to over-tighten them.
I steady the front end of the bike with a Pingel front wheel chock; this guarantees that the front wheel can’t slide sideways.
I also have a couple of bungee cords to pull the tie downs away from the PC mirrors.
Finally, I use a pair of sheepskin velcro’d seatbelt strap covers to cover the hooks on the tie downs to keep them from marring the PC’s finish.
The Process
The bike:

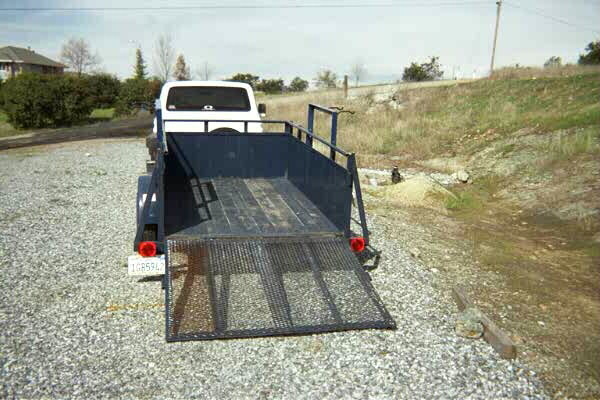
The trailer:

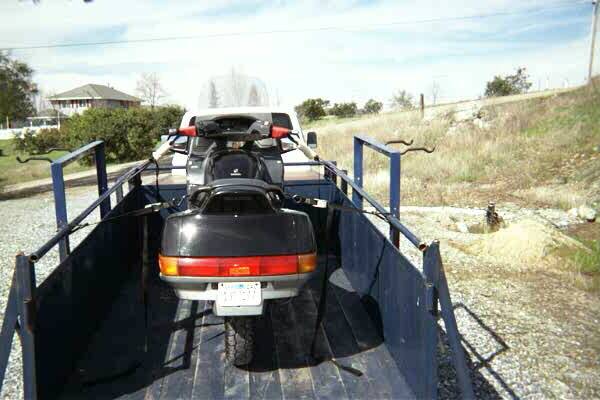
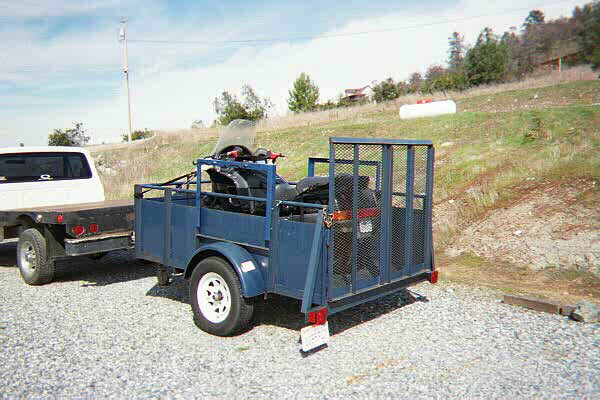
The trailer and the bike:
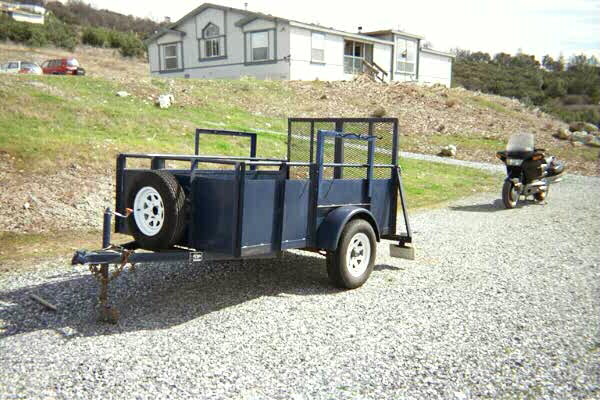
Note also the tall ramp tail gate:
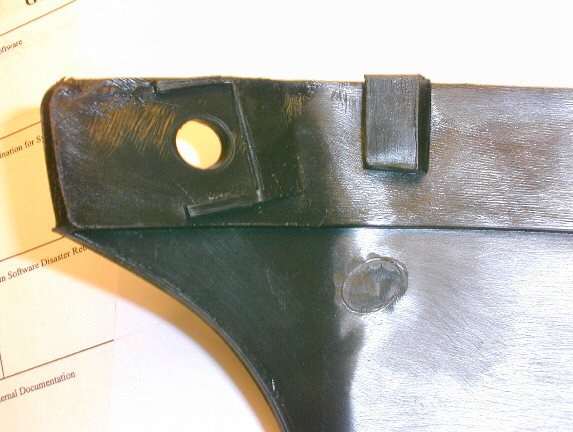
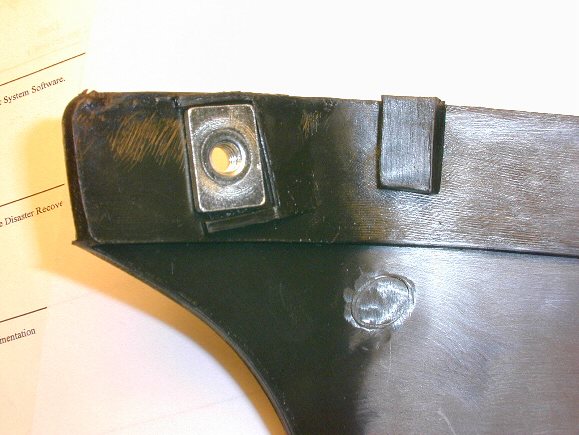
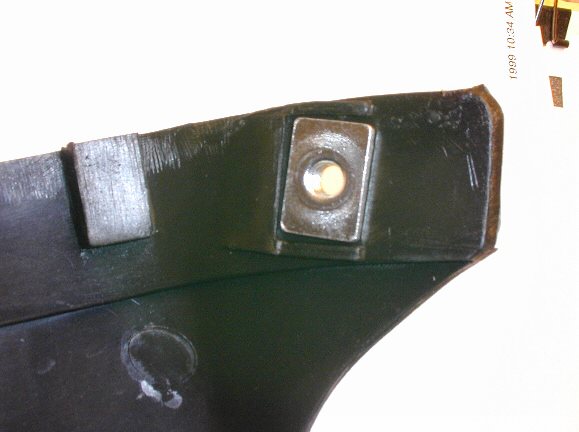
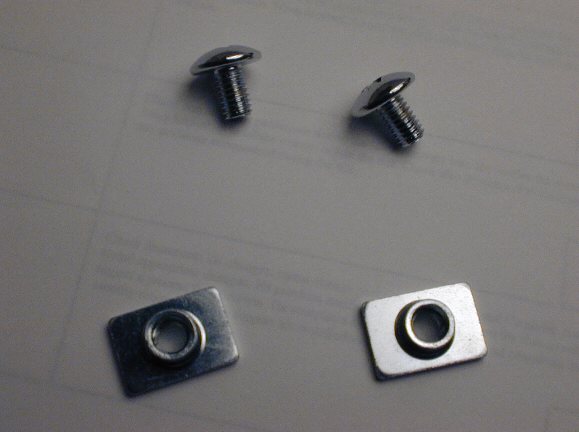
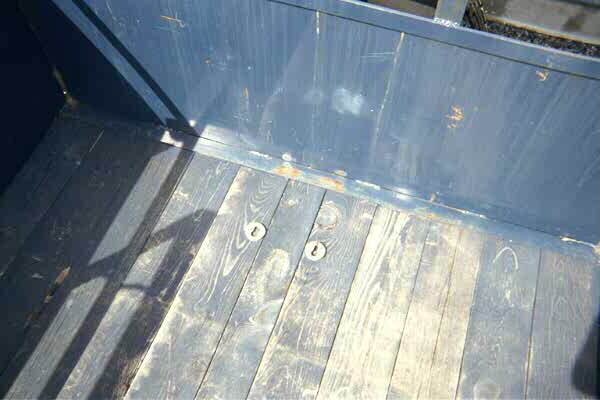
This photo shows the wheel chock mounting brackets in the floor:
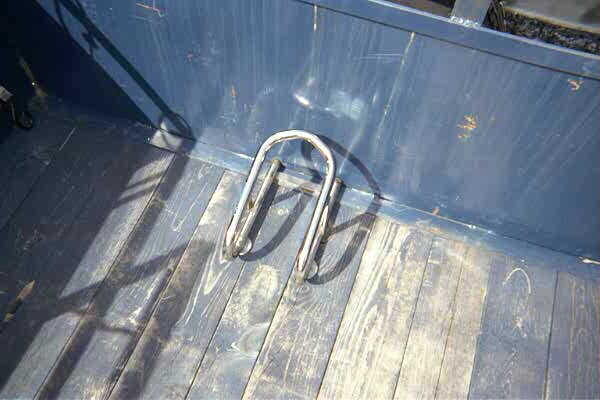
The Pingel wheel chock is in place on its mounting brackets:
I hook up one end of the front tie-downs and place the other end of each where I will be able to reach them:
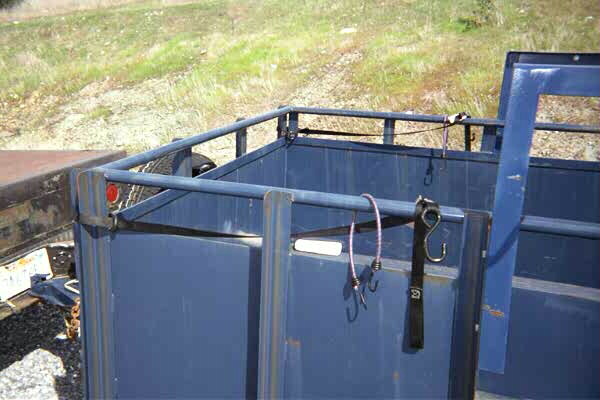
I hook up one end of the rear tie-downs as well:

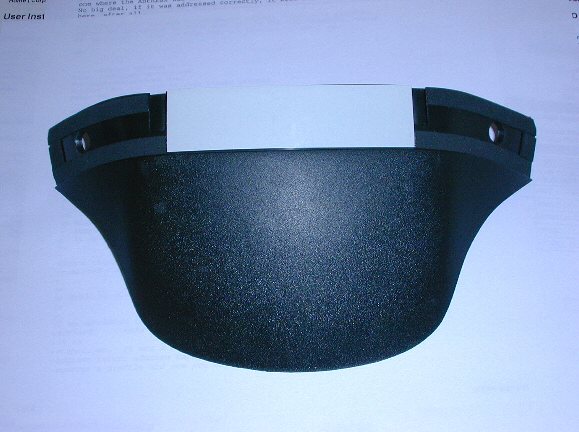
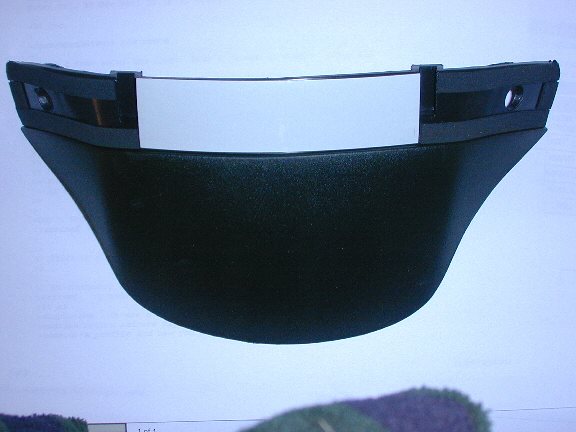
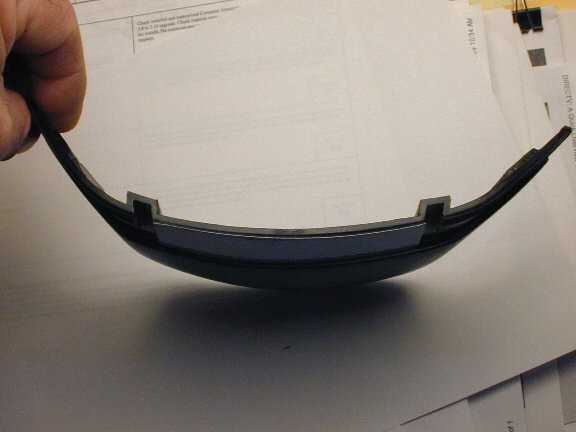
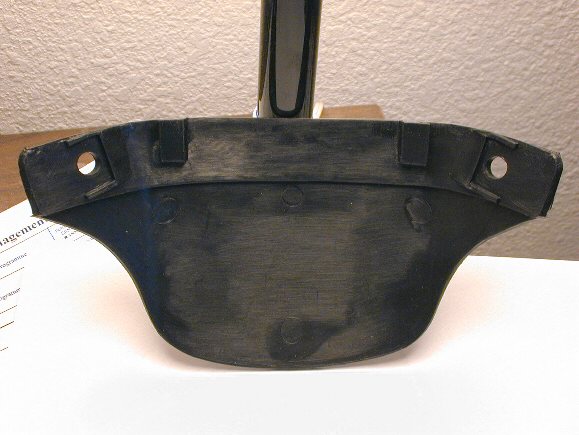
Ta da! At last, the famous Canyon Dancer Bar Harness itself:
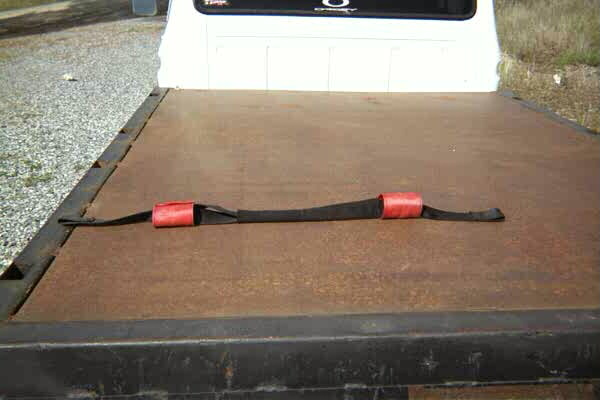
In this photo, the harness is just laid on top of the handlebars:
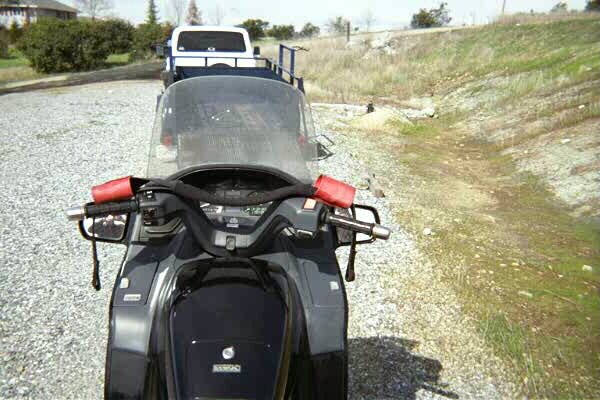
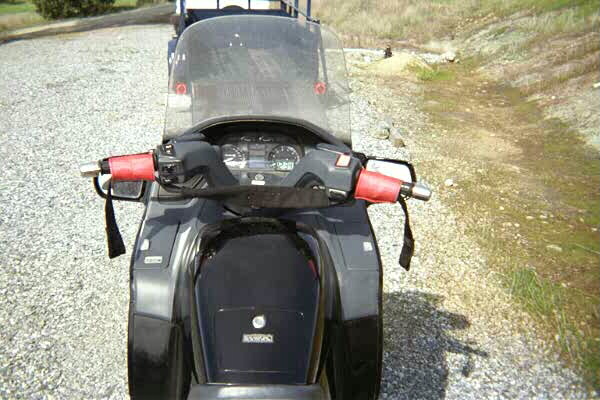
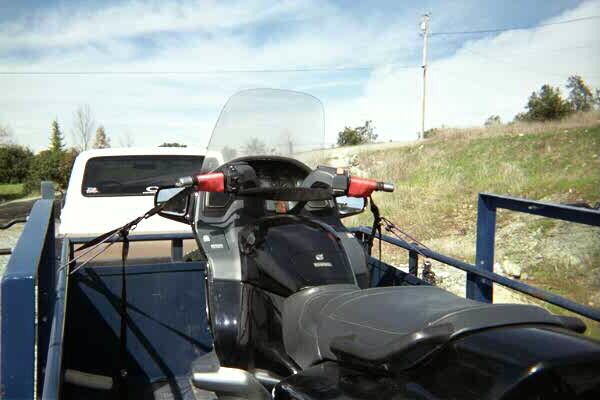
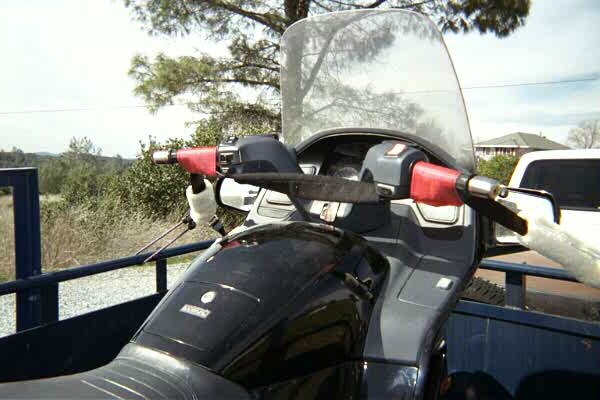
Here the harness is in place on the handlebars:
The next step is to ride the bike up into the trailer. I generally do it with the harness already in place. It is a little awkward so you can also just set the harness up on the dashboard and when you have the bike in the trailer, slip it into place.
I ride the bike into the trailer, put both feet down, slip the front wheel into the wheel chock while feathering the clutch to move the bike forward the last few inches. When the front wheel is in place, I clamp the brakes, shift into neutral and shut off the engine.
While holding the front brake, I reach down or over and grab the left hand tie-down and hook it into the harness loop hanging down from the left side of the handlebar. I pull on the strap and partially tighten the strap on that side. At this point I’m standing on the floor of the trailer, straddling the bike, leaning over on the shelter cover in order to be able to pull the tie-down strap in the appropriate direction.
I then reach over and clamp the front brake with my LEFT hand, reach down or over with my right hand and pick up the right hand tie-down strap, hook it into the harness loop hanging down on the right side of the handlebar and partially tighten it as well.
At this point, the bike is loosely balanced. The straps should be tight enough so that when I let go of the brake and dismount from the bike, it will sag backwards only slightly (no more than an inch) and can’t tip but slightly in either direction.
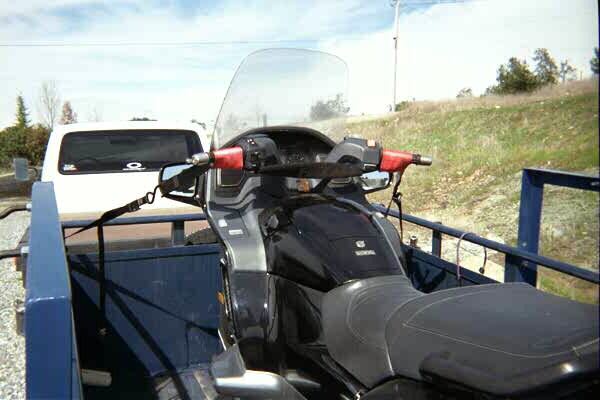
I then go around to the front of the trailer and pull down on each tie-down strap. From the front, I can get the necessary leverage to cinch down the front end of the bike. I generally pull the straps tight enough to compress the front forks between one and two inches.
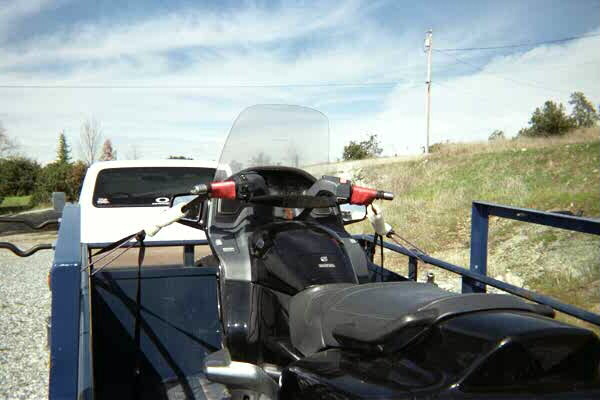
The bike with the front straps tightened as described:
For Good Measure
The other steps I take for added protection and safety are as follows:
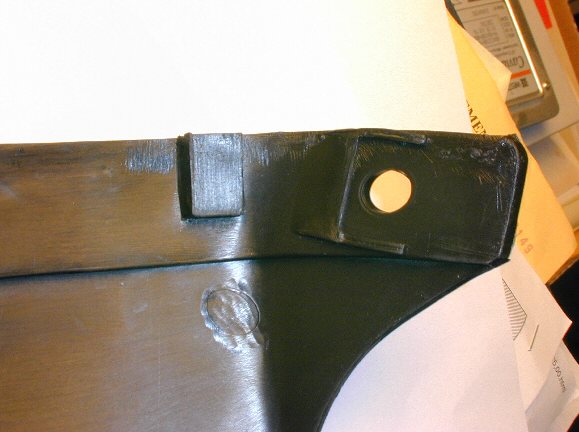
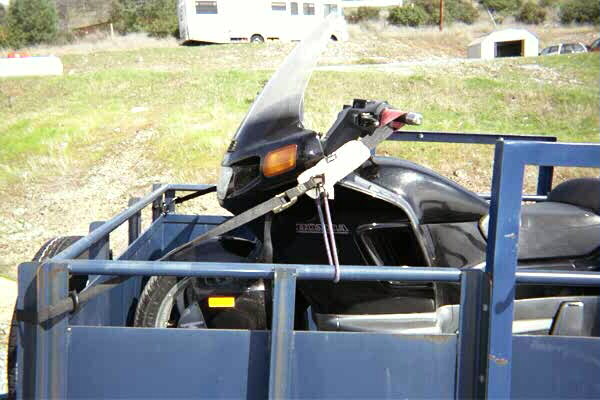
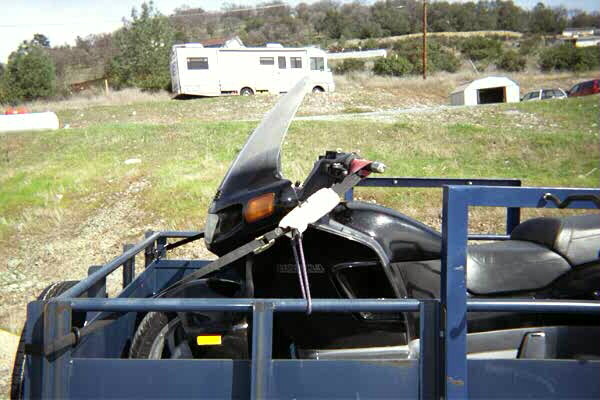
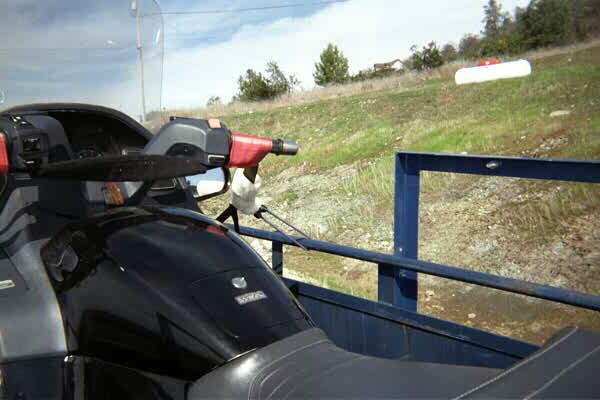
I attach a bungee cord to the tie-down hook so that it pulls the strap away from the PC mirror:
I then attach the sheepskin seatbelt strap covers over the tie-down hooks:
Another view of the result:
This picture shows the seatbelt cover completely closed over the tie-down hook:
The next step is to anchor the rear end of the bike:
A closeup of the left hand rear tie down:
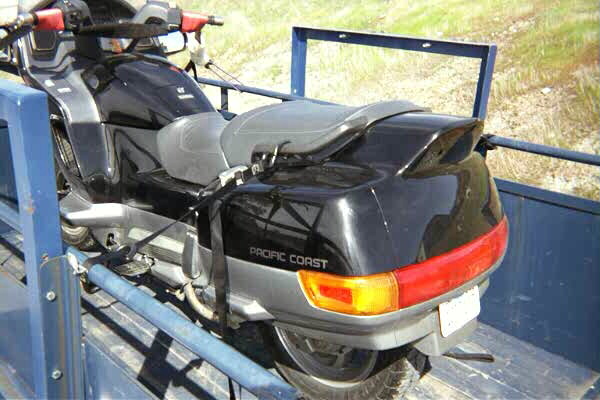
A closeup showing the need for the bungee cord and the sheepskin seatbelt cover:
Same shot on the left side:
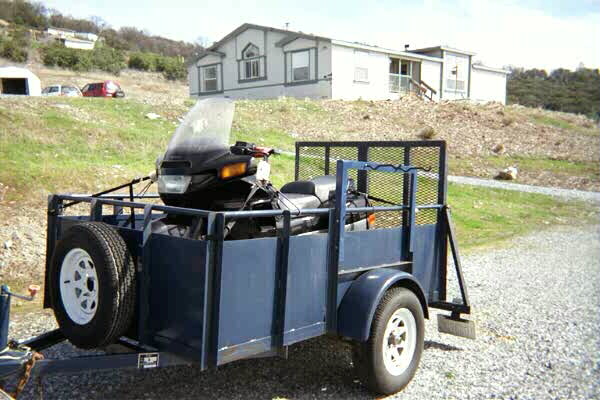
It’s done. The bike and trailer are completely ready to go:
Another shot of the final result:
The whole process from the time I let down the tail gate until I put the tail gate back up is less than 5 minutes.
Obviously, the trailer tie down points will vary considerably based on the type of trailer. I had so many possibilities with this trailer that I didn’t even use the D rings I bought for the purpose.
Please feel free to contact me (Leland Sheppard) [Editor’s Note: While Leland is away on his final ride, you can contact Douglas] if any of this is not clear or if you want any additional information or you simply have questions.
Leland Sheppard
iPCRC #72