On Saturday, Carl and I went up to the Columbia Sportswear Employee Store in Beaverton. I scored a new snowboarding jacket while Carl took care of most of his Christmas shopping. On the way up, the speedometer on the XS850 decided to break (sheared cable). Coming back down, the tachometer went crazy and snapped off its own needle. Something in the middle drive and possibly the starter assembly also started making a bunch of noise. There’s always something new and interesting to fix on old motorcycles!
GoPro Hero Motorcycle Test Mounting
Yesterday evening I took my new GoPro Hero camera out for a spin on the Yamaha XS850SG (still no name). This ride was a two-fold affair. I was both testing out mounting locations for the GoPro Hero camera and also seeing how the freshly overhauled XS850 is riding. The motorcycle is performing admirably. The camera mounting locations still need a little work in order to minimize vibration issues. The video below is a compilation of my mounting experiments.
Modifying XS850 Petcocks to Stop Leaks
As I quickly found out when I purchased my 1980 Yamaha XS850SG, the petcocks on these old bikes have quite a few issues. It seems that they all leak and end up flooding the carbs, cascading fuel into the pistons. That fuel works its way into the engine oil where it spells trouble for the engine. My bike was no exception. And as luck would have it, replacement petcocks are on extended backorder at every place I found that carries the part.
With this parts shortage in mind, not wanting to screw with a rebuild kit, and wanting to ride the XS850 without risk to the engine, I decided to cut out the source of the leak and refashion the petcocks into fuel taps. Yes my friends, I decided to hack apart the existing petcocks and install some brass ball valves instead.
Step 1: Remove petcocks and find hacksaw.
Step 2: Hack off the part of the petcock that hangs out of the fuel tank.
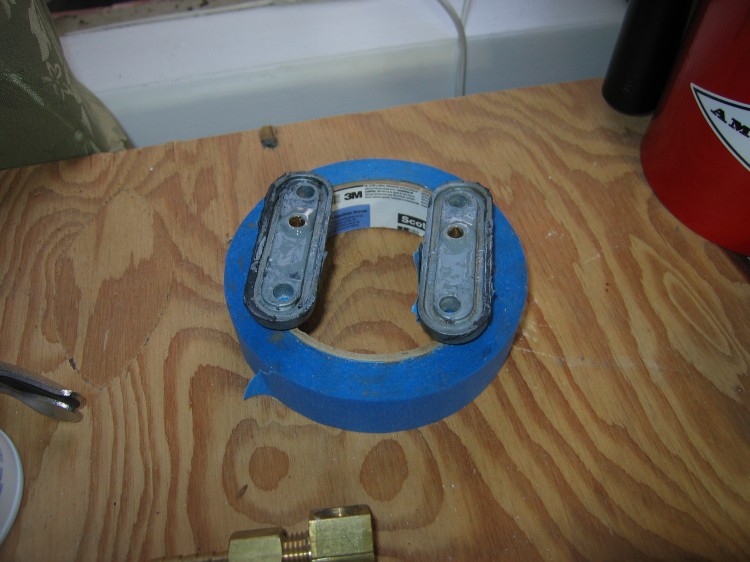
Step 3: Acquire brass barb fittings and put them into the hacked off petcocks. JBWeld them in place.
Step 6: Get some gasket maker that is rated for fuel (NAPA had it) and apply as per instructions.
The gasket goop I used is supposed to go on both mating surfaces.
Step 7: mount the hacked-apart, JBWelded petcocks on the tank and attach your desired fittings. I found the brass fittings at a local, family-run hardware store.
Step 8: Leak check the assembly overnight. No leaks!
Look at those beautiful new ball valves! The whole project cost me about $35. That’s the same cost as one new petcock or just a little more than a rebuilt kit. I think I go the better deal.
Note that doing this, you will need to put in in-line fuel filters. I picked up a couple inexpensive filters from a local autoparts store that are working great. As soon as the air filter comes for the bike, I will be out on the highway.


