Front tire change on the PC800

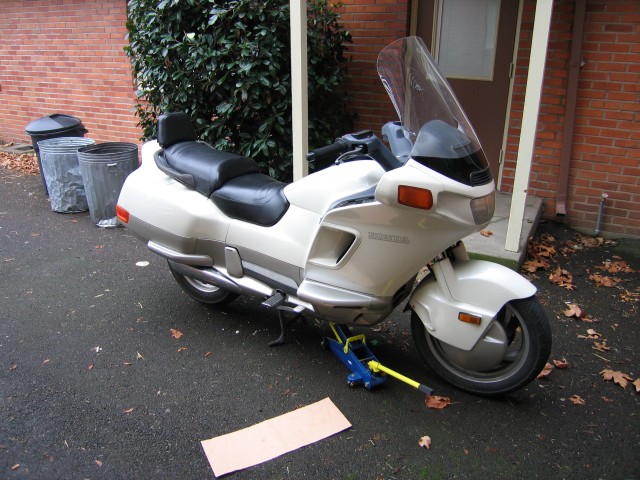
The front tire that was on the Pacific Coast when I bought it last night was just about bald.  A quick search of the internet found a company with the tire in stock in Oregon.  They shipped it to me and I had it the next day.  After the term finished last week I decided it was high time to put on the new tire.  Independent Motorcycles in Philomath, Oregon put the new tire on the wheel.  I did the rest of the wrenching myself.  The tire I put on is a Metzeler.  The previous owner had Metzeler tires on the front and rear so I figured I might as well do the same.  Here are a few photos of the process.

IMG_9223

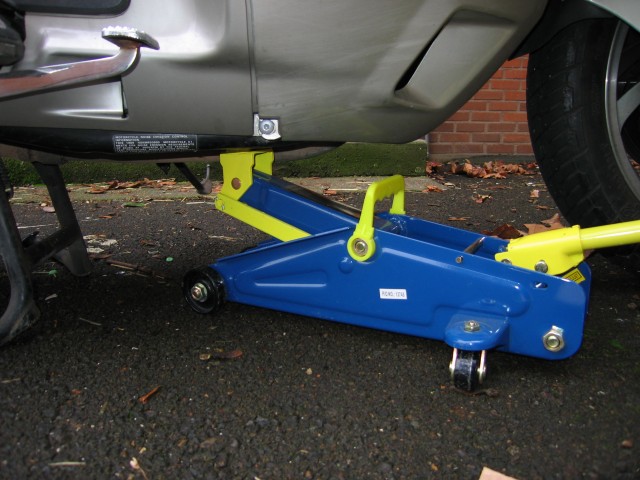
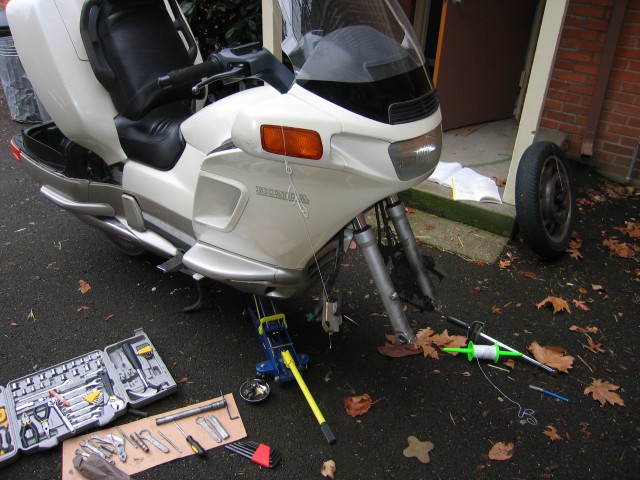
I used the little blue and yellow rolling jack that I salvaged last year off of an ME 383 class project that was being discarded.  Worked like a champ although it sticks a bit when I let it down.

IMG_9224

I supported the bike directly on the engine case as far forward and as in the center as possible without being on a thin or fragile-looking piece of metal.


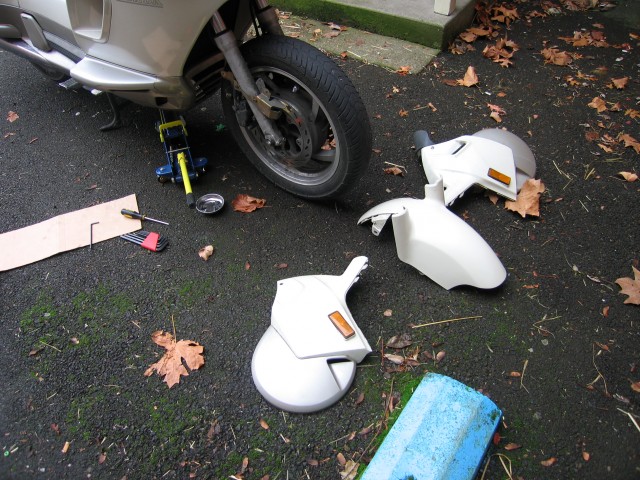
IMG_9225

The plastics off the wheel.  My bike has what appears to be a Hondaline fender extender.  It took a bit of convincing to get the plastic off.  I also found some cracks in one of the pieces.  Once the kit comes to repair the plastic I’ll have to pull the wheel plastics off again and make repairs.  Also a couple of screws were missing but nothing important since I’ve been riding it for 1000 miles without problem.  Will get those replaced though just for the peace of mind.

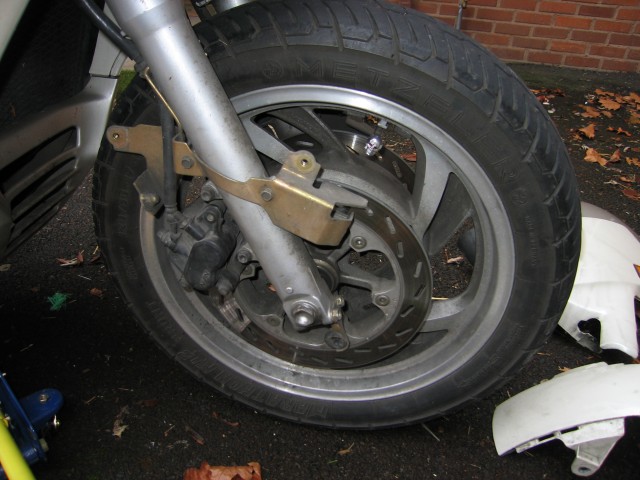
IMG_9226

Notice the sweet valve stem covers.  That was a selling point on the bike.


IMG_9227

Front wheel off the bike.  I used a bit of string to tie up and support the right side brake caliper.  I also used the pieces of metal that happen to fit both my old VT700 Shadow and the PC800 brake calipers.  Slide those in and even if someone squeezes the brake it won’t require slave cylinder rebuilds.


IMG_9228

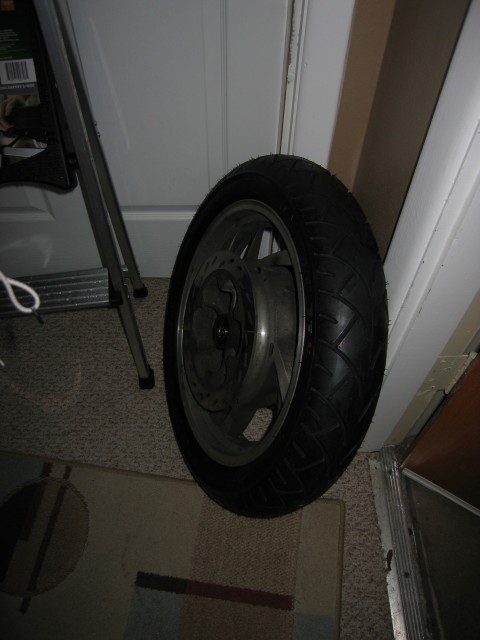
The new wheel sitting by the door waiting for daylight so it can be put back on the bike.

Newer rectifier on the PC800 or just really clean?

As part of the overhaul I’m giving my Honda Pacific Coast, I checked the rectifier to see its condition.  Much to my surprise I found what looks to be a nearly new rectifier.  Does anyone know how old this might be?  It would be most excellent if this were a new rectifier because then I wouldn’t have to worry as much that it might die at any moment.

IMG_9248

Click on the photo for a bigger version. You might have to click again if it brings up a smaller version to get the HUGE photo.

IMG_9240

Oil leaking from the Pacific Coast — But from where?

UPDATE: After much head-scratching and replacing several seals, I finally figured out that it was the seal around the shift lever that had gone bad.  After it was replaced, I haven’d had a single drip since.

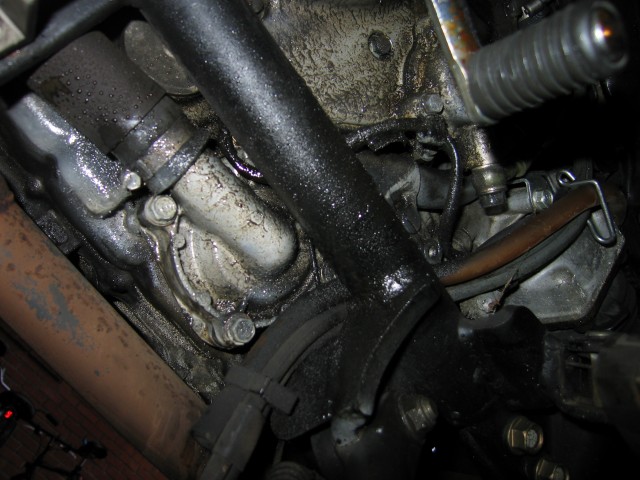
Today when I took off the plastics I discovered what appears to be an oil leak. There were drips of oil pooled at the bottom of the water pump. Oil streaks go up the engine toward the carbs. Anyone have any idea where the oil could be coming from?

IMG_9220

This is looking back up under the bike from the front wheel. The water pump is on the right side of the exhaust pipe. Notice the drips of oil hanging off.  The oil was changed over the summer before I bought it.  I’m pretty sure this is oil and not antifreeze.

IMG_9222

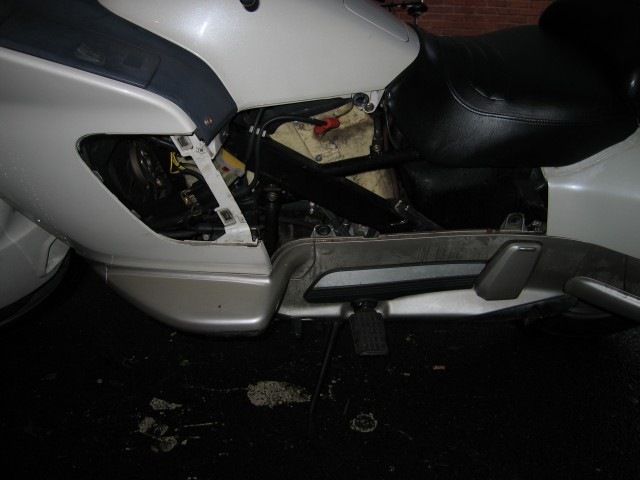
Looking in through the left access panel by the driver foot peg.  The slave cylinder on the clutch is visible in the middle-right.  Just below it the frame is covered in oily grime.

IMG_9233

With part of the plastics off.  Click on the picture to get a bigger version.

IMG_9234

I’m not sure if it is coming from behind the off-white engine heat shield or not.  That will be the next thing to take off tomorrow morning when it gets light.

IMG_9235

Another view from underneath with the plastic off.  The oil pump is in the middle.  The exhaust pipe is in the lower left corner.  There is condensation from the rain.  I have a redneck garage to work under at the moment.  Maybe someday I’ll have a real garage again…

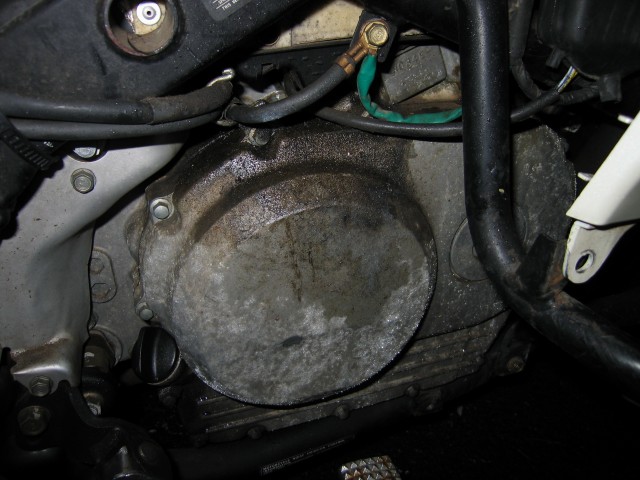
IMG_9242

This is the right crank case cover.  Notice the oil residue on the top of the case.

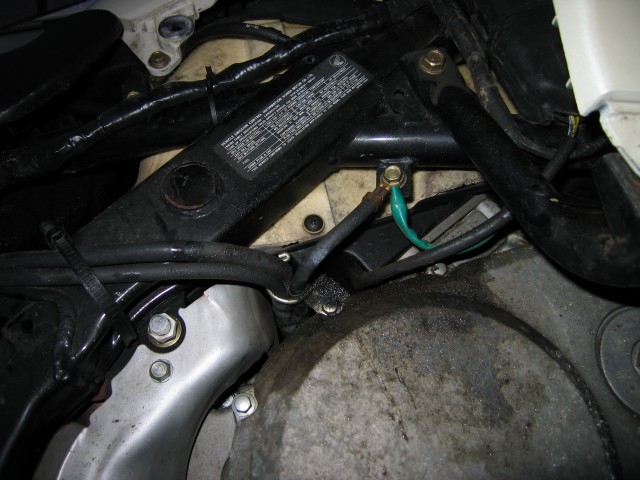
IMG_9243

A closer look at where the oil is coming from on the right crank case.