Removing and reinstalling the crankcase cover and torque specs for the clutch bolts on a Honda Pacific Coast PC800

For those replacing the clutch or the clutch springs on a Honda Pacific Coast PC800, this information may help with the procedure to remove and reinstall the left crankcase cover, and with the torque specs for the bolts that hold the clutch plates in place. This information comes courtesy of Seth on the iPCRC.


Tips: Do mark the cover to indicate where odd bolt lengths go and any extra dowels, brackets, clips, … :

There are a couple of flanges that make pulling the crankcase cover easier.
Front:

Rear:


The little bolts that hold the clutch plates and springs in place are Class 8 M6x1 20mm flanged hex head screws, rather stronger than the generic hardware. There ought to be an underlined “8” on the head:

(It’s underlined so that you don’t read it upside down and confuse it with an “8”. Braille on a drive-up ATM keypad?)

The Page 1-14 specification for “6mm flange bolt (10mm head) and nut” is “12 (1.2, 9)” (N·m (kg-m, ft-lb)). That matches the explicit specification for the clutch bolts on ‘oldWing, my 1984 GL1200A, which uses the same size bolts.

FWIW, when removing the bolts from Winglet’s 1997 clutch I tried to measure the torque required to break the bolts loose. The results, in in-lb, were: 114, 126, 120, 126 and 144+.


When re-installing the crankcase cover, apply sealant to the pulse generator wiring gasket before installing the crankcase cover gasket:

I’ve been using Permatex Optimum Black Gasket Maker instead of HondaBond lately with good results.
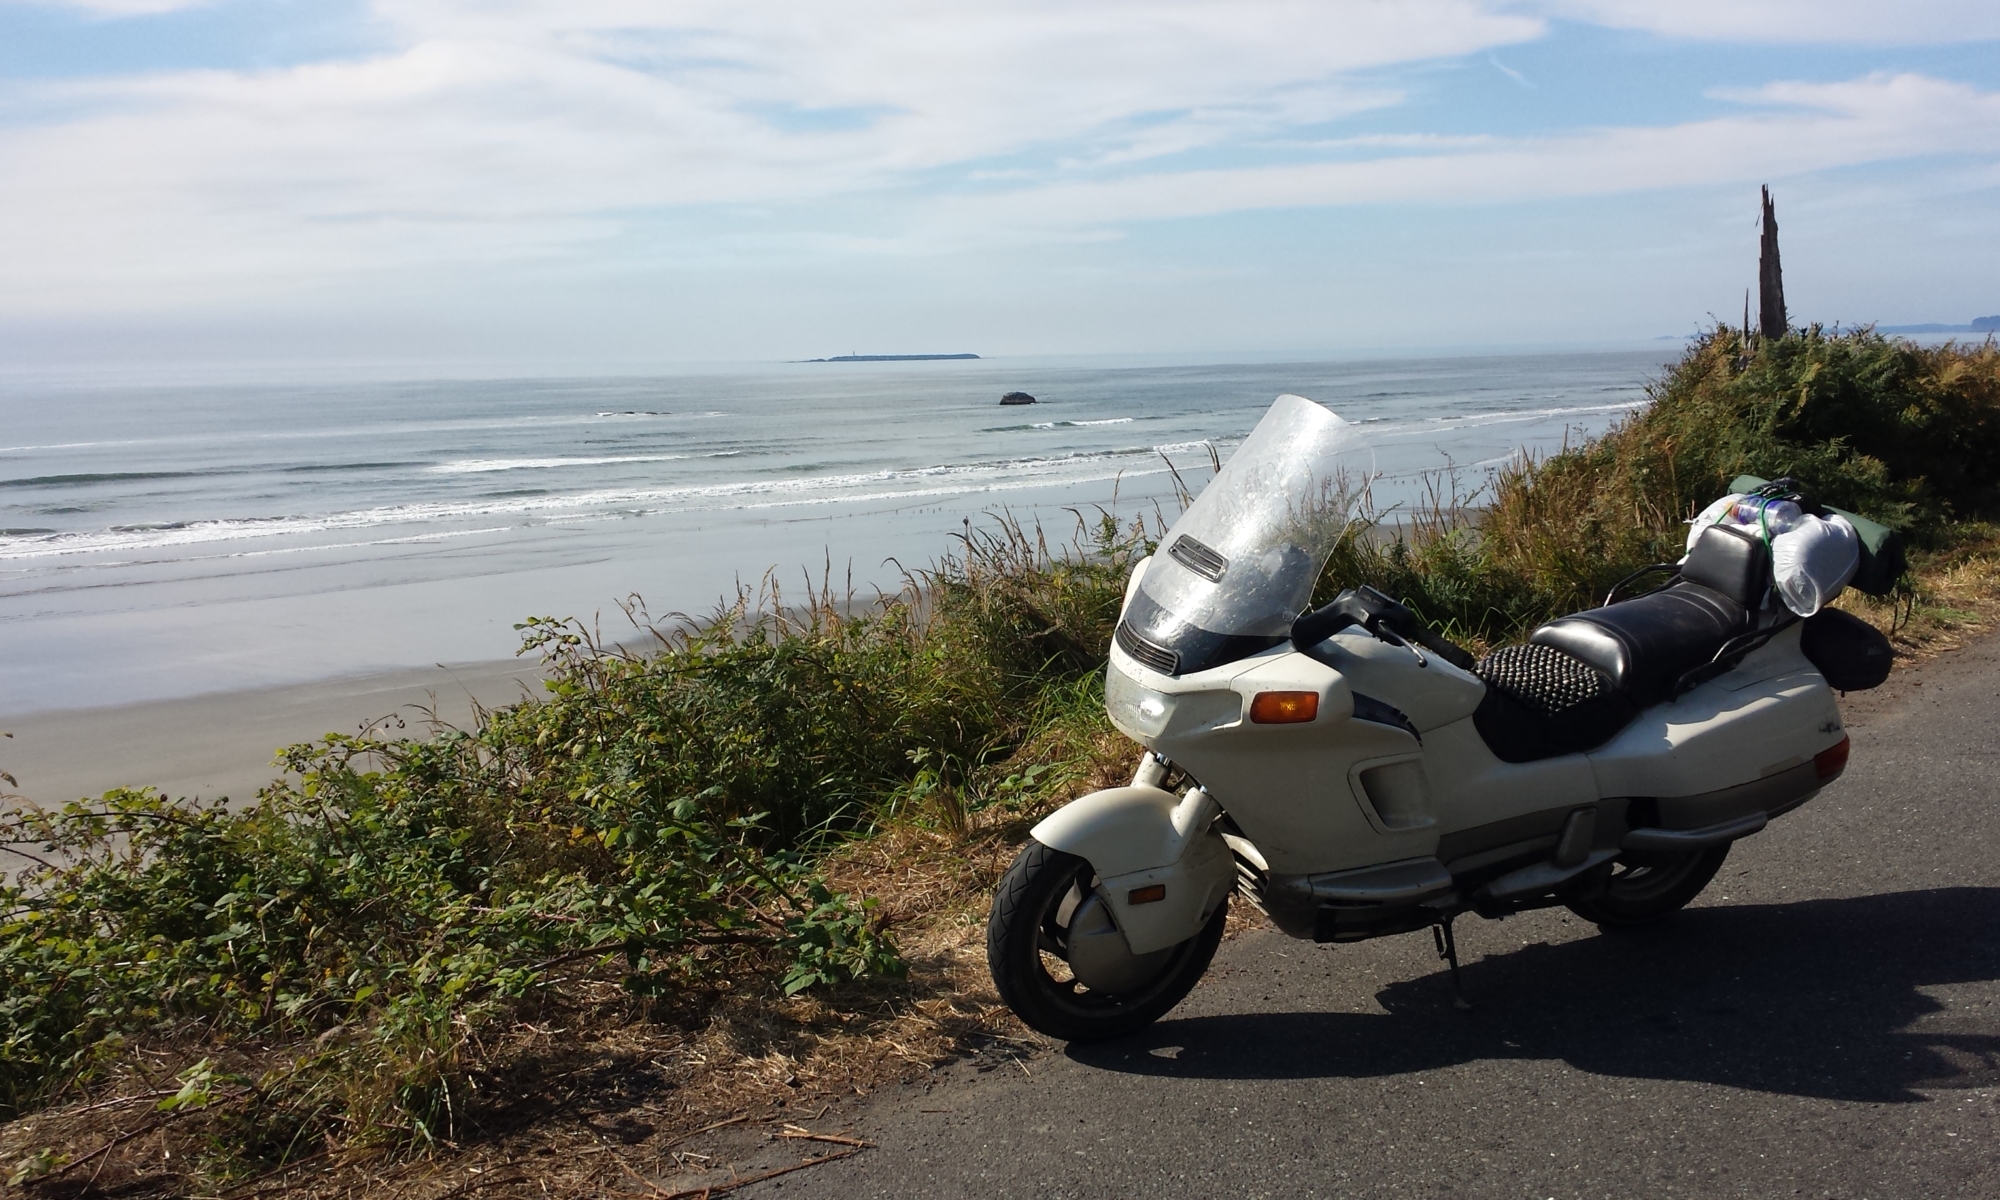
Brake and Clutch Hydraulic System Rebuild, and New Metzeler Tires

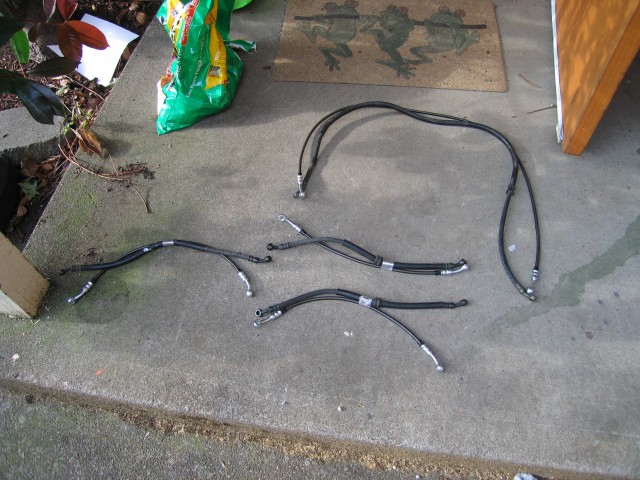
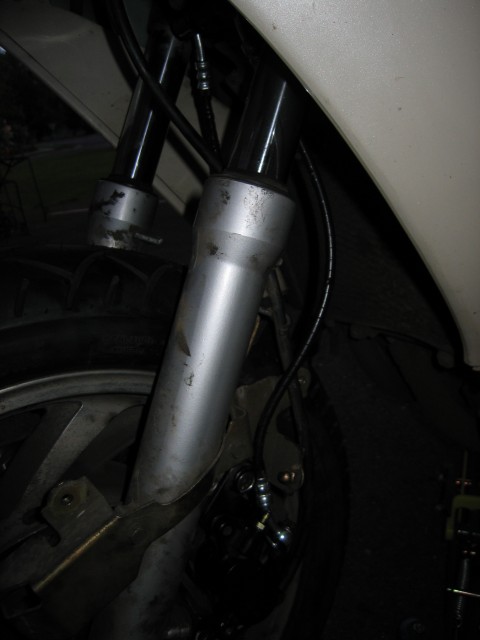
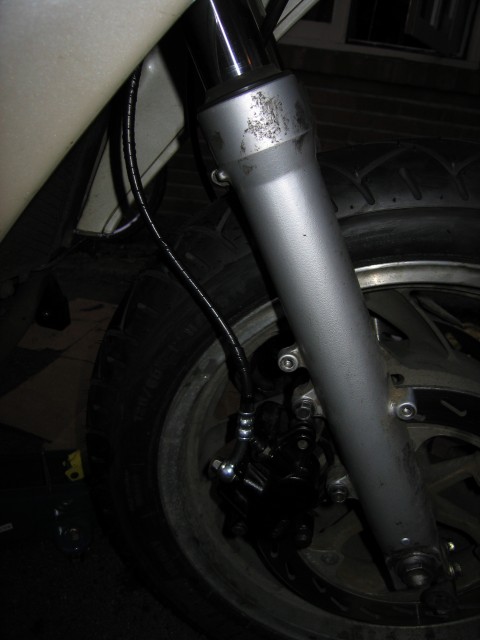
At approximately 52,200 miles on my PC800, I decided it was time for new tires.  I put two brand new Metzeler tires on the bike but found as I put everything back together that the calipers on the front wheel were sticking.  one thing led to another and before I had ridden another 100 miles, I installed braided steel brake lines made up by Fluid Connector Products Inc in Salem.  The lines cost about $125 to have built up plus my time and gas money driving up and back.  I also replaced all 15 of the crush washers at about $2/each.  While I was at it, I rebuilt the master cylinder and calipers.  I also rebuilt the clutch slave and master cylinders.  In the end, this project cost me about $300 for tires and mounting and $300 for the brake and clutch hydraulic system rebuild.  The bike feels amazingly responsive now so I would hazard to say that the expense was totally worth it.  Eating Top Ramen the rest of the summer is a small price to pay for safety and performance.  In the picture above you can see the old hoses I took off the bike.
 

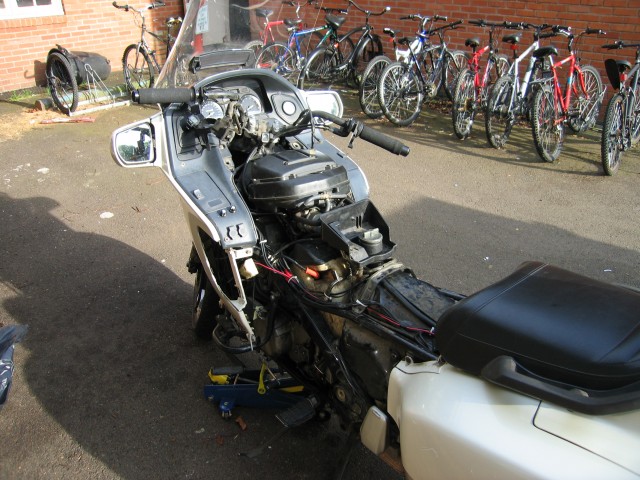
I removed a lot of plastic to safely take off and re-install the hydraulic lines.

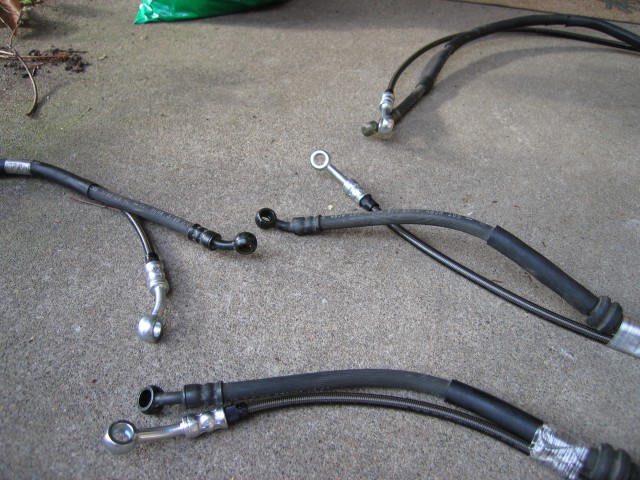
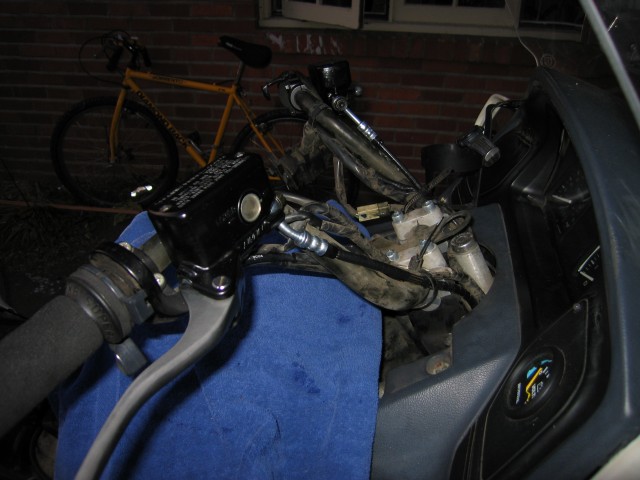
The new lines taped together with the old lines.  I got the two lines that run to the controls lengthened by an inch to compensate for my GenMar bar risers.  It ended up being a good decision.

The banjo fittings on the braided stainless steel lines aren’t quite the same as the old ones but they worked well enough.  I wrapped the braided stainless steel lines in electrical tape to help avoid damage.  Next time I have the bike apart, I am going to put some rubber cushions on the places where the lines can rub metal.


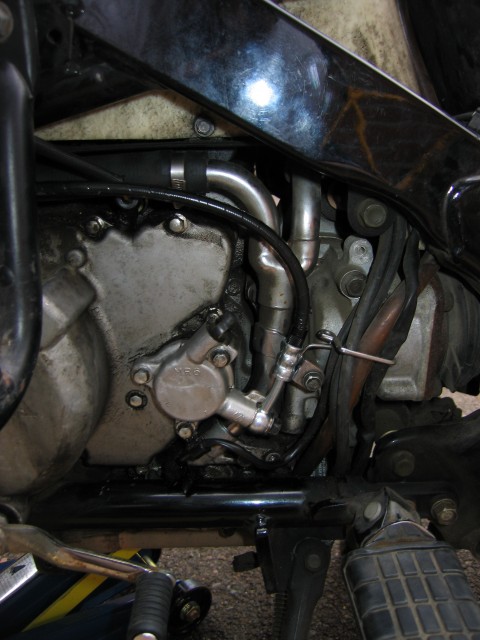
The line to the clutch slave cylinder installed.

I used a thick towel to keep my plastics fresh and preserved.  Not a single drop of DOT4 fluid (as far as I can tell), landed anywhere to cause damage.

Lines installed on front wheel.


Bleeding the lines took some work but they’re rock-solid now.  For those wondering, this upgrade is TOTALLY worth the money.  You will thank yourself when you get it done.  And doing it yourself is actually very easy.  I was surprised at how painless the whole operation was from start to finish.

Getting rid of the 50 weight

Drained out 50 weight oil and replaced with 10W40 Napa brand oil and 4 oz of Seafoam. Let bike idle for 20 minutes and exercised gears and clutch before taking it to the football stadium parking lot. Did seven miles worth of parking lot riding to free up the clutch and allow myself to shift between the different gears again. Did five miles on the road to get the bike up to 55mph.