Several weeks ago I received an MMoto Parts Complete Rack. A full write-up on the un-boxing of the rack is available here. The short story of this post is that it isn’t all that difficult to install the rack and the rack looks absolutely beautiful once it’s in place.
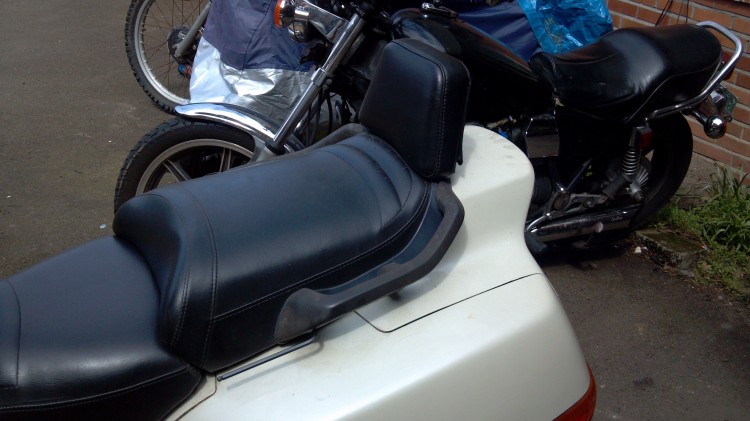
This is the seat of my PC800. The first thing you will do is say goodbye to the stock grab rails.
Unbolt the four bolts. Mine were VERY hard to remove. They had quite a bit of corrosion. That’s as a result of my bike being stored outside under a shoddy cover. Someday I will have the money for a nice heated garage. Until then, I have to deal with corrosion.
Note that the two bolts are of different lengths. The short bolt goes on the front and the large on the rear. This is important for installing the rack and also if I were to put the stock grab rails back in place.
These spacers fell out of the seat and grab rails when I pulled the grab rails off. They turned out to not be necessary for installing the rack.
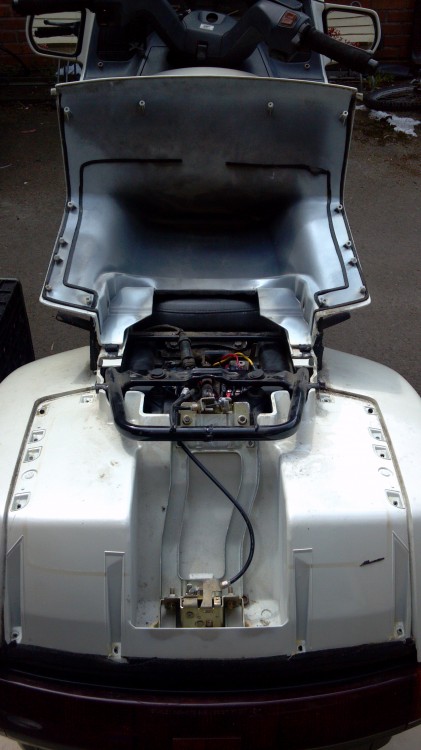
Next, undo all of the plastic screws holding the duck bill trunk lid in place. I think there are about 14 or so of these screws. There are two plastic tabs on the duck bill trunk plastic that are somewhat difficult to unhook. Be gentle but forceful. This would also be a good time to inspect the trunk cables and locks to see if you need to replace the cables or locking mechanisms.
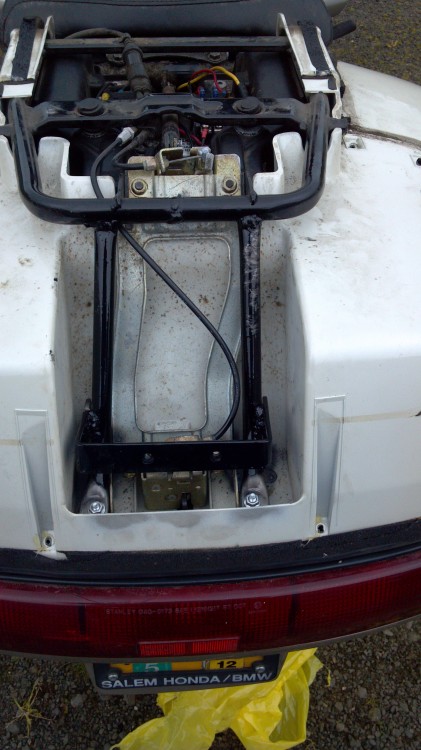
The two bent unpainted pieces of metal go in the trunk as shown here. Note that there are two bolts that you must install in place of existing bolts that hold the lower latch mechanism in place.
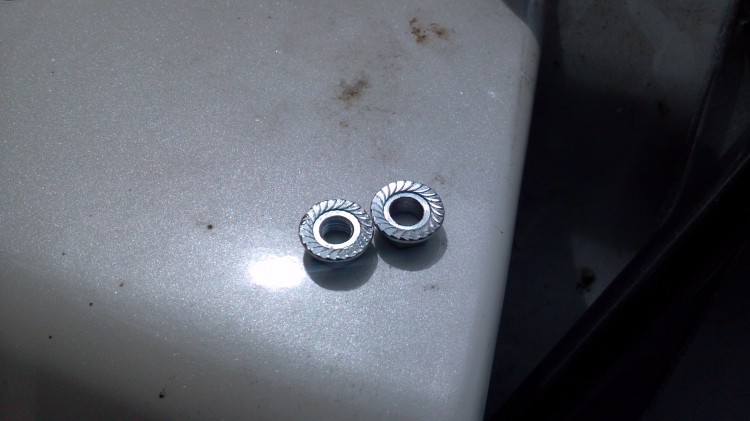
The bolts come with two nuts each. One nut is larger than the bolt and acts as a spacer. Put that on the bottom of the stack. This separates the piece of bent unpainted metal from the latch mechanism framework.
The two nuts side-by-side for size comparison. To the naked eye they look the same. I figured out that there were two sizes by actually putting them on the bolts.

The metal pieces installed. Note that I had to bend the flanges at the bottom of the metal pieces so that they would sit in the trunk properly and contact the upper trunk frame in a good location.
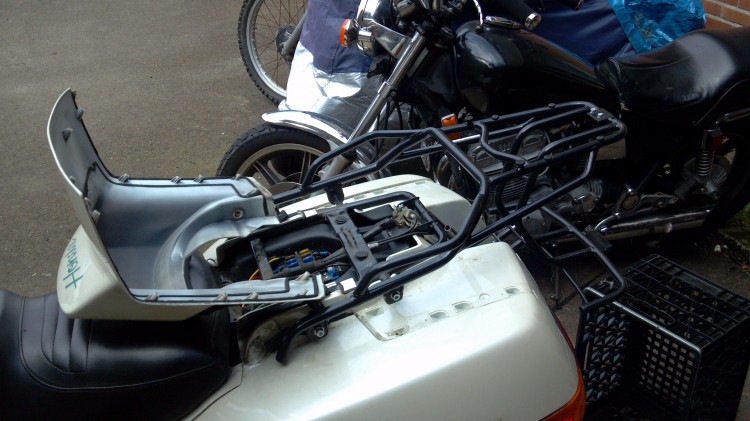
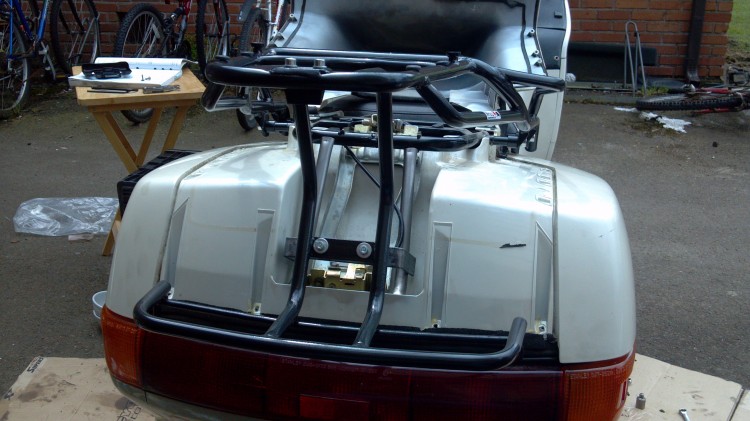
The first test fit of the rack. The rack was a little difficult in getting lined up but I was able to do it by myself without any help.
Here you can see the substantial collars that are included (and powder coated!) with the rack. Every single piece of hardware you need comes with the rack.
A rear view. Having the trunk plastic off gives me some wonderful ideas for what I can do with that extra space. It looks like a good home for some electronic equipment! Note the black rectangle hanging down from the rear of the top of the rack. By simply bolting that right side up, you are ready to accept Givi top boxes.
Looking down at what needs to be welded.
I took a paint removal wheel on a rotary tool to the frame in order to clear a place for welding.
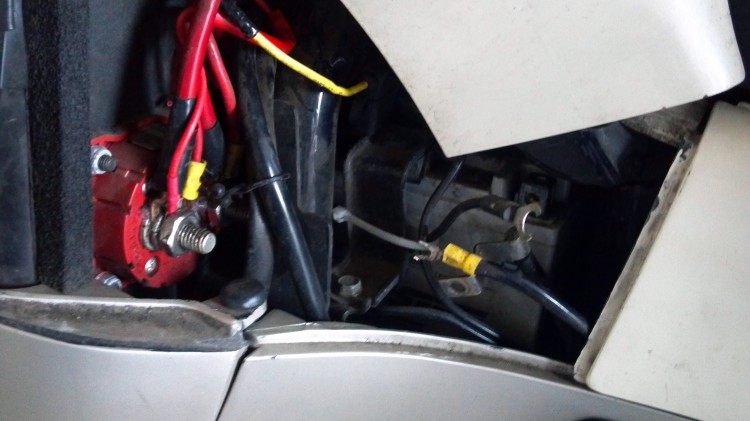
Don’t forget to disconnect the negative terminal from your battery before you weld!!!!
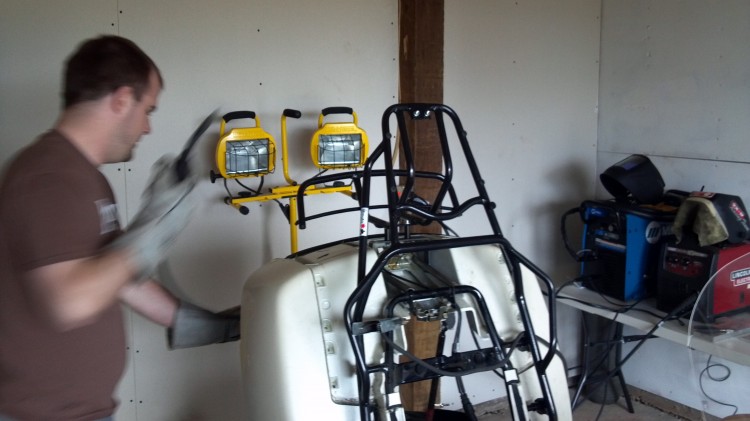
My buddy preparing to weld.
In retrospect, it would have been a good idea to put a drop cloth on the riders’ seat.
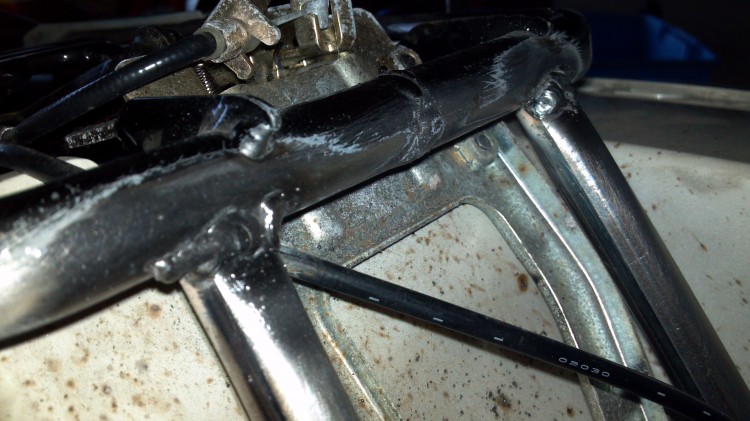
Not the best weld on the planet but it will get the job done.
I attempted to paint the new pieces of metal black but we were having some issues with the wind. Next time I am in this part of the bike, I will do a better job with the paint.
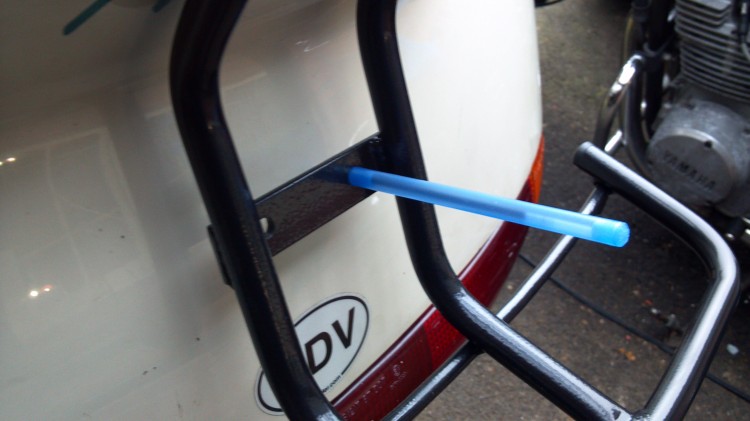
This is how I determined where to drill through the duck bill trunk plastic.
All bolted on and ready to go! Note that I think a passenger backrest would actually fit with the rack if you were to take off the stock grab handles. I haven’t tried this yet but holding it up to the bike, it looks like it would fit.
The black spacers go right into the trunk. In the future I will see about sealing that with a grommet or a little bit of clear sealant.
I think I also might paint those bolts black.
The rack fully installed. It is TOTALLY worth every penny I paid. Next up on my shopping list is a nice top box. After that, I want to find a good CB radio setup (maybe amateur radio, too) and deck it out in style. I can’t wait to go touring now that I finally have proper external storage space.

