Installation of a High Pressure Fuel Pump on the PC800

20140422_194217After yet another test ride where I had fuel pouring out of the overflow on the carbs, I decided that I was done trying to diagnose an intermittent problem in the stock fuel system on my PC800.  Yes, it has finally become time to install the fuel injection system that I have been working on for several years.


20140423_212329

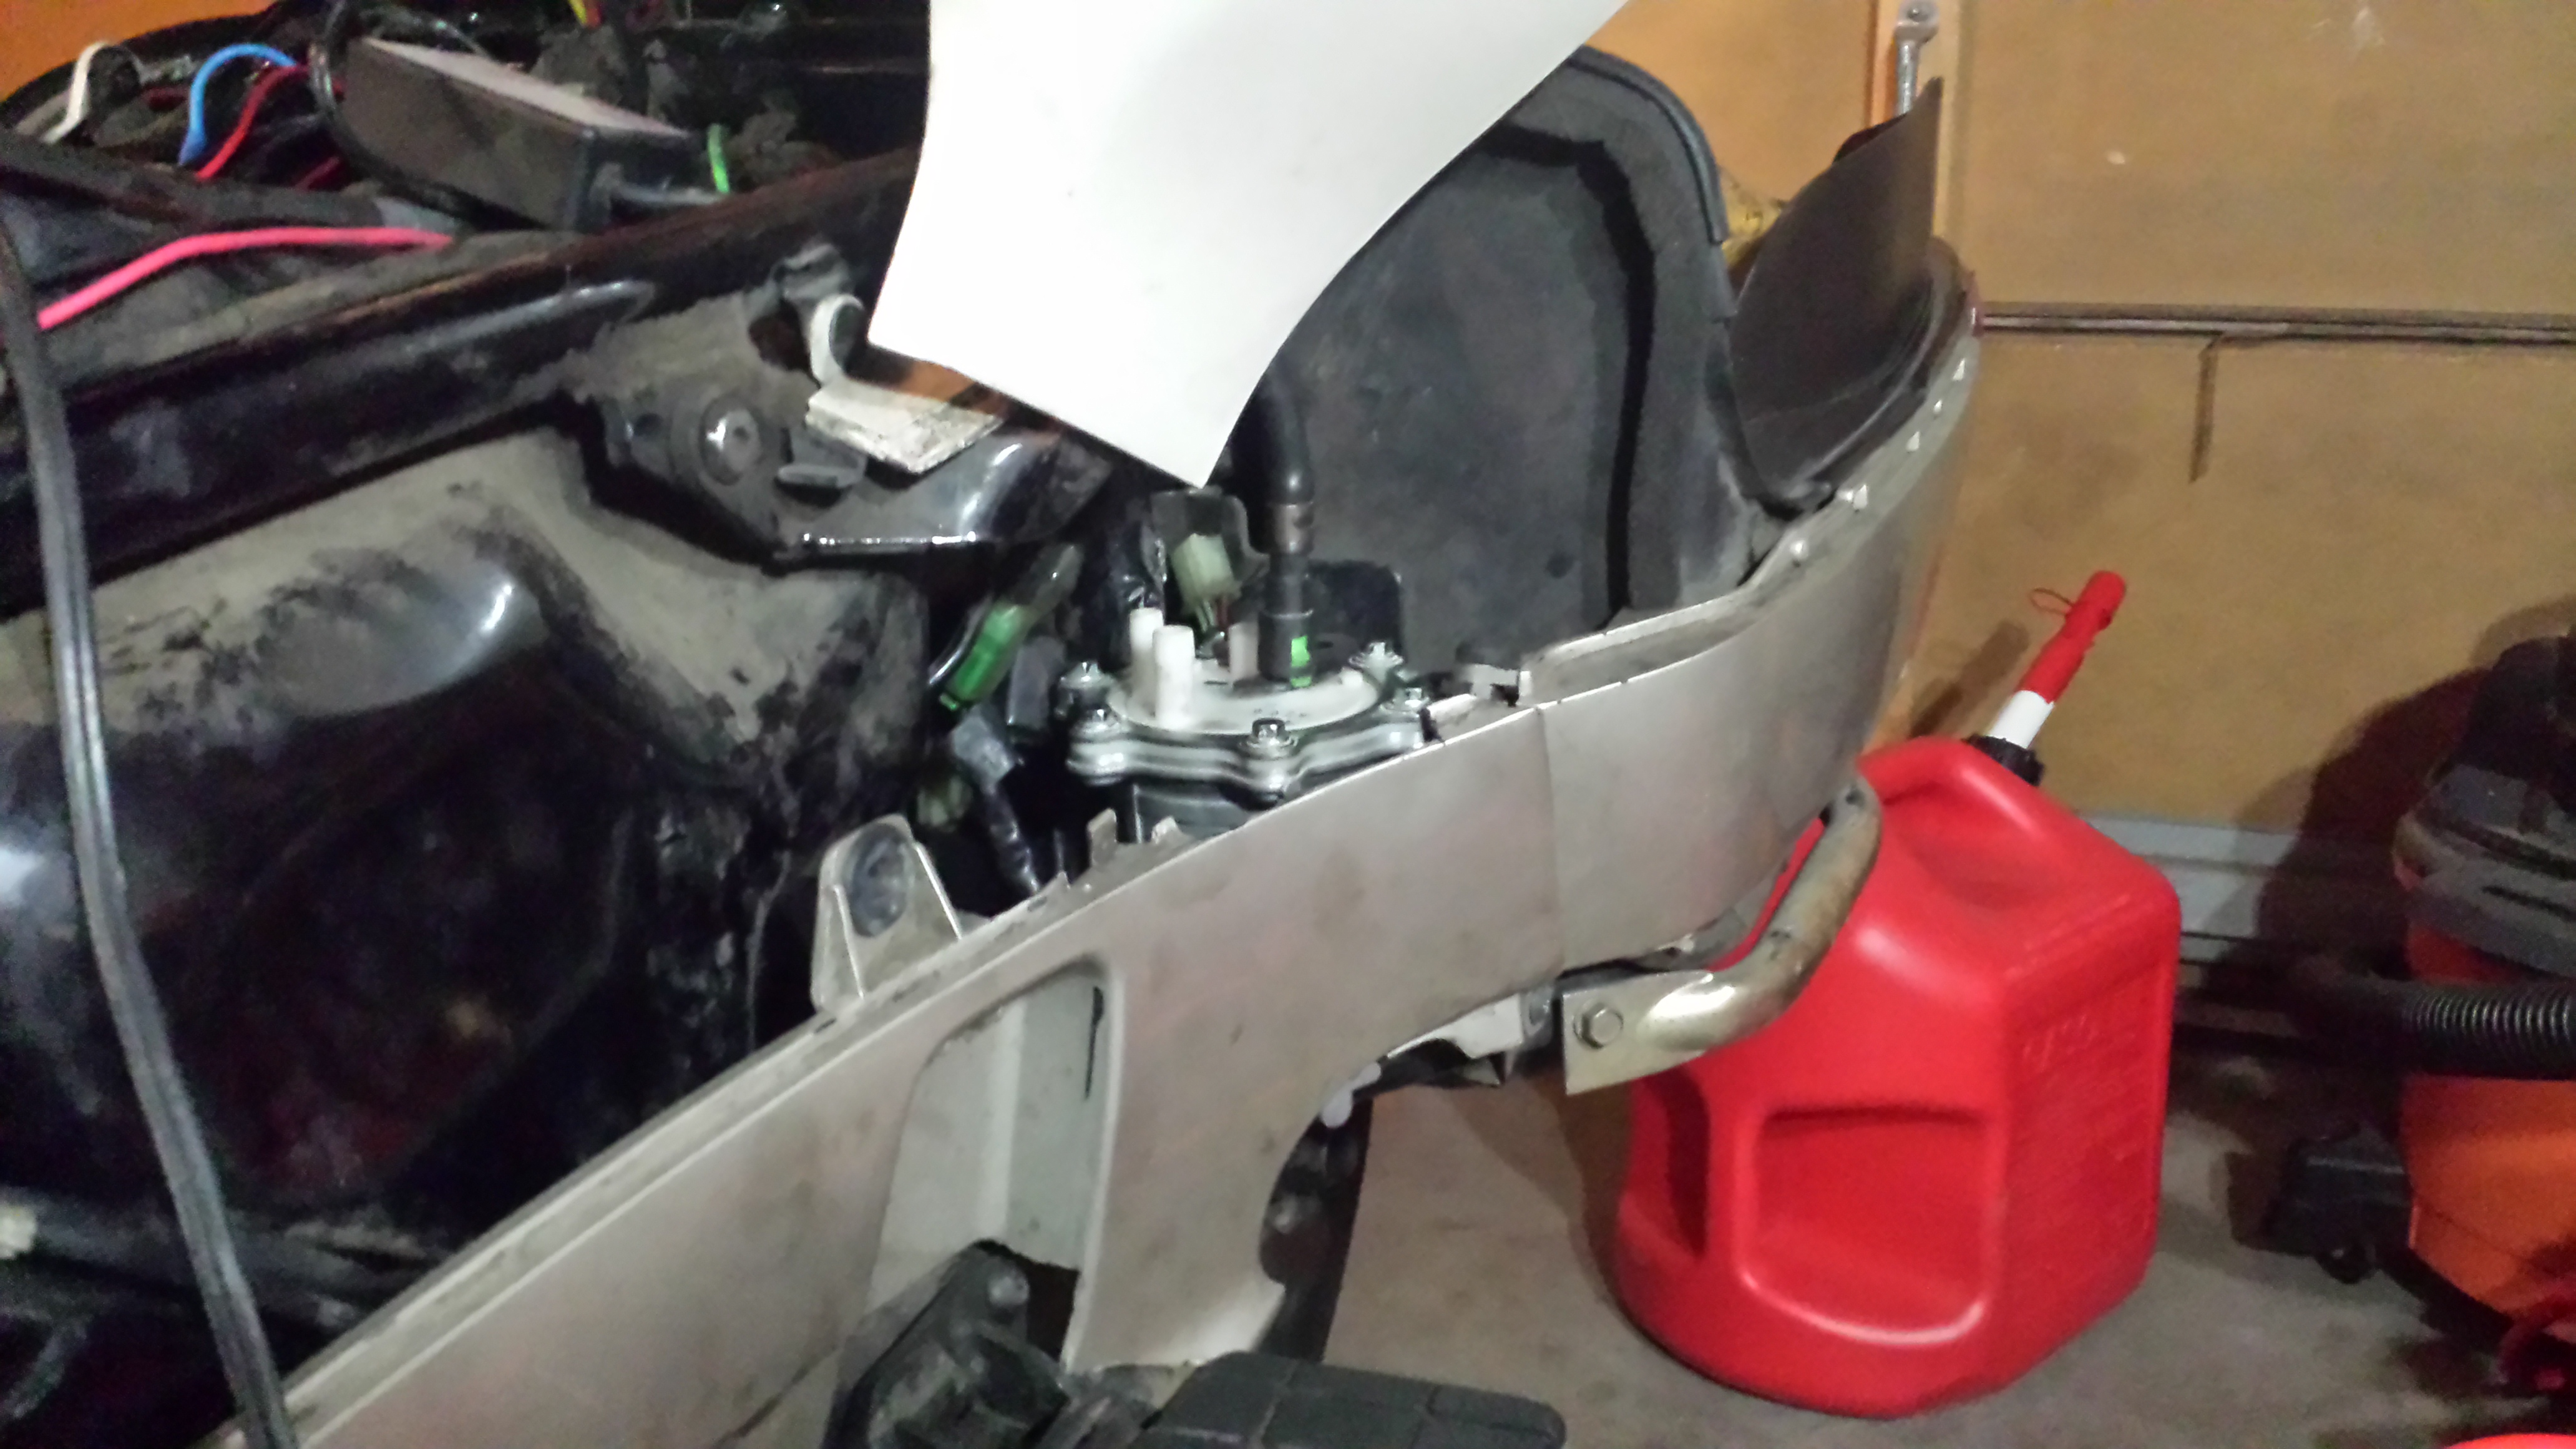
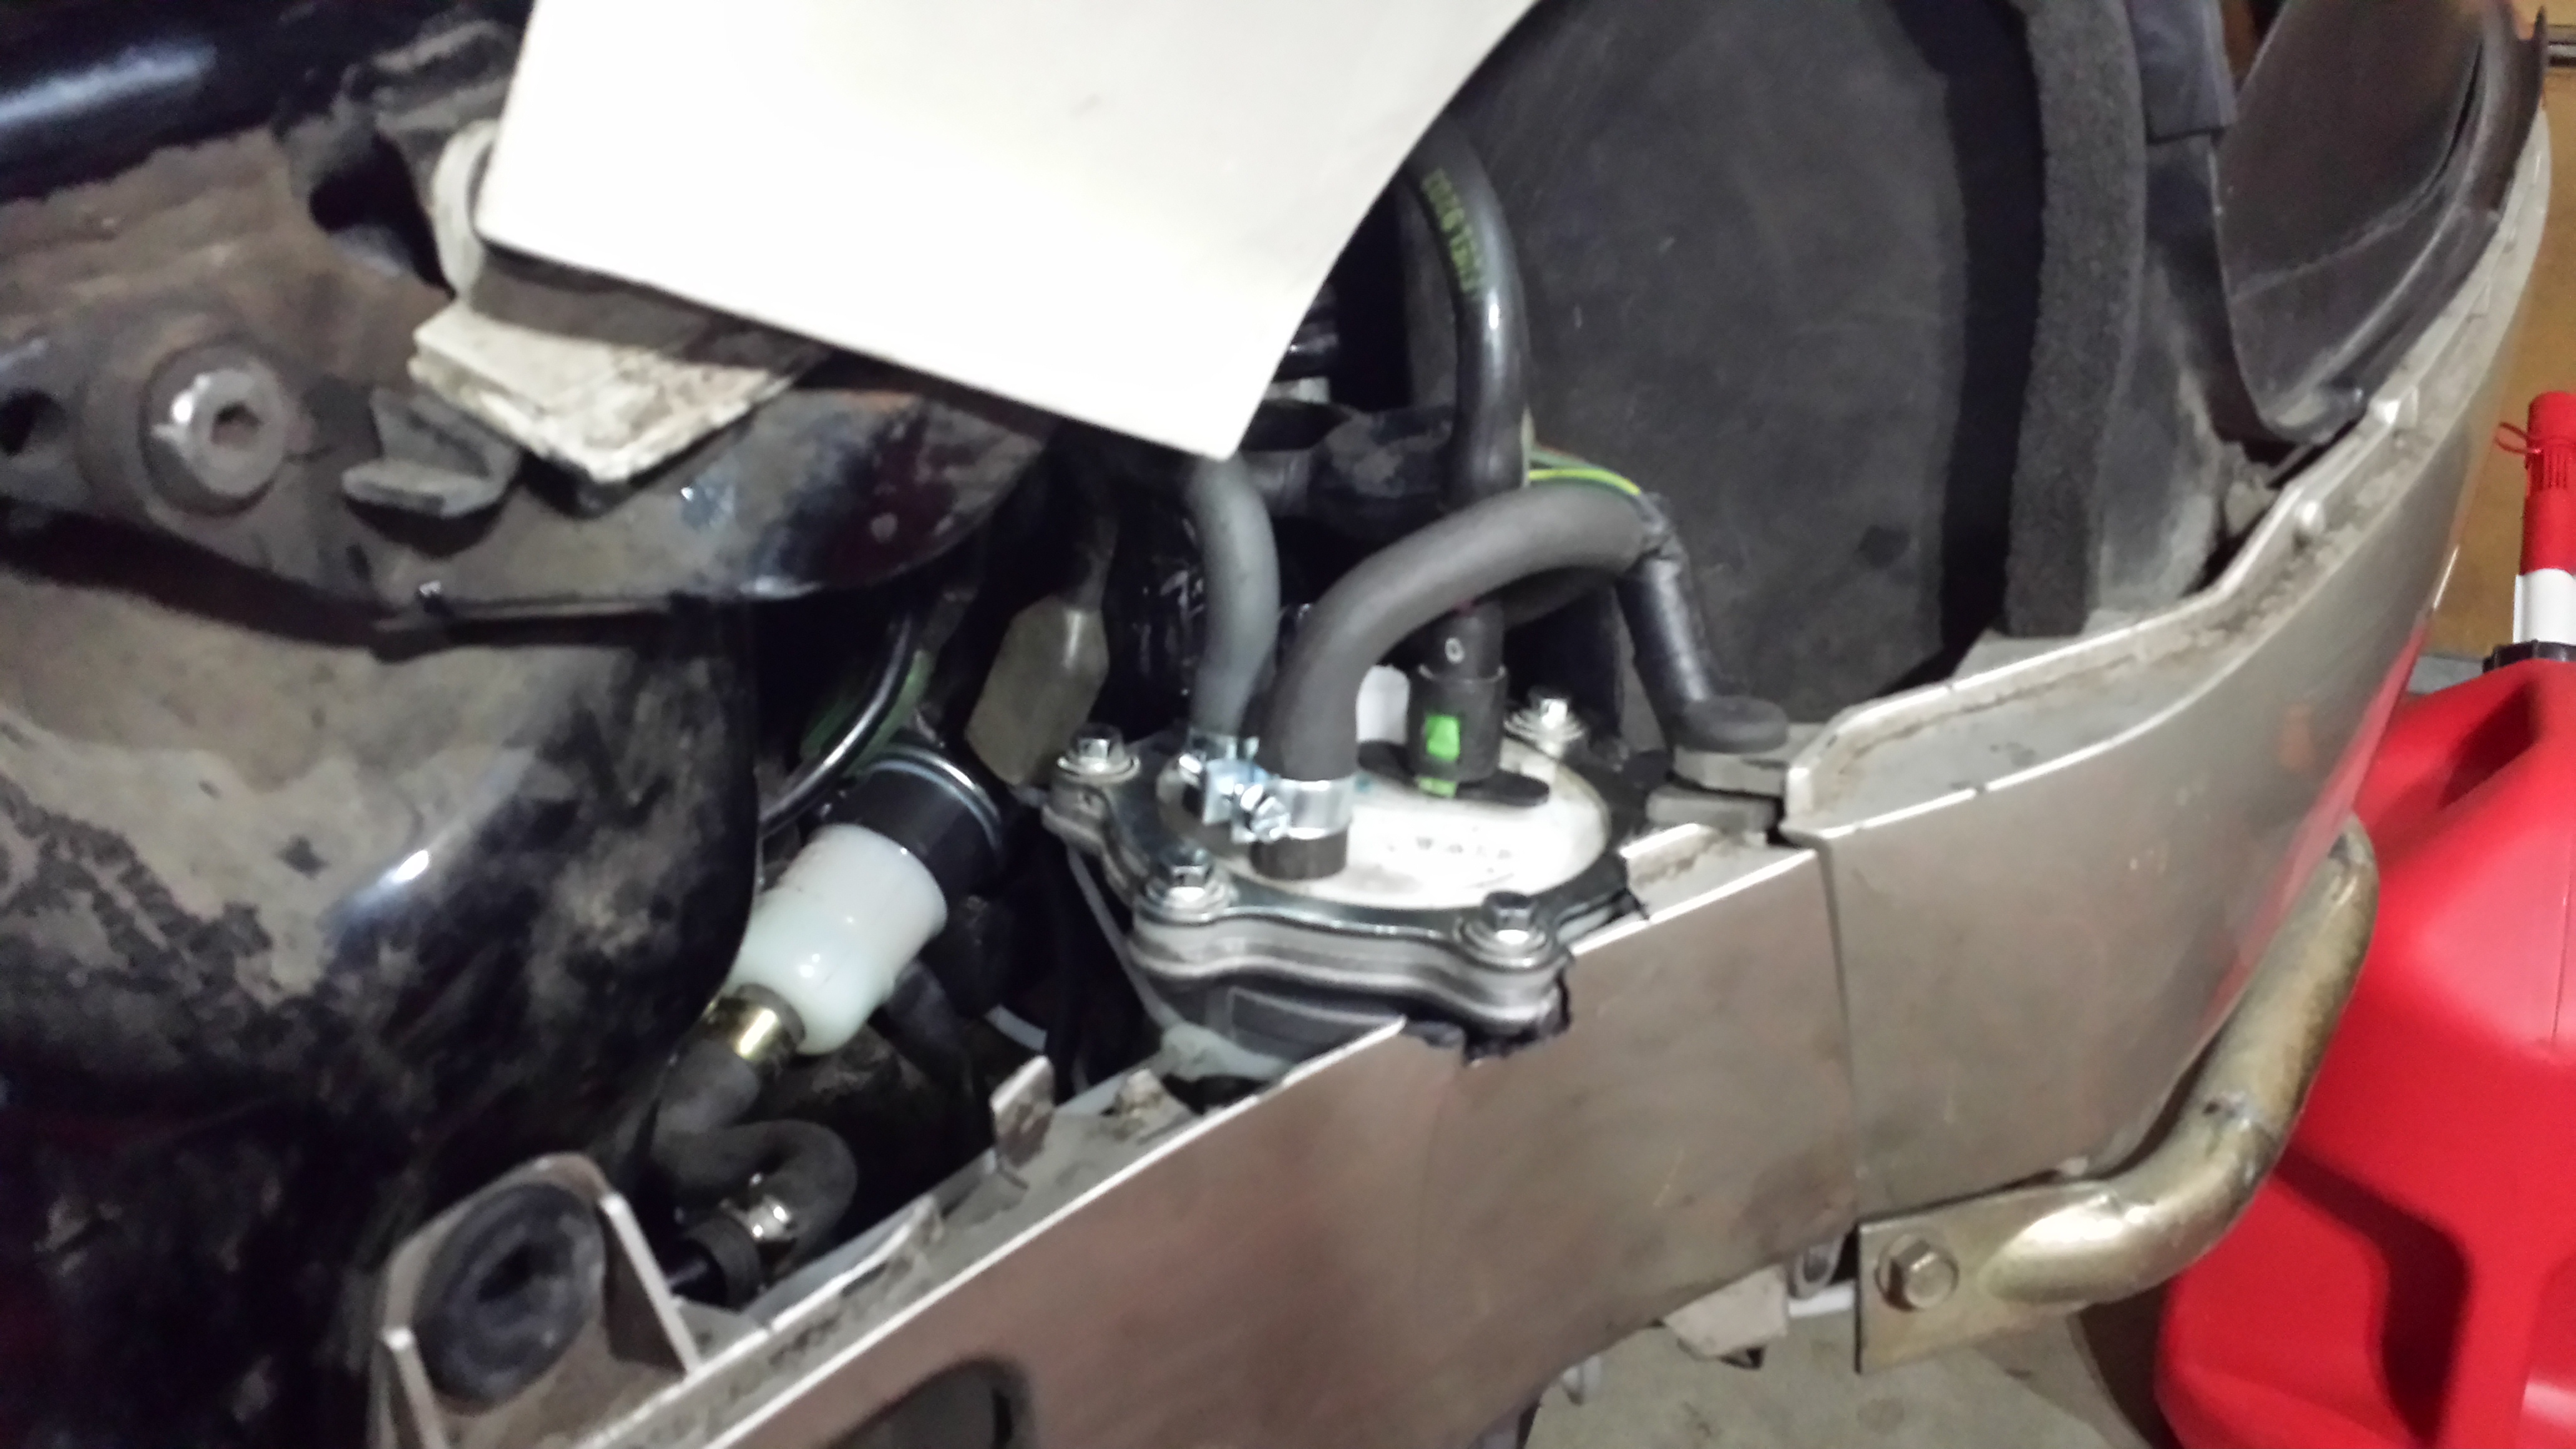
The first course of action was to install the high pressure fuel pump I bought off ebay from a 2010 Honda Fury.  After some modification to the PC800 plastics and relocating the wiring harness plugs, I was able to fit in the high pressure fuel pump.

20140424_214624

Purists will not like how I had to cut part of the plastics out to make the pump just slightly visible from the outside.  Then again, purists aren’t interested in fuel injecting a PC800.


20140424_214711

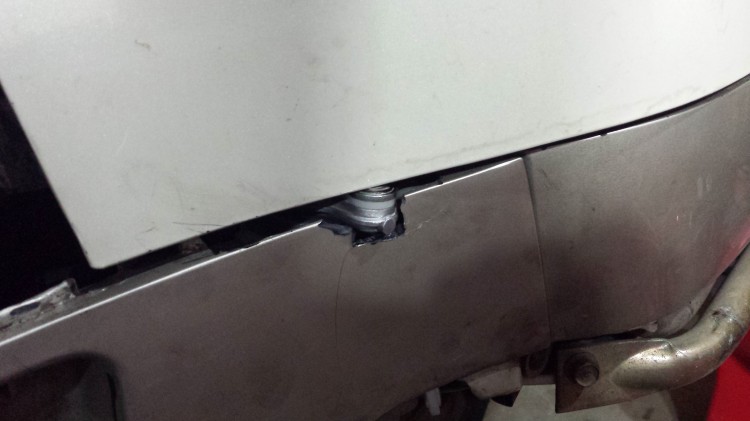
With the trunk lid closed, a little bit of the fuel pump is visible.  I can live with that.

20140424_214903

I drilled through a spare PC800 fuel cap to make a return line for the high pressure fuel pump.

20140426_131400

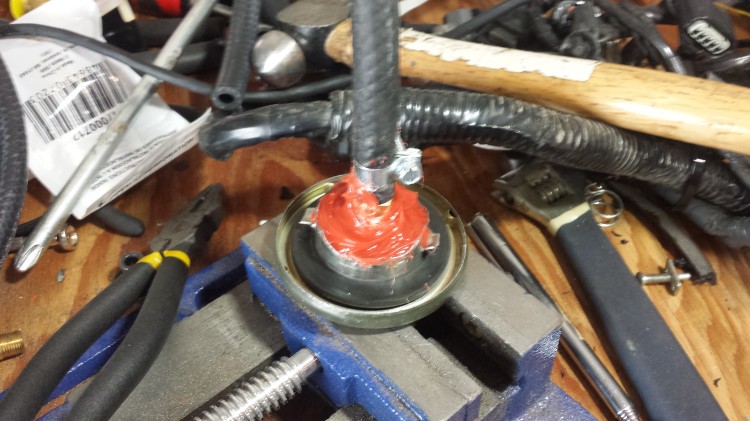
Some high temp RTV helps hold everything together.  It isn’t a perfect or a pretty setup but I didn’t want to have to drop out the existing gas tank and put in the gas tank I modified several years ago.  Maybe down the road I will do that but for now this works well.

20140424_214641

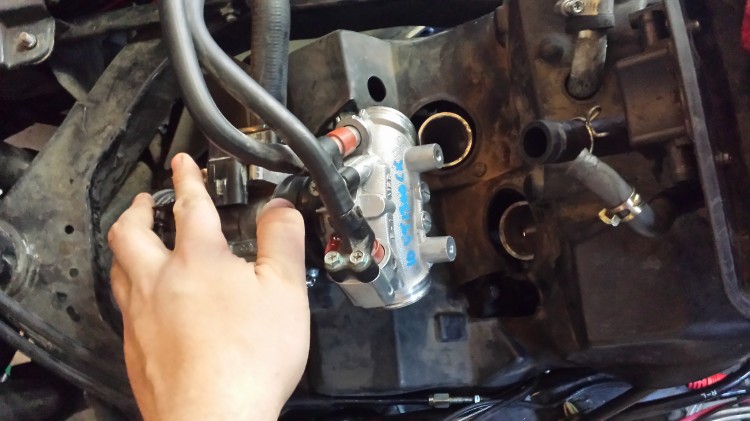
High and low pressure lines routed up from the fuel pump.  I should note that I do not have a low pressure boost pump installed at the moment although I think that I will end up having to put one in in order to access the lower half of the fuel tank.  Testing will be needed before I can make that determination.


20140423_212429

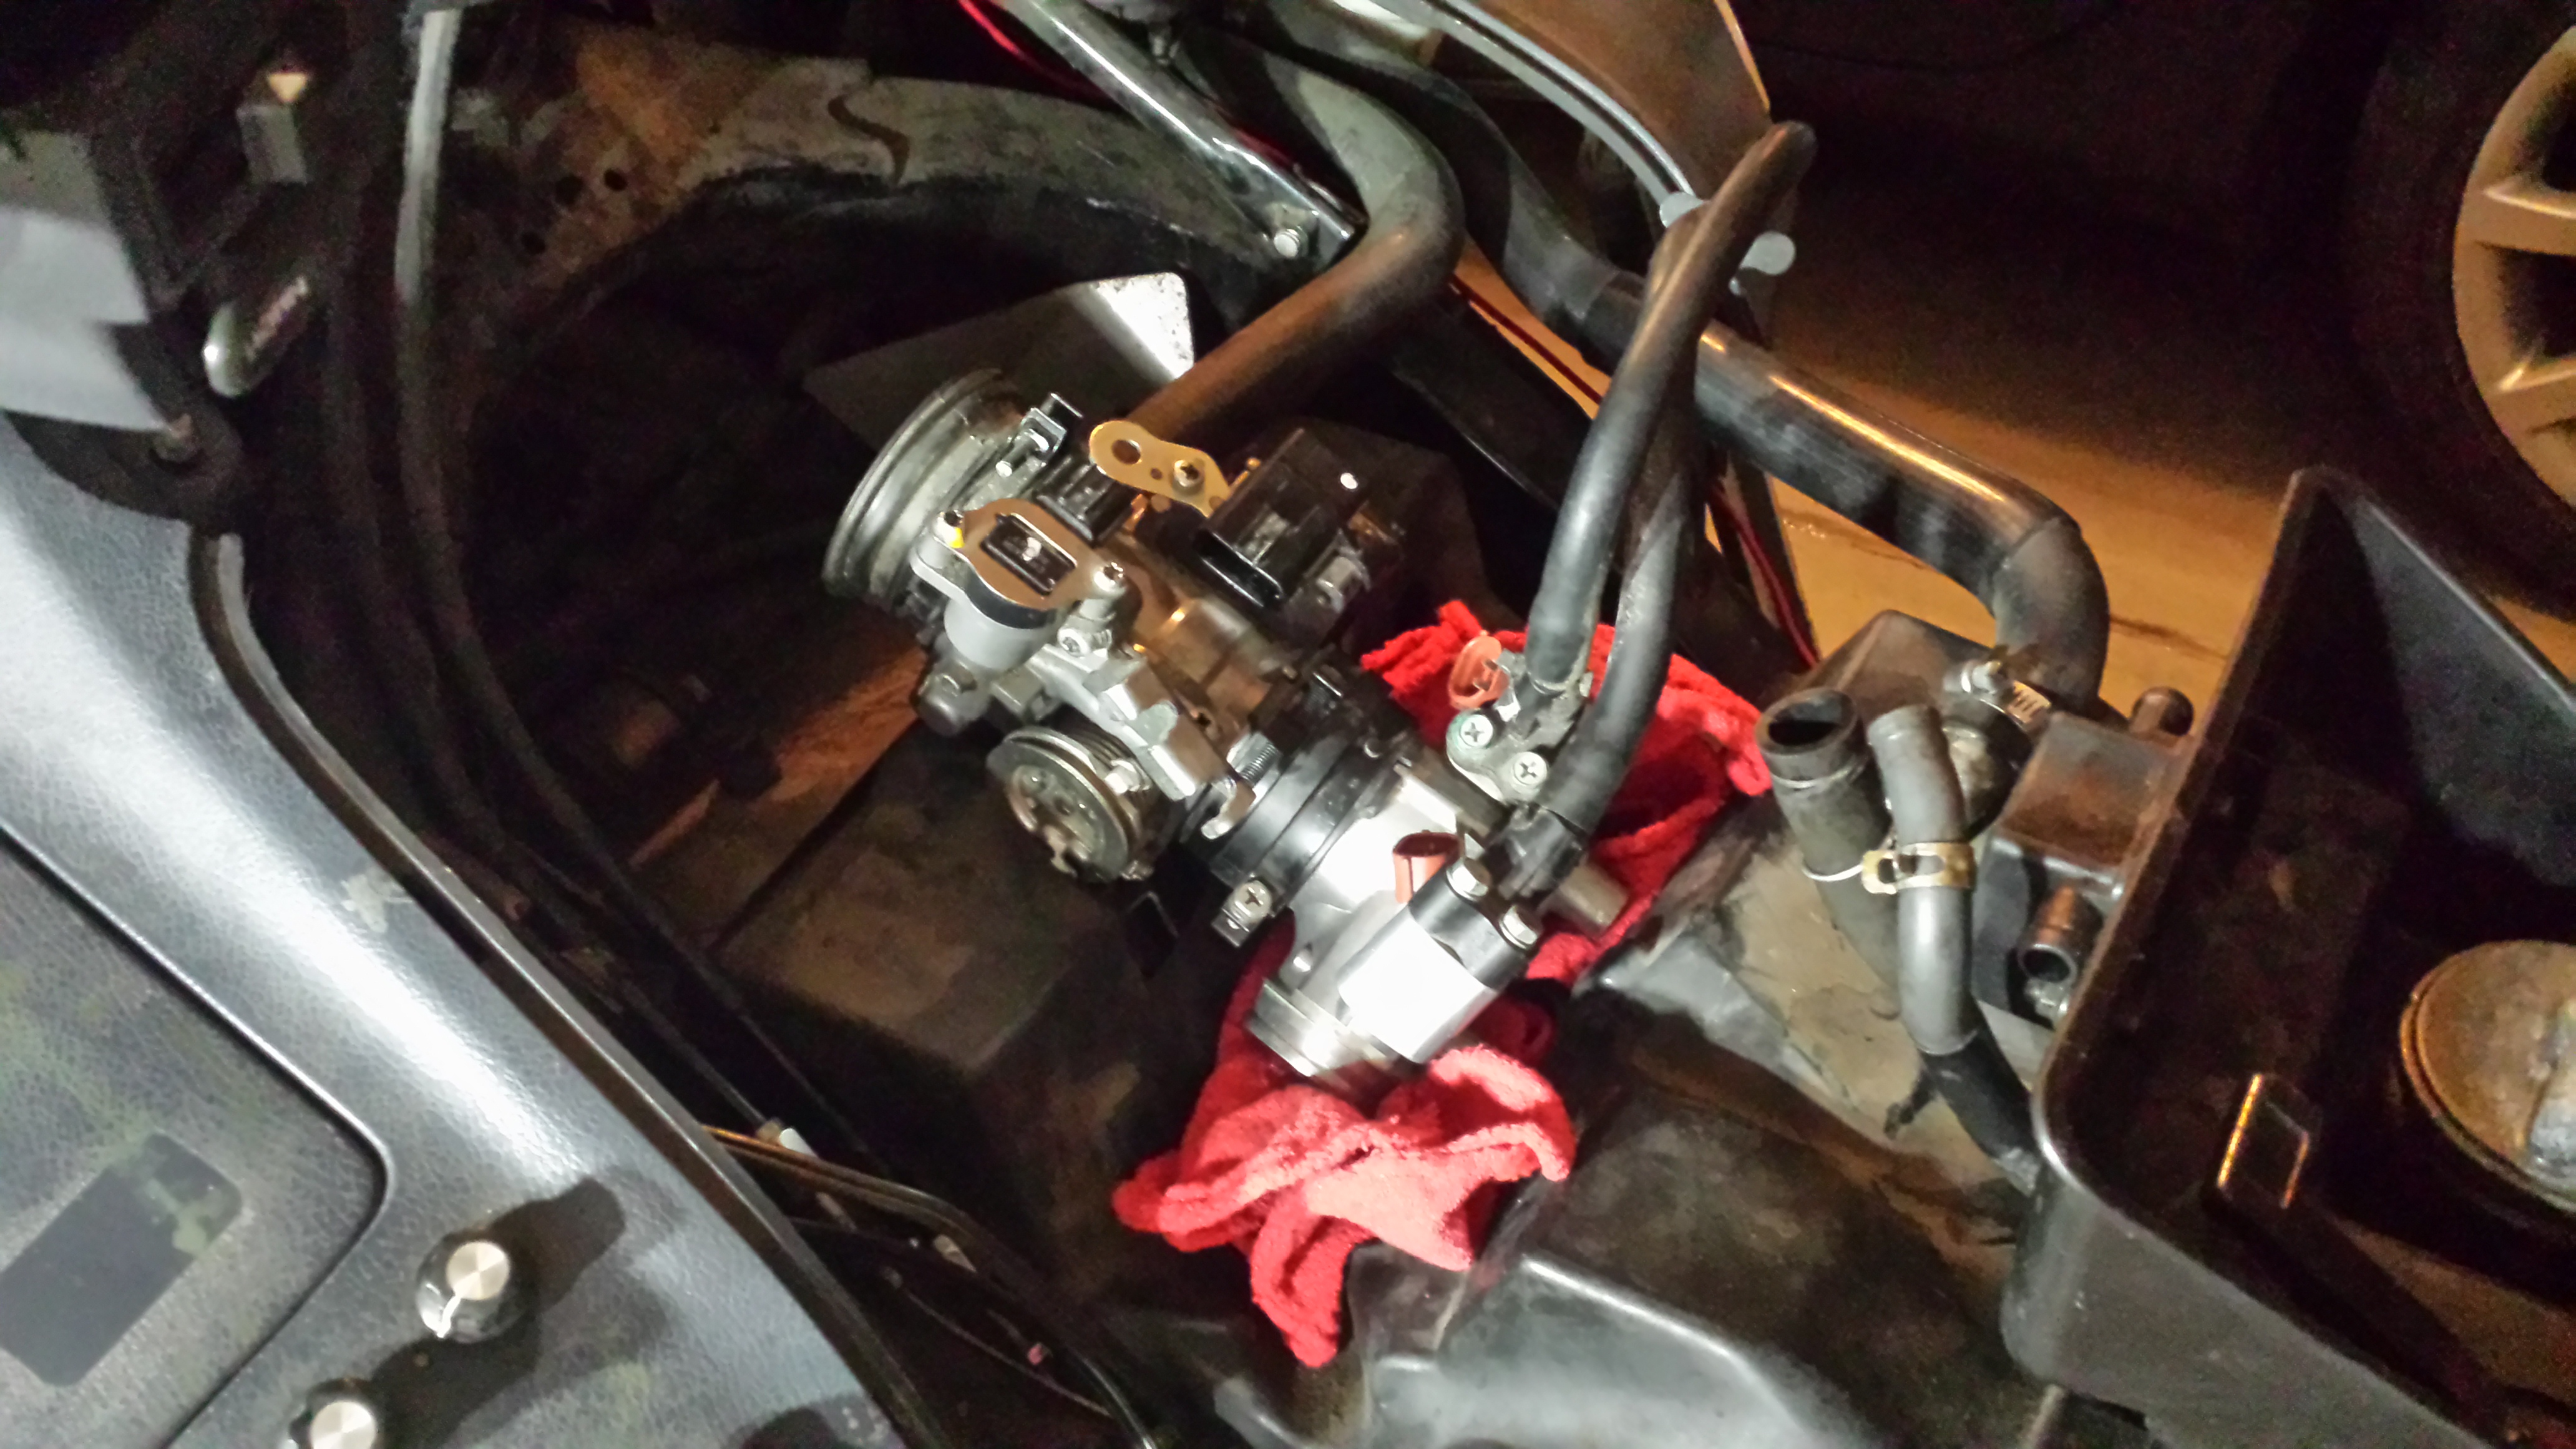
The Honda Fury throttle body and fuel injection intake manifold near the position where it will be once everything is installed.  I am going to hang a UNIPOD or similar filter off the front of this.  I still need to figure out where I can pull vacuum from on this setup for the secondary MAP sensor I am running to do on-the-fly altitude correction.

20140424_080755

Top-down view.  I am going to be using some wide diameter fuel hose with 90 degree bends pre-made to connect the injector intake body with the PC800 engine intakes.  It isn’t the best way to do it but I don’t want to pay for a 3D printed metal intake adapter.  Maybe down the road I will do that.


20140423_220531
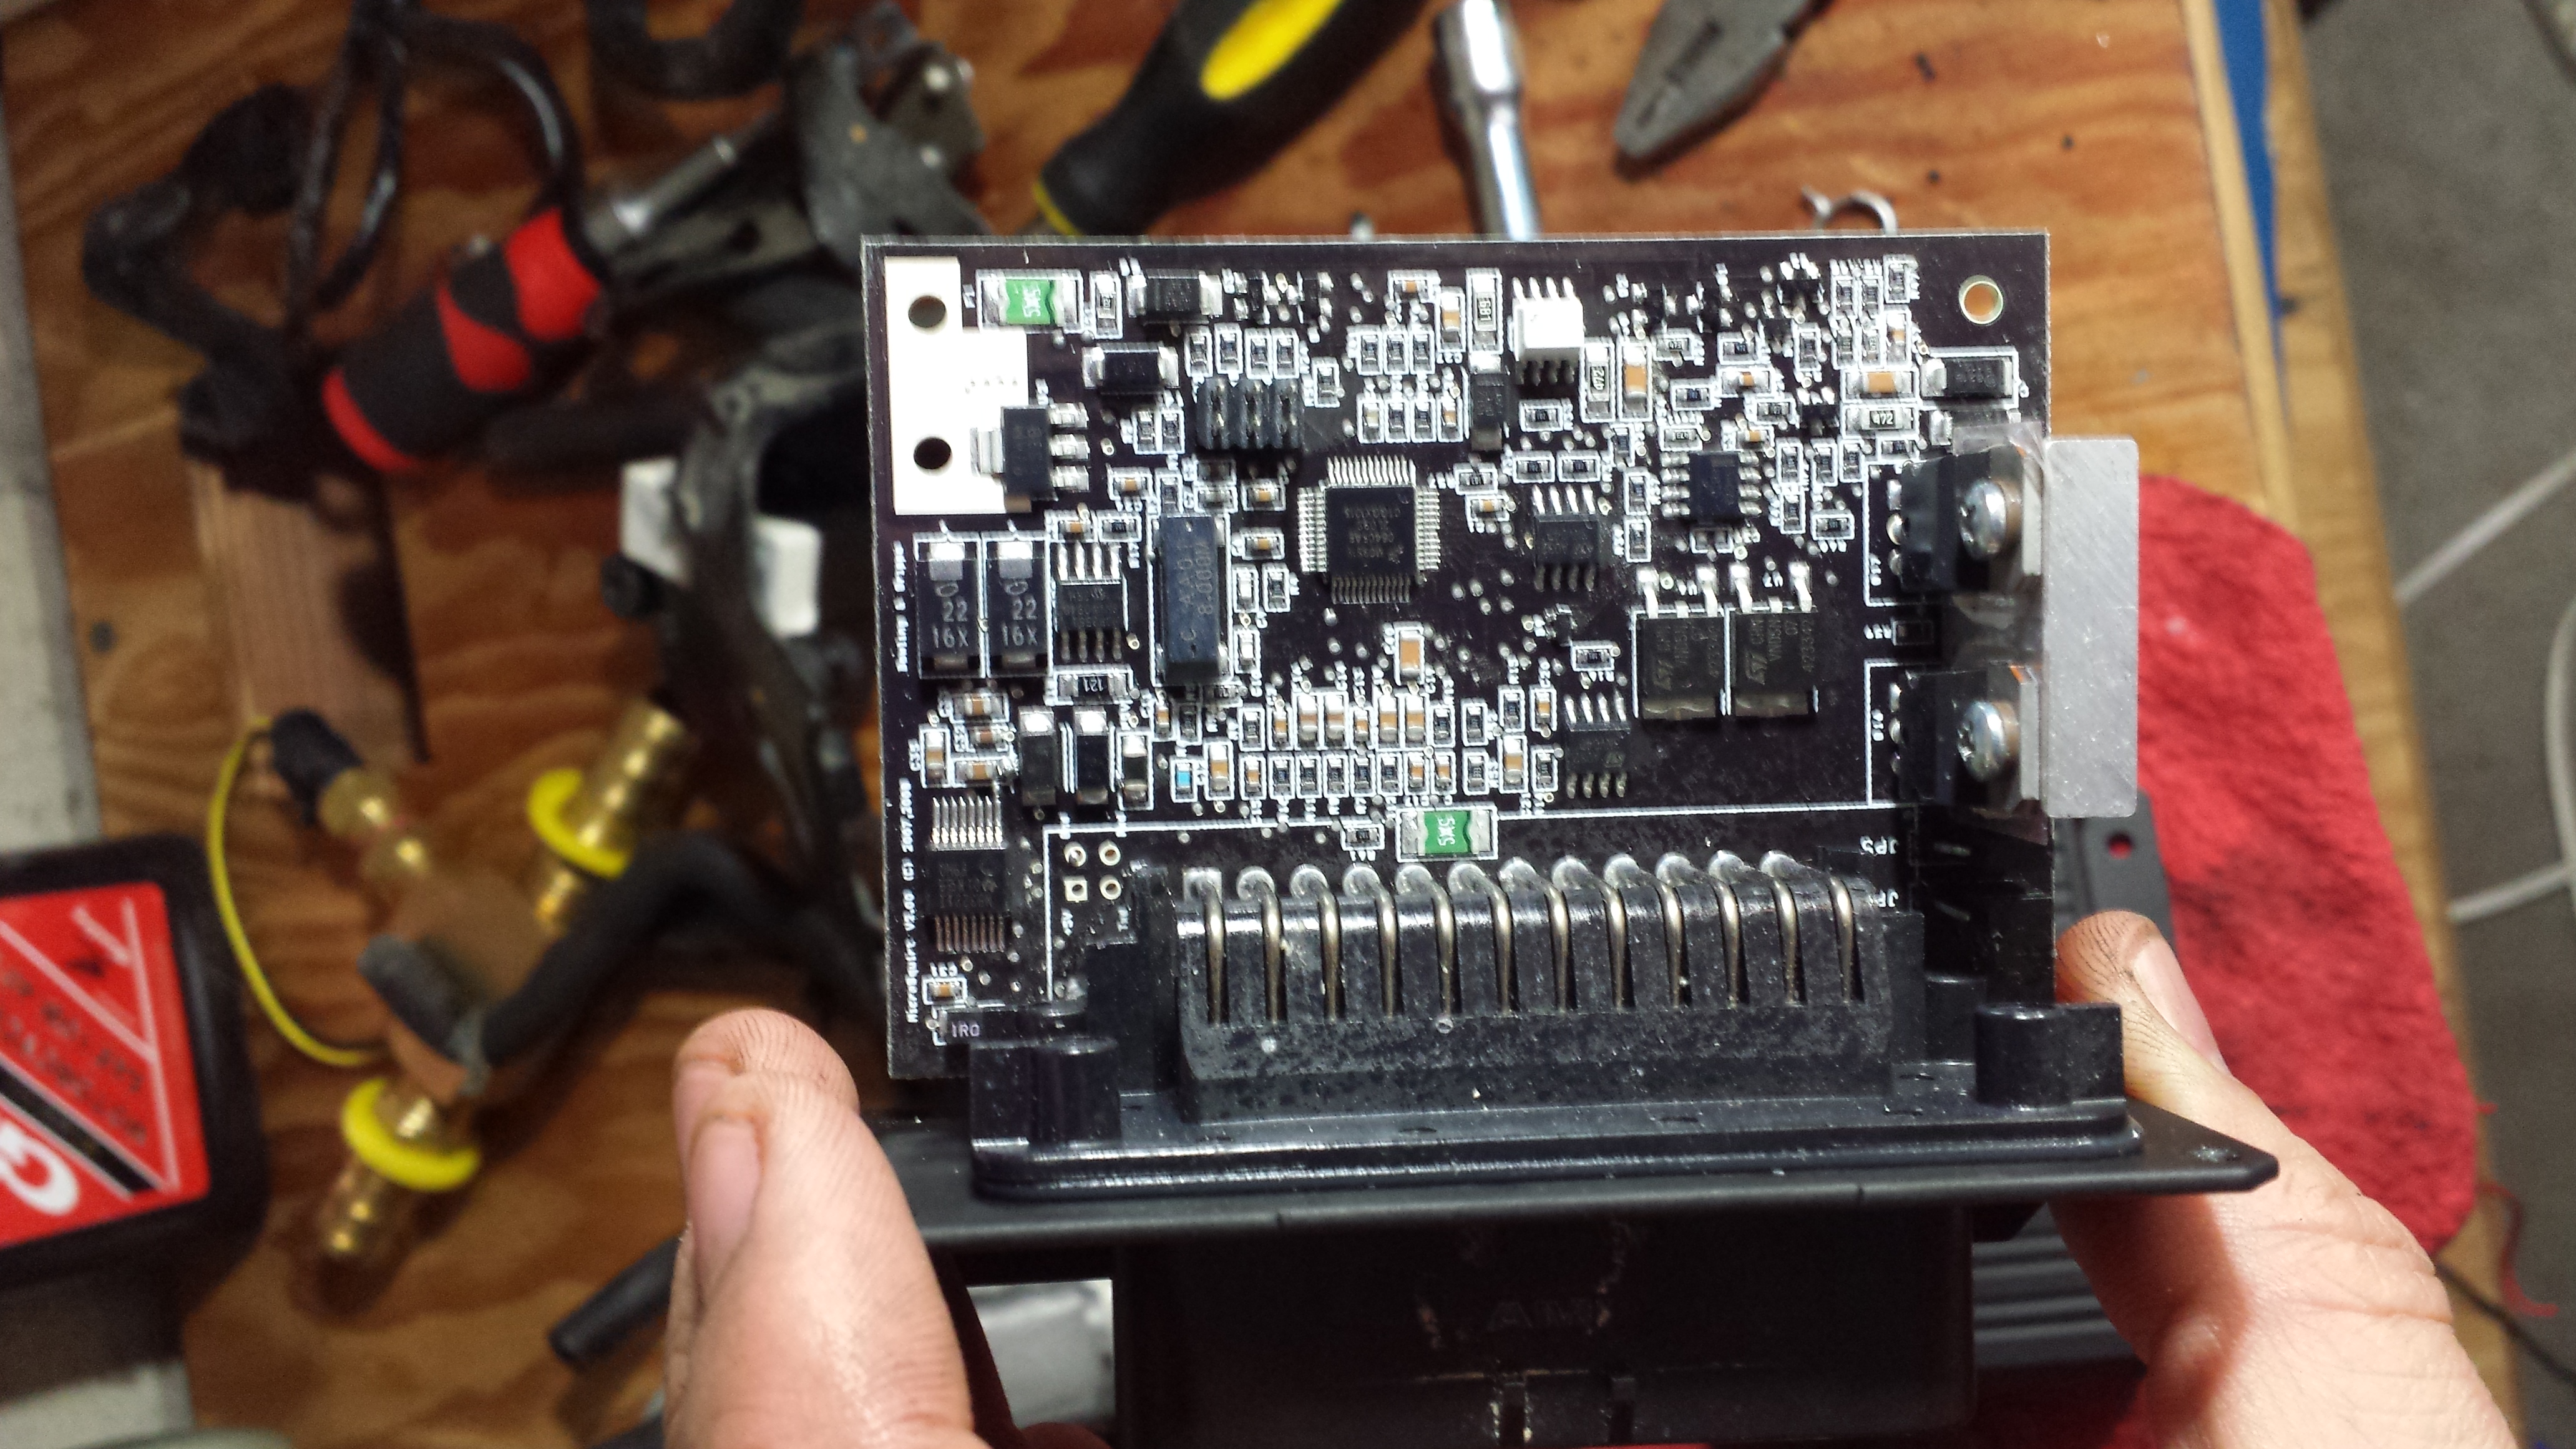
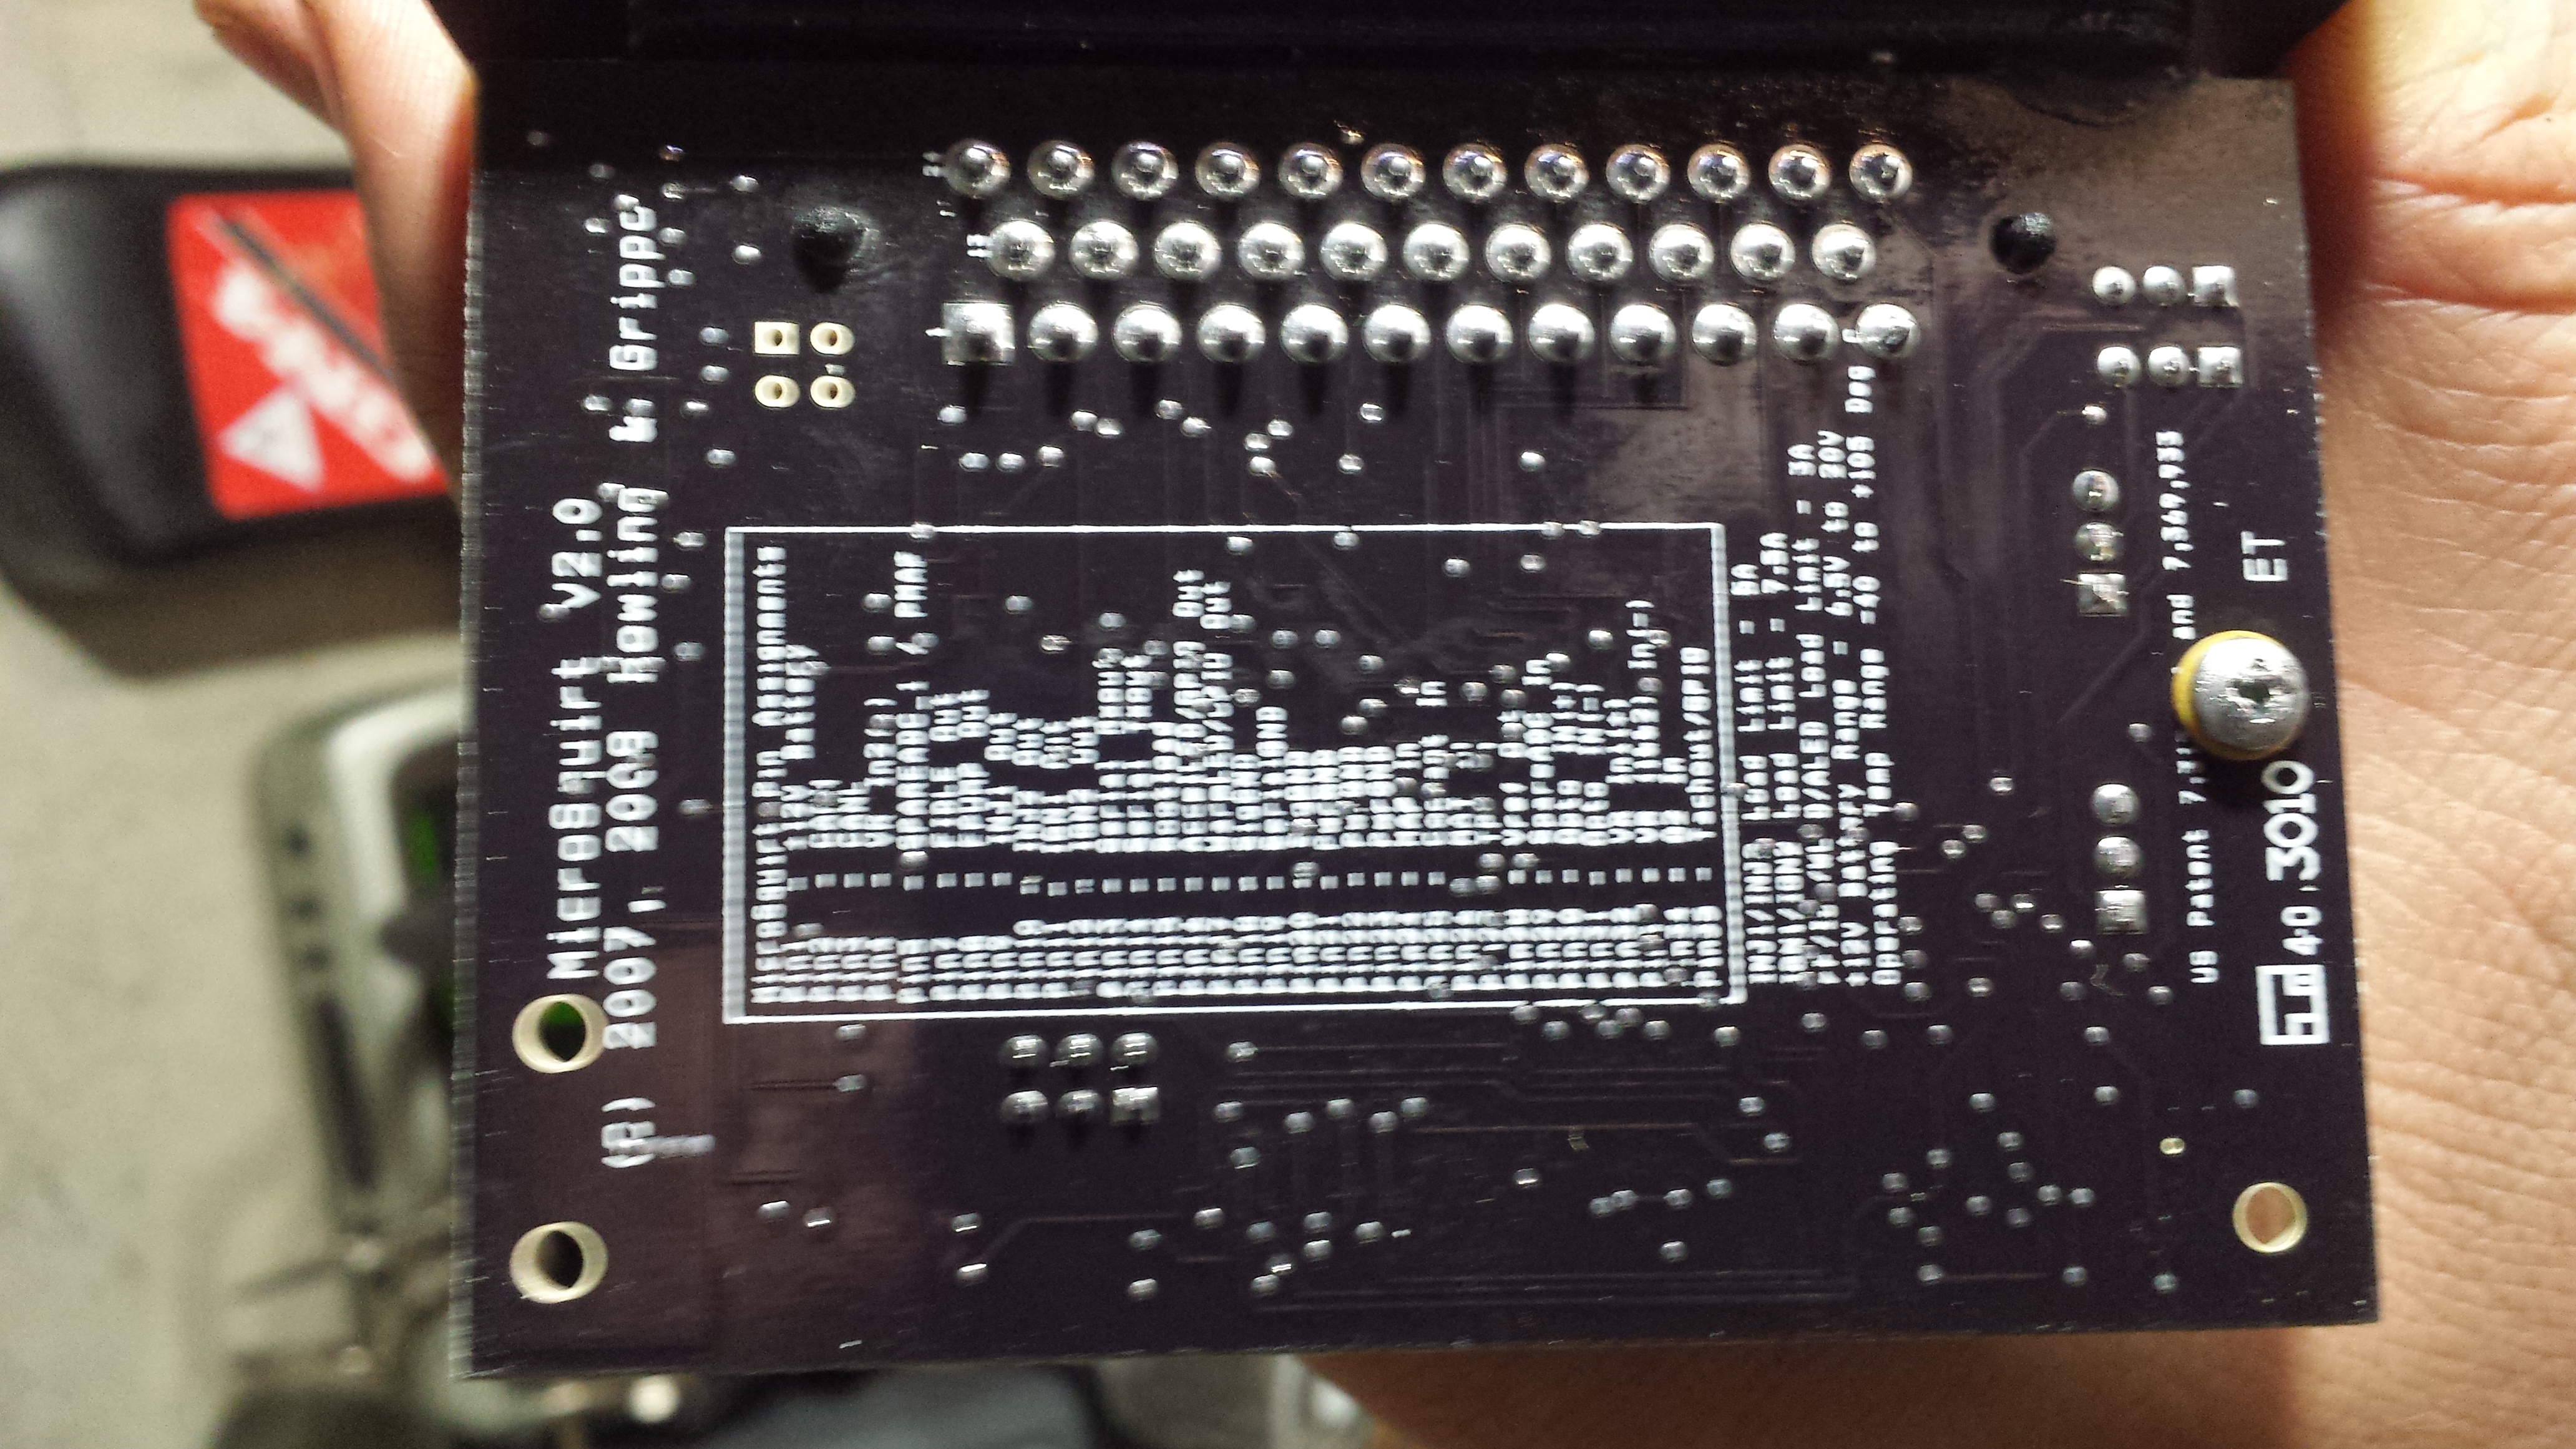
Here is a picture of the “brains” of the MicroSquirt that will be running the entire show.

More to come soon!

And then there were four: The Nekked PC (Honey Badger Morcycle) joins the flock

About a month ago a fourth motorcycle joined my Japanese Iron stables.  The fabled “Nekked PC,” a PC800 that had been stripped of almost all of its plastics and ratted out, had come up for sale on the IPCRC.  An email exchange with the original owner of this 1989 Honda PC800 Pacific Coast followed.  The owner was nice enough to trailer this bike up from California to Corvallis in exchange for a very reasonable amount of money.  And thus the Nekked PC became mine for the purpose of finishing the fuel injection conversion project that I have been slowly completing over the last year.

As you can see, over 100 lbs of plastics have been stripped from the bike.  The bike takes on an entirely new handling characteristic without all of the extra mass and wind resistance.  It has taken some getting used to in order to anticipate what the bike will do.

The original headlight and instrument cluster remained on the bike.  This gives it a strange, raked-out look that I kind of like.  I am considering cannibalizing the headlight housing in order to build an HID projector and angel eye effect into the stock housing on my other PC800, The TARDIS.

Yes, those are two Mercedes car horns.  They would never fit under the plastic of a fully plasticized PC800 and they rub on the shocks but they work very well.  It is a nice after-market touch.

With all of the harnesses exposed, this is a bike meant for fair weather.  Also note that this is a California model and has the emissions control equipment intact and fully functional.

 The rear fender is from a dirt bike.

 This is from just after I got the license plate for the bike.


It definitely has a post-apocalyptic fell to it.  I haven’t decided yet if I will try to find another set of plastics to recover the bike with or if I will leave it as-is and pass it on to the next owner once my fuel injection project is complete.


One final note: Heather has decided that this motorcycle should be called the HBM (Honey Badger Motorcycle) because it doesn’t care that it’s naked.

Working on Injector Bosses

Lately I’ve been working on the fuel injector bosses for my fuel injection conversion project.  The other night I started machining the bosses themselves.  The above video is a sped-up version of me machining the bosses in my living room.  I believe that machining in my living room levels me up in the world of engineers.

I was thinking about having the hose fittings come out the sides of the bosses but this would impede being able to bolt the injectors to the throttle body.

I can’t put them straight out the top either without impinging upon the water pipes coming out of the cylinder heads.

This side is a more likely candidate.  However, I will need to get a 90 degree elbow to make sure I don’t bend the high pressure fuel hose.  I will be picking that up this evening.

 I will be shaving down about 1/4″ from the top of the blocks to make sure they fit properly once I have set the retaining bolts to hold the bosses and injectors to the throttle bodies.

I might be in trouble with the alignment of the injector wiring.  Hopefully I can make it fit properly.