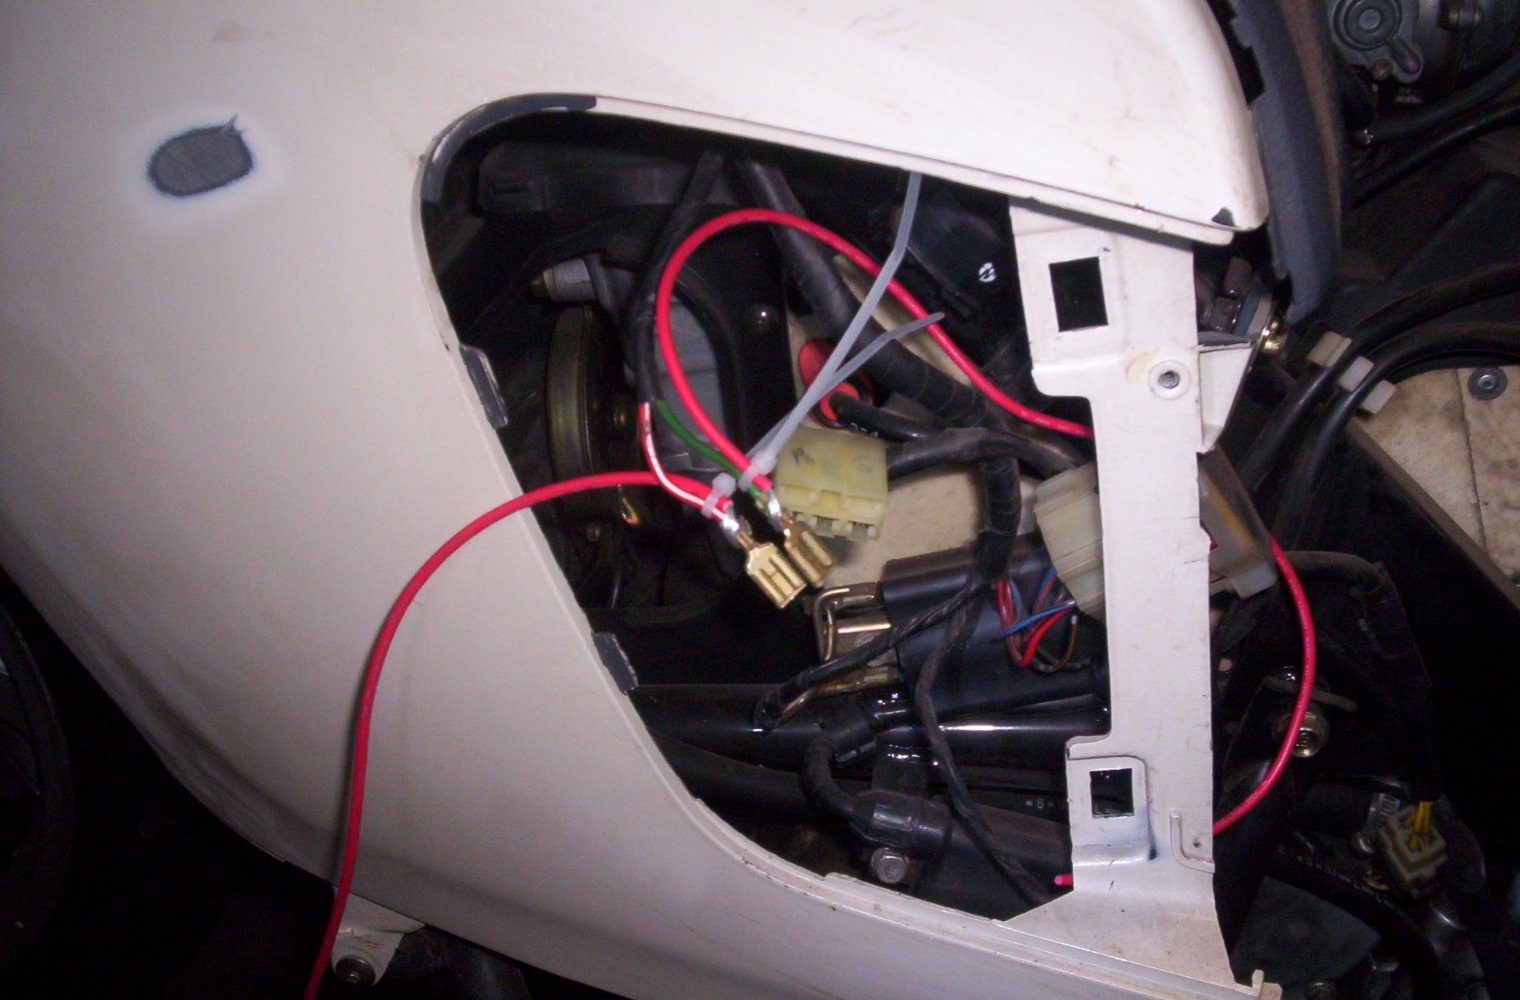
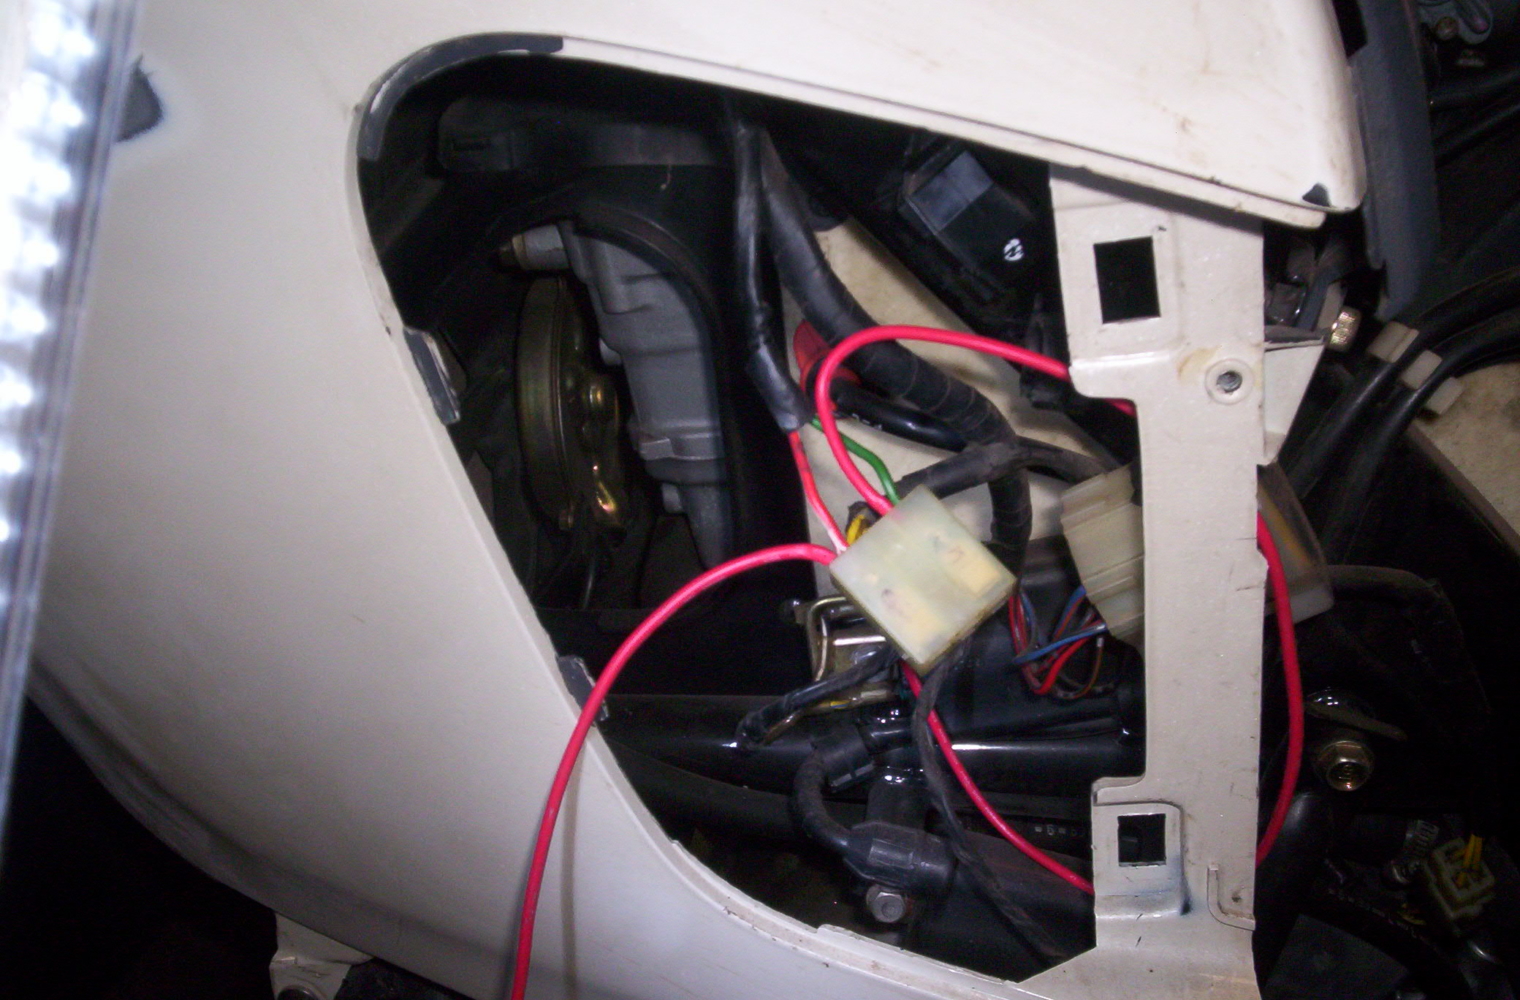
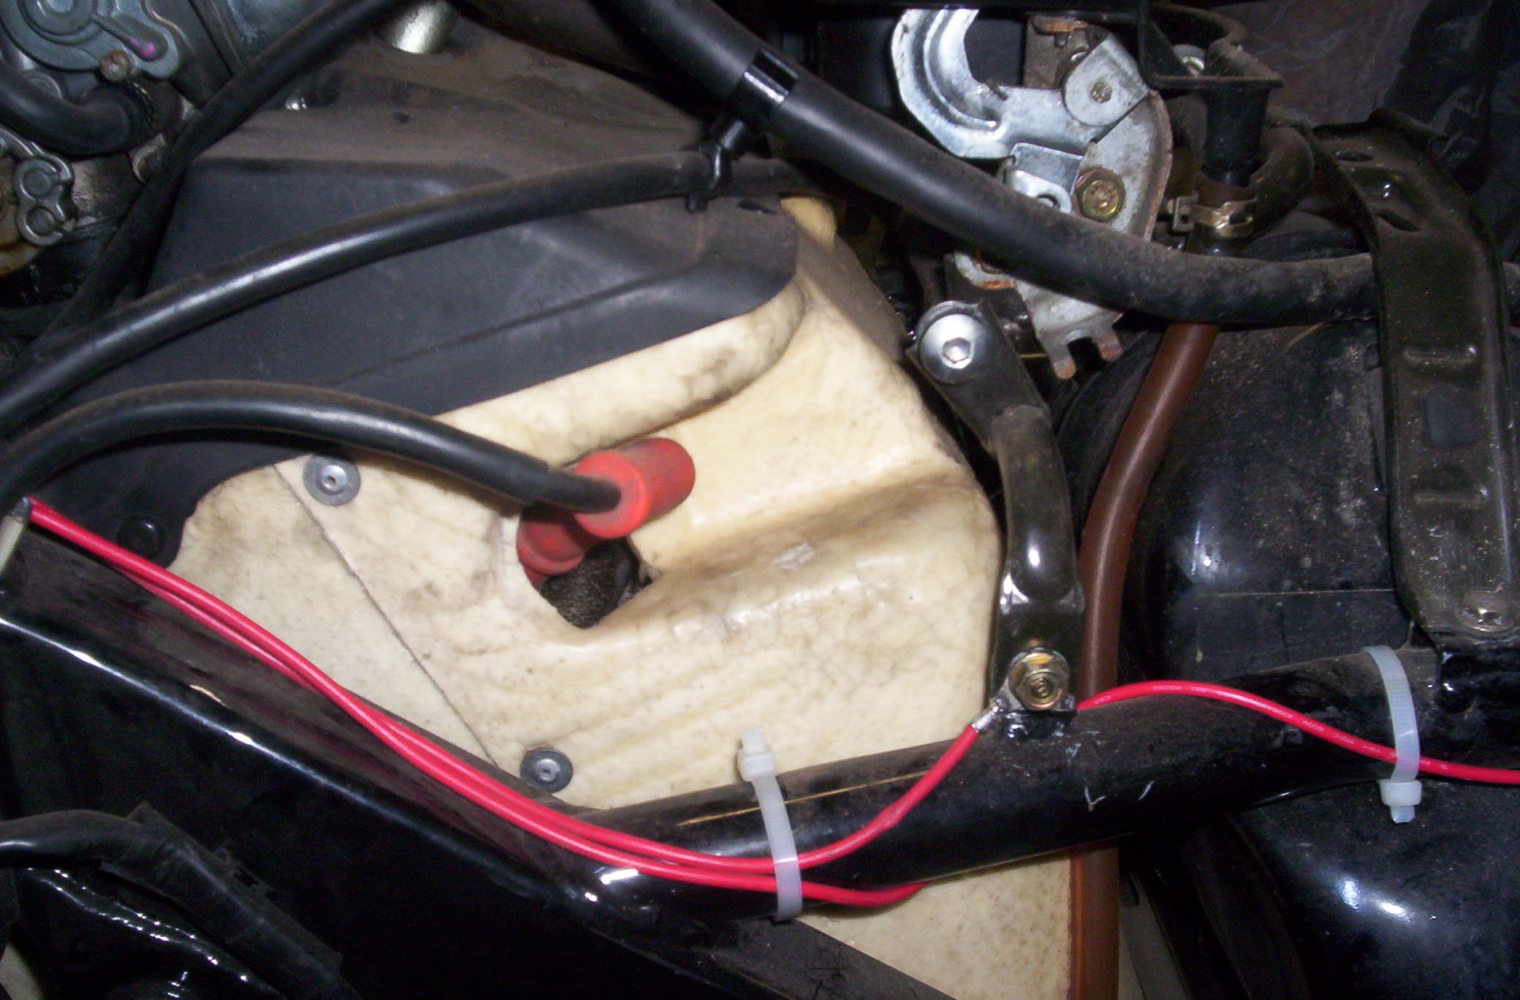
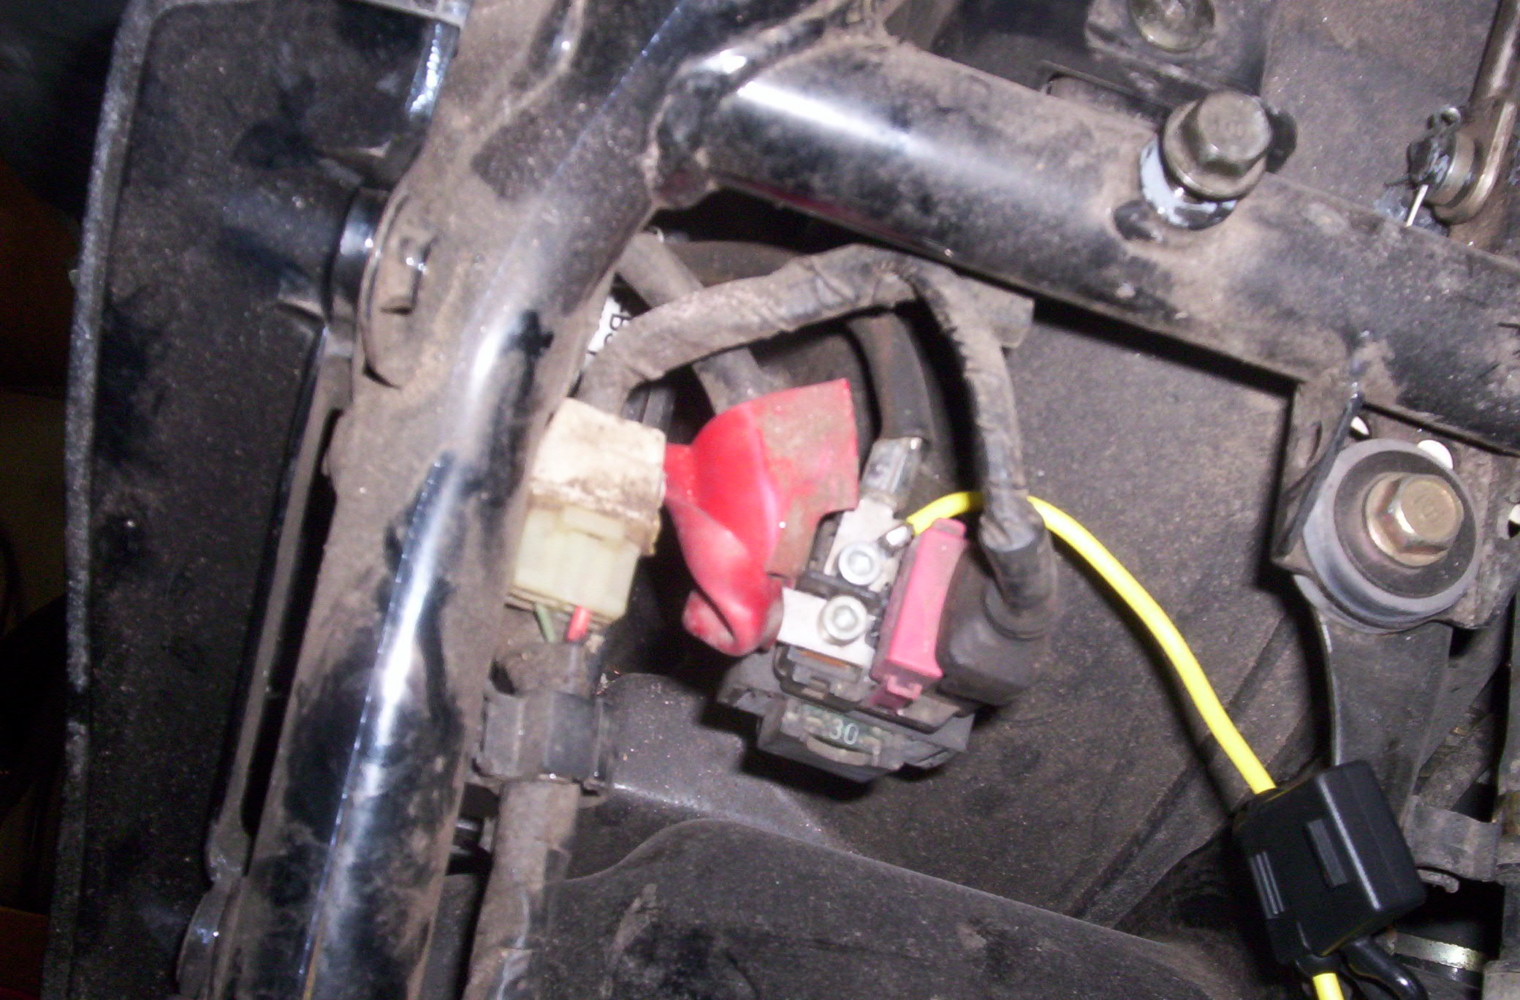
Editor’s Note: An inmate of the ADVRider forums (he goes by the name Procycle) recently modded his PC800 Honda Pacific Coast to increase power with the sacrifice of some fuel economy. To achieve this, he modified the air box and re-jetted the carbs. I have copied in some of the information here to serve as an archive in case ADVRider for some reason removes the info in the future.
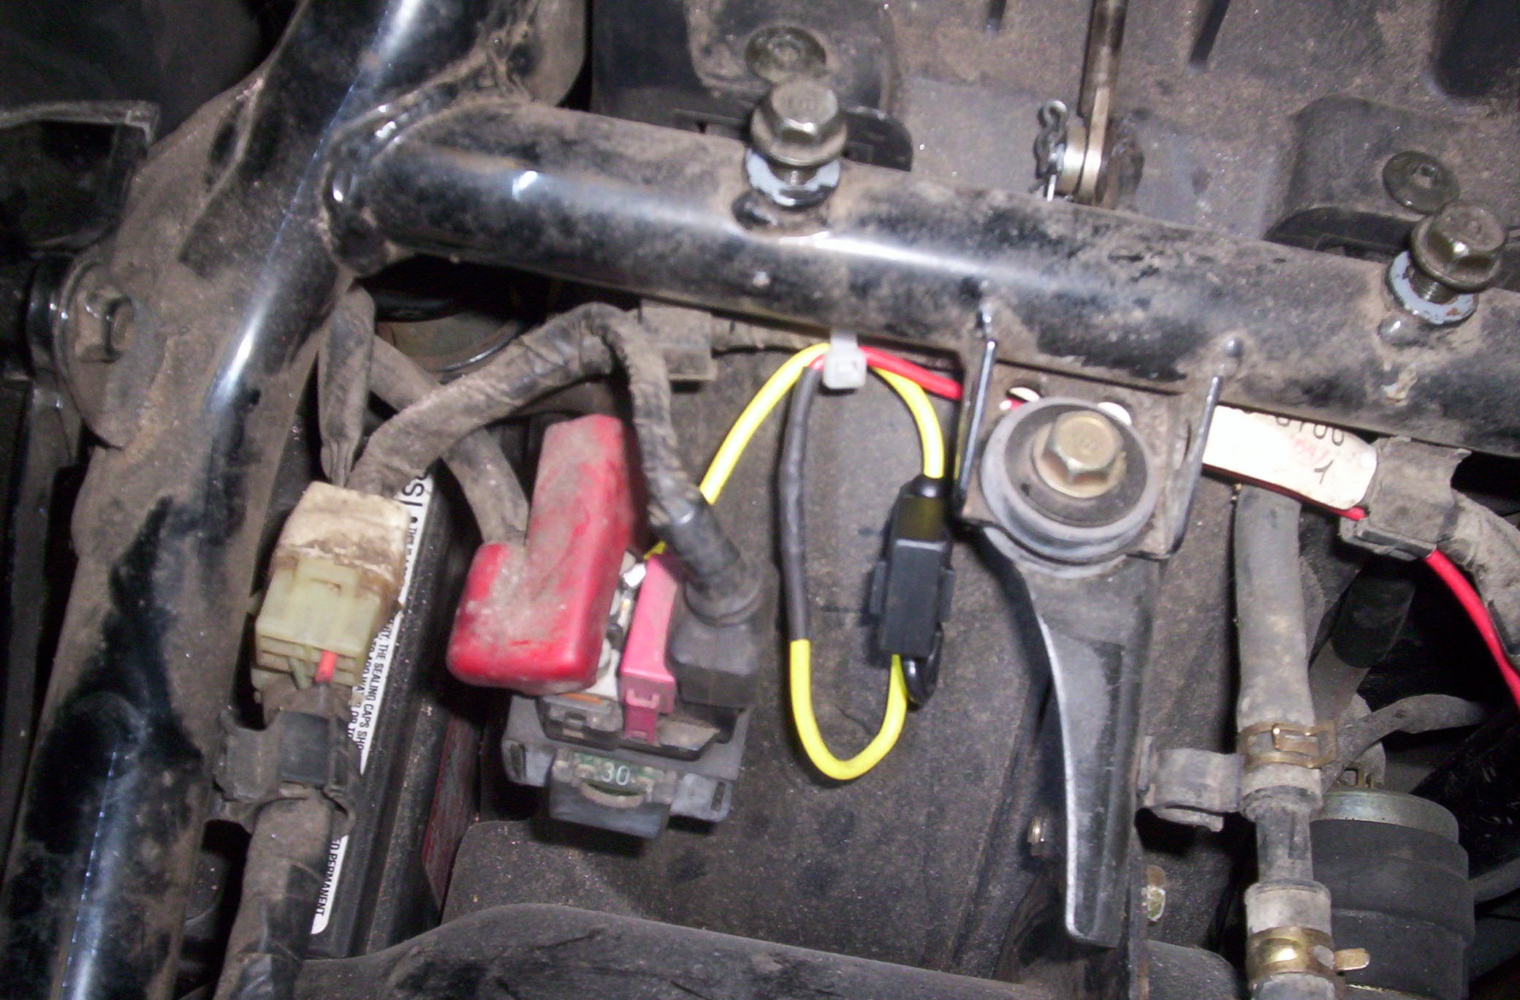
[Procycle] opened up the airbox as much as practical behind the line where the weatherstripping seals between the shelter and the airbox lid. Note: that foam weatherstrip needs to be intact or the ram air effect from the front of the bike will throw [the] jetting setup out the window. [Procycle] left enough structure to keep the fastener locations tied together so the cover retains its shape. [Procycle] could have made one big hole but [he] didn’t want the cover to end up flimsy.
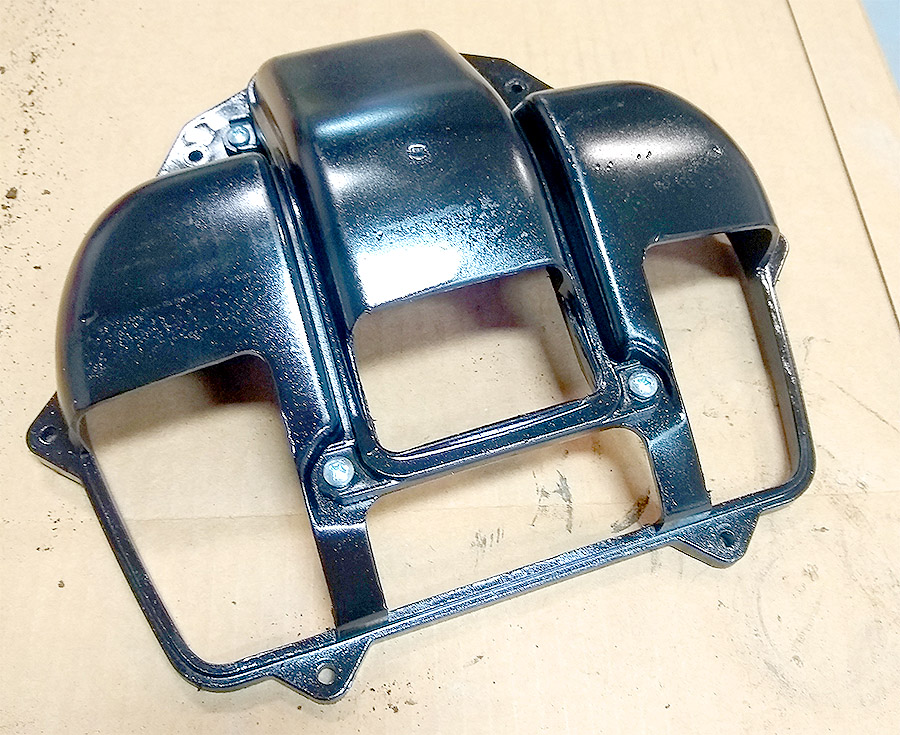
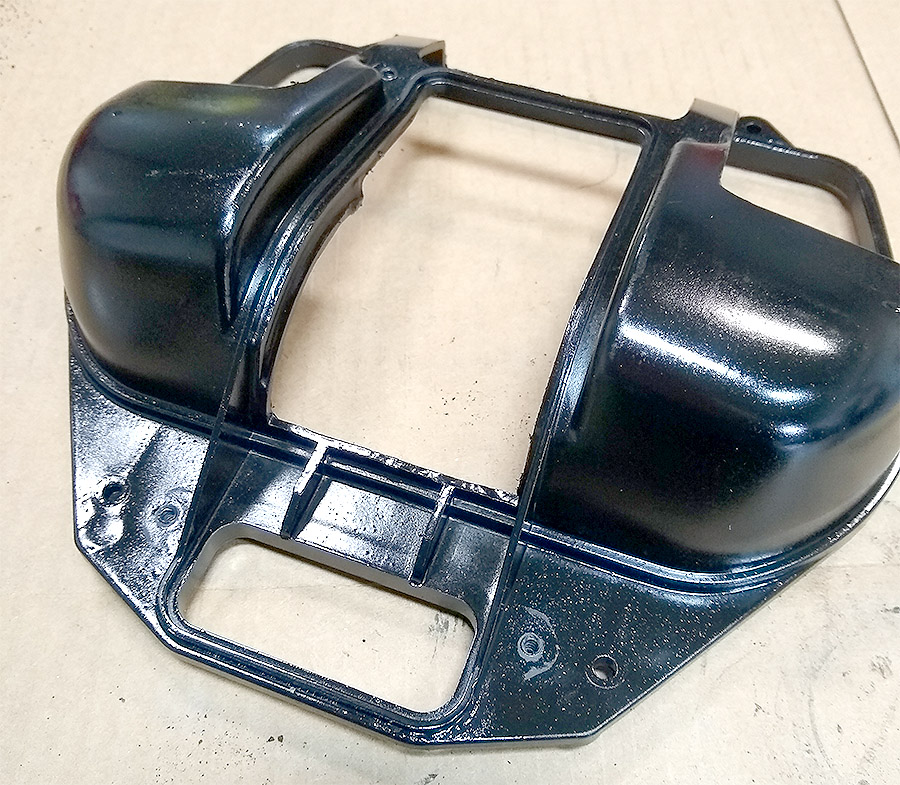
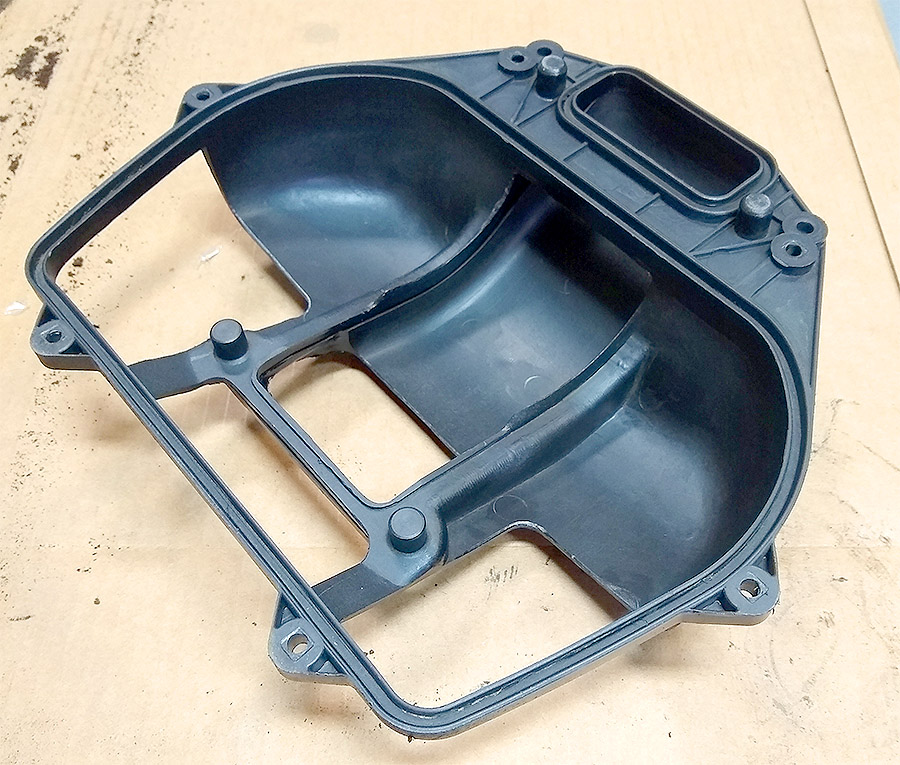
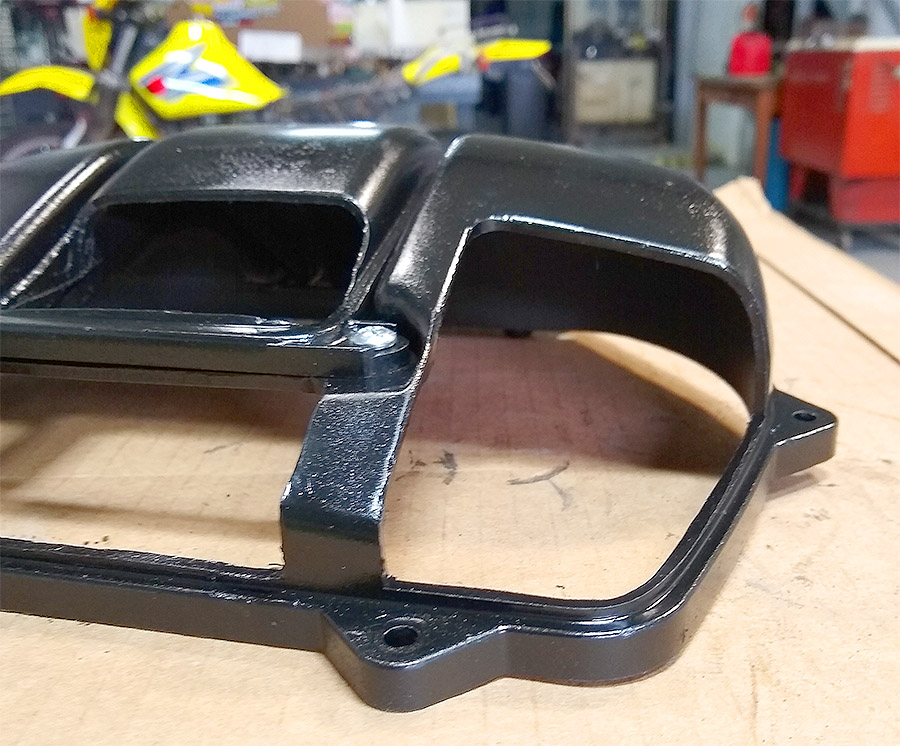
After a couple of iterations adjusting jetting setup [Procycle has settled on the following jetting:]
Jetting setup is #188 mains, needles raised 0.020″, #40 pilots
Mixture numbers:
55mph 14.4 AFR
65mph 15.7
75mph 14.0 AFR
WOT 6K-7K rpm 13.0 AFR
[Procycle would] like 55mph to be a little bit leaner at steady light throttle cruise but it goes into a lean area reading 15.7 AFR at light throttle cruise @ 65mph. [He doesn’t] want to make that area any leaner and [doesn’t] have a way to add fuel at only that speed.
Prior to dropping the PC back at the dyno [Procycle] did a little more opening of the rear part of the airbox cover (photos coming) and double checked the mixture screw and synchronization adjustments.
More test loop data turned back good numbers:
Steady 55mph 14.6 AFR
Steady 65mph 14.8 AFR
Steady 75mph 14.7 AFR
Wide open 6K-7K rpm 12.9 AFR
[However, he thinks] maybe [the] previous lean numbers at 65mph might have been a fluke. [Procycle] did several 65mph runs this last time out and got consistently better numbers.
One comparison to stock – when [he] first started [he] made some paint marks on the throttle for 0, 1/4, 1/2, 3/4, full.
The stock setup held at the 1/4 throttle mark topped out at 75mph. The last ride out holding the same 1/4 throttle mark aligned the bike went 90mph. [Procycle] ran out of road but it might have crept up a bit more. Maybe 92 or 93.
[He has] a throttle lock that has really helped keep the testing consistent. [Procycle] can dial in the throttle and let it hold there while [he] make[s] sure the speed is stable and watch the AFR numbers.
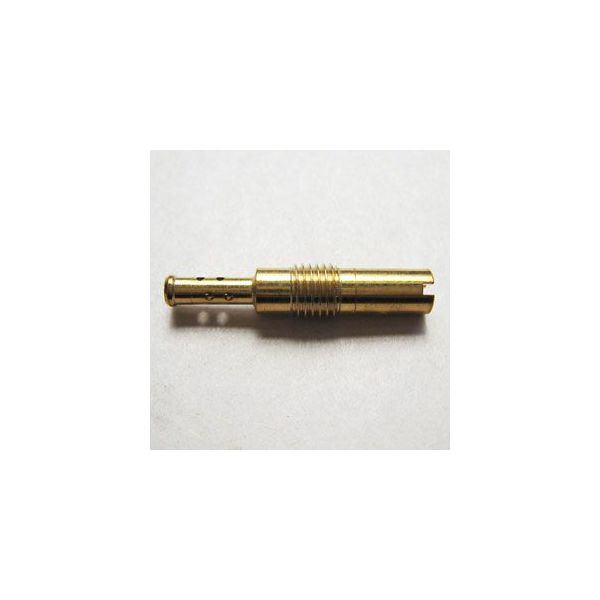
There is no need to modify the retainer or the spring to get a 0.020″ washer under the needle clip. The pilot jet is a Keihin 21 series. Pictured below it is recognizable by the fact that the OD of the threads is larger than the body of the jet. Or you can order #40 pilot jets from any Honda dealer. The part number is 99103-MT2-0400
Another inmate of ADV Rider, Imascott, previously did similar modifications and has some other information:
After [Imascott] made [his] mods[he] was interested [in fuel consumption changes] and took careful note because [he] took longish trips. [He] need[s] to know refuel intervals. The results are that when driving casually on back roads, [his] mileage is excellent. [He’s] getting 55 to 58 mpg. However, in Canada gallons are measured in Imperial gallons. They are 20% larger than U.S. gallons. So the result in U.S. gallons is apx. 44 – 46 mpg. Which [he] thought was pretty good. Mileage changes rather radically when you get on the throttle and play sport bike. If you are on the main jet and having fun, expect to get somewhere around 30 – 35 mpg U.S. After all, that extra power has to come from additional fuel. When [he’s] on the freeway, say traveling at a pretty constant speed of 75-80 mph, [he is] getting around 42 – 44 mpg U.S.. That’s with the 10% higher final drive and 4.6% larger rear tire. [He’s] pleased with those numbers. [Imascott] didn’t make [the] mods looking for better mileage. [He] was looking for whatever performance was available. [He] was surprised at the high mpg when driving along at 50mph in fourth gear on secondary roads. [He] can get 190 miles out of a tank. [He notes to not] test this unless you have a jug in the trunk. Note: As [he] mentioned earlier, after the final drive change [Editor’s note: the VT1100 final drive swap is what he is referring to] and tire change, the original 5th gear is now about the same as [his current] 4th. So, fifth gear isn’t used much on the secondary roads unless [he’s] really hustling. That is 65+mph, where [he] need[s] to be to use the overdrive.
[Imascott] like[s] to have fun on [his] bikes, so [he] throw[s his] fuel economy thoughts away when [he is] riding. It burns what it burns. [He] keep an eye on the fuel gauge and feed[s] her whenever in doubt.
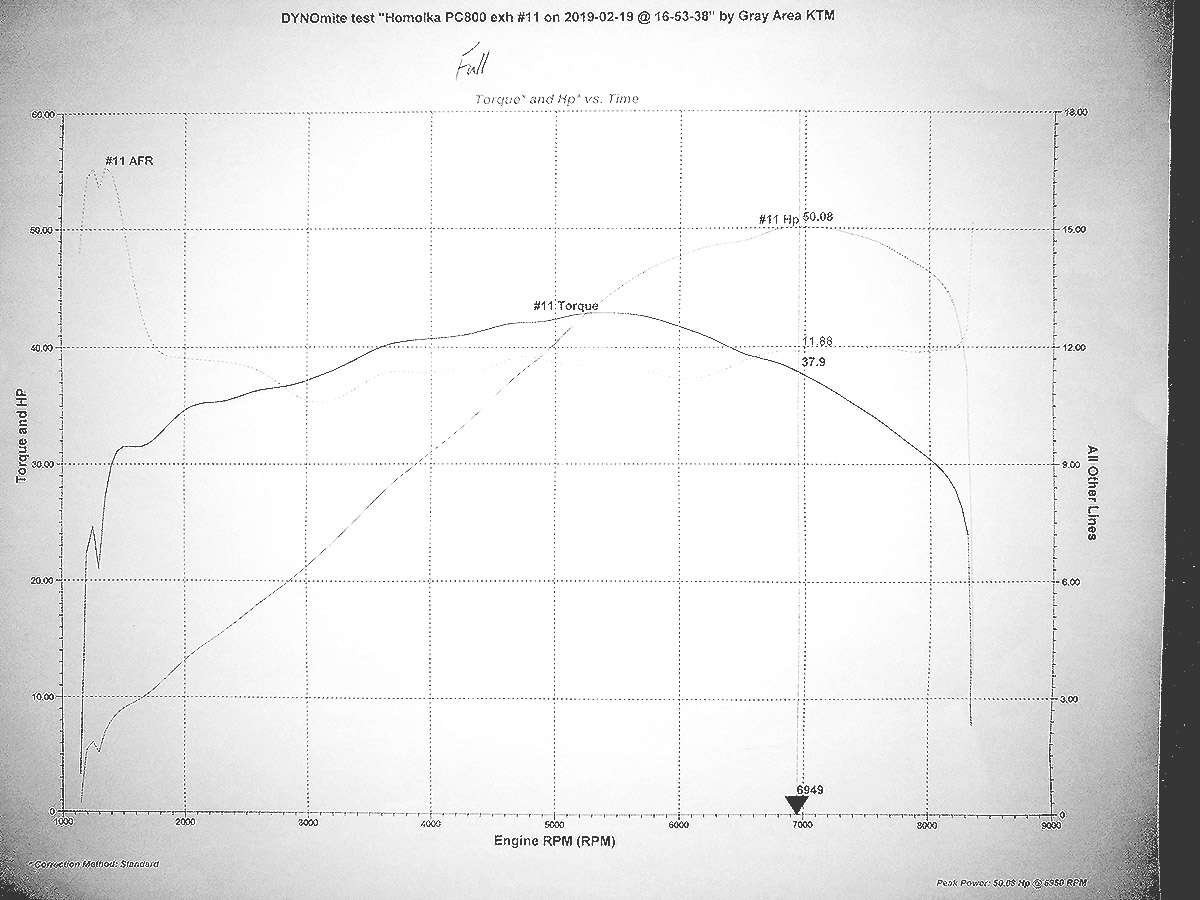
Gary Rees on the PC800 Facebook group has the following to say about Procycle’s airbox and rejetting mod:
Following Procycle’s experiments I modified the air intake and got more power from my PC, about 15%. This mod doesn’t affect fuel consumption if I keep the throttle under 1/5. I have yet to measure fuel use when really using the extra power.
Jetting setup is #188 mains, needles raised 0.020″, #40 pilots.
Procycle’s dyno run after opening up the muffler showed a gain of only 1 hp. This gain was at all engine speeds. If it was due to improvement in engine breathing I would have expected it to vary with engine speed. I suspect the 1 hp was just a normal variation of the dyno machine. So I left [my] exhaust untouched.

