NEWER NOTE: A member of the IPCRC re-wrote Fred’s instructions and consolidated them into one place. They are here for your reading pleasure.
NOTE: Of particular interest to people who are rebuilding their forks are the following posts/threads by Fred on IPCRC. Thread #1 Thread #2 Thread #3 Thread #4. The biggest things are 1) don’t be afraid and 2) go slow and take it slow. Also feel free to ask questions here or, better yet, on the IPCRC.
About a month ago my PC800 started bleeding fork oil down the right side of the bike. A quick inspection pointed to a blown fork seal on the right fork. This was a surprise as the previous owner who is a friend of mine had only replaced the seals 5000 miles previous. Off I dutifully went to the internet to buy some Honda OEM seals and dust boots. They arrived and I got down to the business of taking apart the forks.
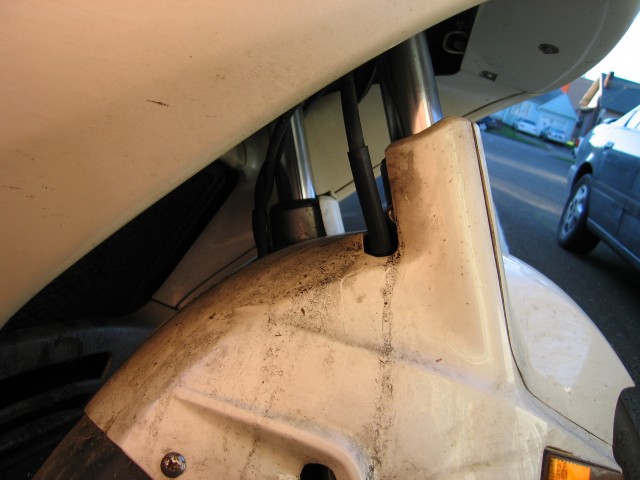
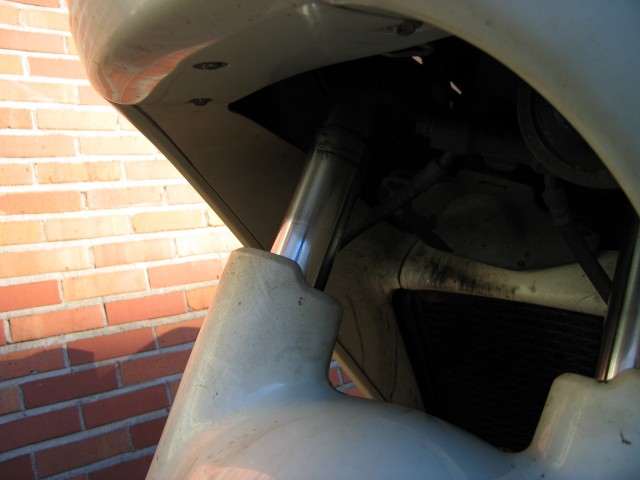
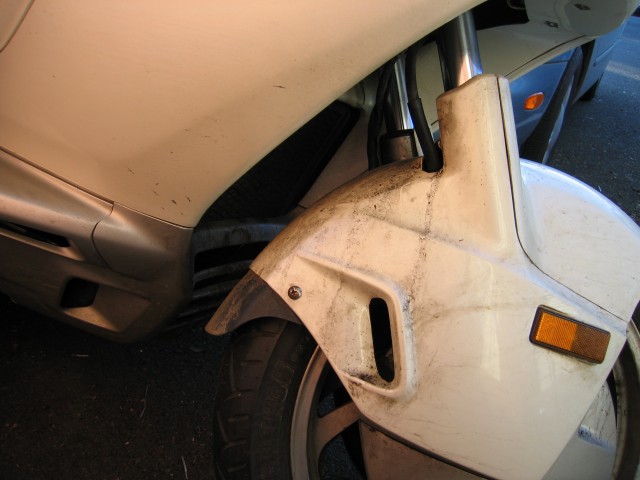
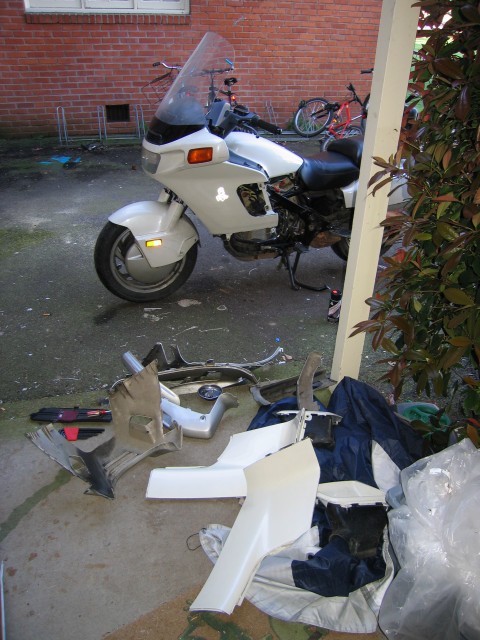
To remove the forks I only had to take off the wheel plastics, wheel, and the two small covers by the handlebars. The fairing stayed on. Some people on IPCRC do it this way and are satisfied. Others believe that the fairing should come off so a proper tightening job can be done upon re-installation.
I tried to find a good set of fork gaiters to put on when I reassembled the forks. However the pair I bought off the internet were woefully undersized. Check this thread on IPCRC for more information. Other people on IPCRC have had luck with finding good gaiters but I didn’t.
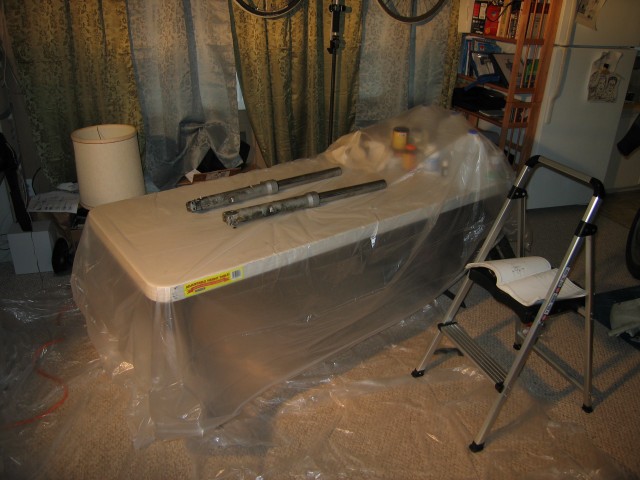
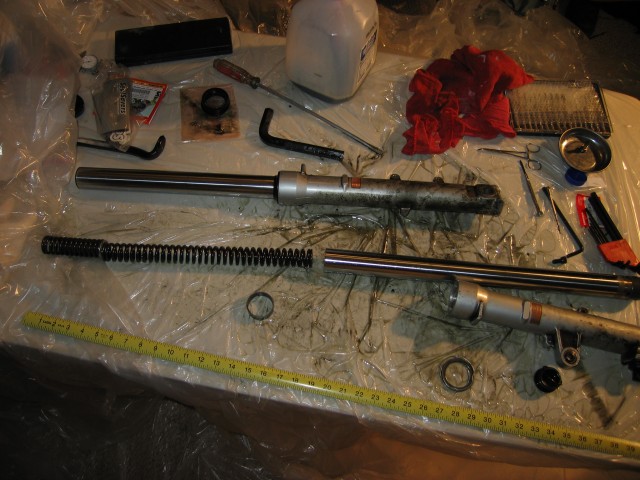
Once the parts arrived I started disassembling my forks. My living room quickly turned into something from the Dexter TV series. Instead of murdering people, I was disemboweling my forks.
When I took apart my forks I discovered an odd set of springs inside. No one on the IPCRC was able to identify them. Some suggested I replace them with Progressive springs. I chose not to because they had been in the bike at least since the previous owner had done the fork seals 5000 miles before. He found them in there and put them back, too. This is the third set of forks on a Honda in my general area that I’ve seen with this fork configuration. Each bike was different so I know it’s not some localized dealer thing for one particular model. Probably at some point in the 90’s someone was selling a spring kit locally. The way the two springs are setup, it makes a defacto set of Progressive springs. However, they aren’t quite as nice as real progressives. Oh well. They work well enough and I didn’t have to spend a bunch of money and wait for new springs to come.
During the installation process I did something REALLY stupid. I put the fork bushing in before I put the slider rod in. This trapped the busing in the fork. Much running around town to all of the auto parts stores and the Honda motorcycle dealer came to nothing. I scratched up the bushing pretty bad trying to get it out with a pick. Right away I ordered a new set of bushings. Of course it took two weeks to get to me so during that time I tried several other methods of extraction. The only thing that I could get to work (and I tried a LOT of different approaches) was a braising torch. I heated up the aluminum fork housing around the bushing until a little gentle taping on the ground got the bushing to fall right out. I was VERY careful with the way I heated up the aluminum to make sure I didn’t weaken anything by heat treating it or in some other way changing the material properties.
Another problem I ran into was with the rebound springs. For some reason they were really stuck in the bottom of the fork housing. I couldn’t see them in there and was pretty worried that I had a fork without any. Finally after much hand wringing I discovered them by accident. I don’t know how the IPCRC puts up with my stupidity sometimes 🙂
Once I had the new bushings, everything popped back together easily. I chose to use 15 weight fork oil since I’m a big guy. It made the bike handle much more like a sport bike but it also has made the ride somewhat rougher. With a passenger or carrying camping gear the bike goes back to super plush and feeling like a tourer. Next time I might bump down to a 10 weight fork oil although I really do enjoy the cornering performance with this 15 weight. YMMV due to my wonky spring combination.
It was a little difficult getting the top caps put back on but they finally went into place. Reinstalling was a bit of a challenge but I’m pretty confident that I have the bolts holding the forks to the motorcycle well-tightened. 2000 miles later and they show absolutely NO sign of sliding up the triple T. The new seals seem to be holding well so far. Fingers crossed that I don’t have another one blow out. The fork tubes have some pits in them though (nothing you can really do about it once they’re there but fork gaiters will protect against new ones) so I think this might become a routine 10-20k mile sort of project.
As I was reassembling the front wheel I found that my wheel was sticking and not turning very easily. I ended up having to reassemble everything to get the wheel to spin correctly again. On my wheel anyway it doesn’t spin completely freely when the speedometer cable is attached. Perhaps I should lube mine soon…
