UPDATE: Per Fred’s comments on the IPCRC, I removed the bit in here about covering over the second vacuum port on the petcock. However, when I did that, my bike became very starved for fuel (wouldn’t idle above 1000 rpm). I need to reopen the petcock and see if something is wrong inside of it.
UPDATE #2: For peace-of-mind, I removed my petcock and replaced it with a brass T. There is some debate over if this is safe to do or not. So far I haven’t had any problems. The bike does seem to go through 3000 RPM slightly differently and sound just a little different. I suspect I need to rebalance the carbs as I capped off the left side vacuum port when I removed the petcock. I still have the petcock in the trunk of my PC to serve as a warning to other parts that might give me trouble. One of these days I’ll open it up and see if the diaphragm didn’t get seated correctly. Anyway, depending on what you want to do, look below for instructions on how to rebuild your petcock!
Back in the spring I started having troubles with my PC suddenly losing power as I was riding up steep grades at freeway speeds. It seemed to only do it when I was going faster than 65mph, on a 6% or greater grade, and had at least a half mile of uphill. I could close the throttle, reopen it, and get some more power, but eventually I would put put put along until I would be stopped at the side of the road. It felt like a fuel starvation issue where I was using more fuel than could be gotten to the carbs. This led me on a quest to find the source which hopefully just ended last night.
I decided after much thought and many questions on the IPCRC that the most likely place for trouble was the fuel petcock. Perhaps, I thought, the rubber diaphragm has developed a hole or leak. Or maybe it’s just old and needs to be replaced. Having the petcock not open all the way would be a good explanation for the troubles I’ve been having. A few weeks ago I ordered up the fuel petcock rebuild kit as recommended by several on the IPCRC. I got it from ServiceHonda about ten days after I ordered it. The Honda part number is 16953-ME5 025. I should note that this petcock rebuild kit is actually meant for another bike but that it works on our bike except for the spring included in the kit. Don’t use that spring. Use the spring that is currently in your petcock instead. Otherwise, all of the parts are identical.
I should also note that if you don’t want to rebuild your petcock, many people have successfully replaced theirs with a brass T. One can be found at any auto parts store. Just be sure to plug the vacuum line since it won’t be needed anymore.
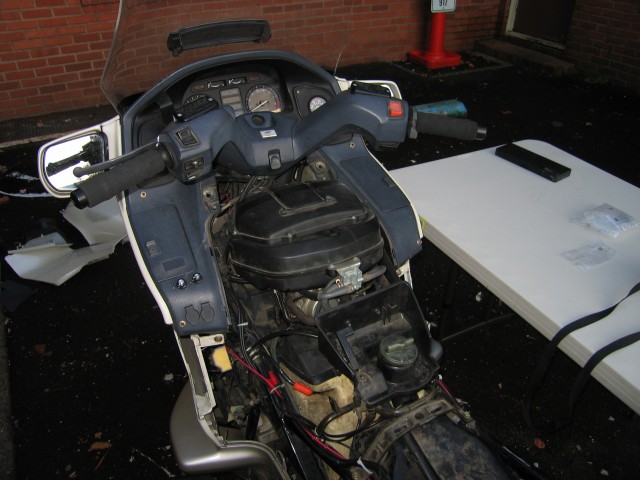
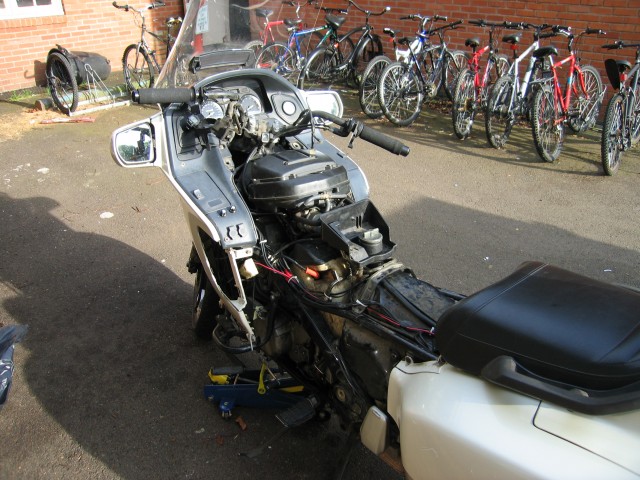
Here is my bike with the plastics removed to get at the petcock. It is mounted on the back side of the air cleaner box and just forward of the gas cap and trunk release lever.
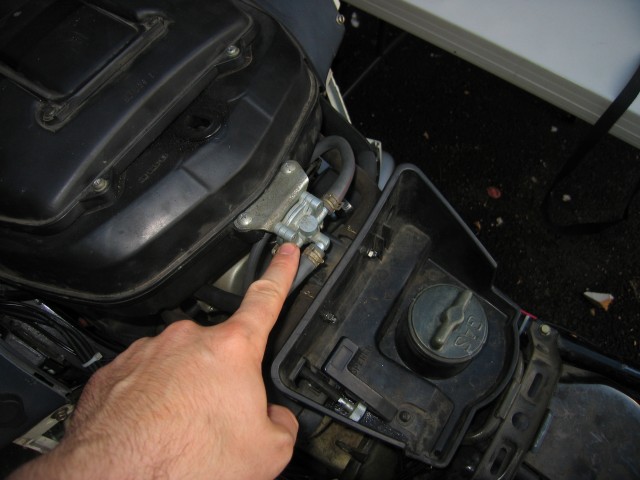
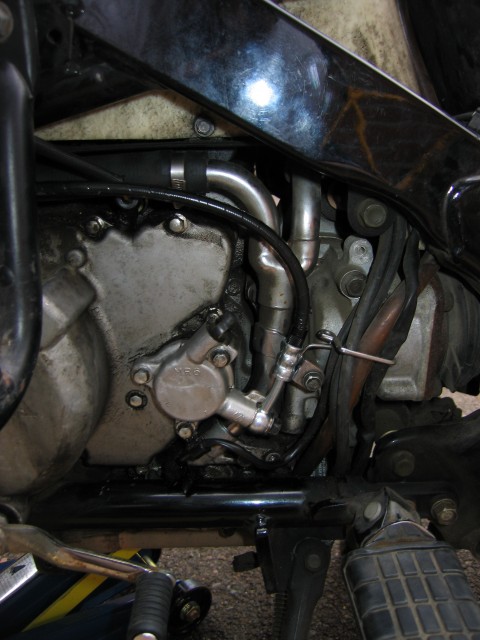
That silver dodad with all of the hoses that I’m pointing at is the petcock. Make sure you get a proper screwdriver to take all of the screws out. A Phillips driver is actually the wrong thing. Pick up a set of Japanese screw drivers that look like they are all Phillips heads but in fact have slightly different dimensions. In a pinch though, you can be careful about it and use a Phillips head. I did that and nearly stripped a few screws.
To take off the hoses, I used a pair of needle nose pliers to remove the hose clamps. I then used the tip of the needle nose piers to gently push off the hoses enough that I could remove them by hand the rest of the way. The hoses were a bit stuck on. There are a total of four hoses to remove. Three are fuel lines and one is a vacuum line.
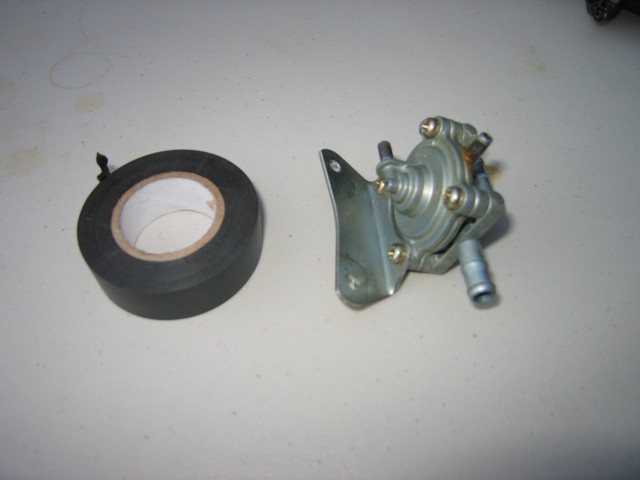
This is the petcock off the bike. I put a roll of electrical tape next to it for size comparison. The thing is not that big but does an important job.
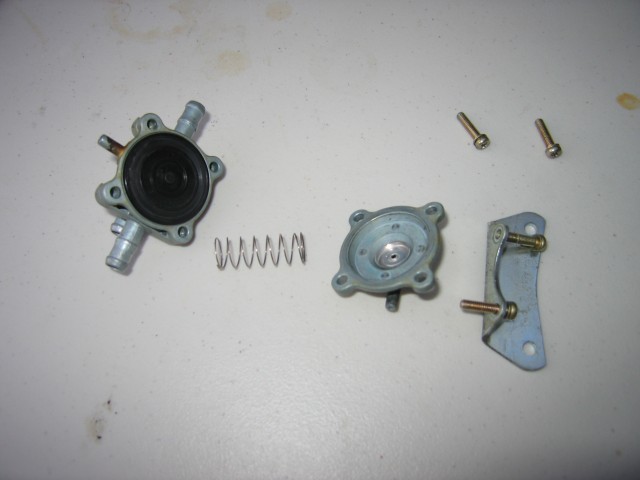
The petcock partially disassembled. The side on the right carries the vacuum from the engine to the petcock diaphragm. The spring makes sure the diaphragm returns to the sealed position when the engine is off.
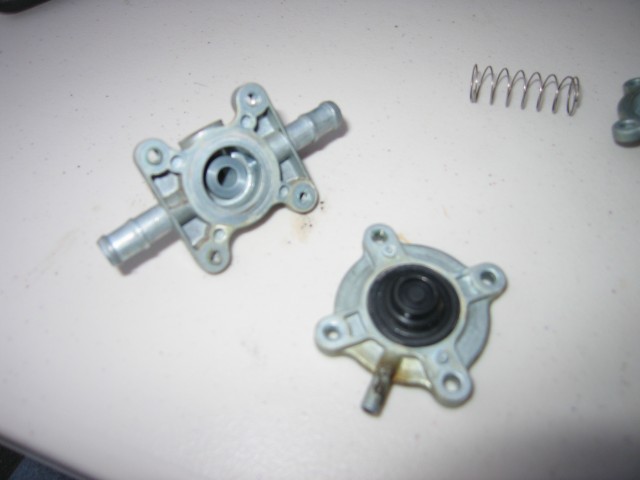
Here is the other side of the petcock with the diaphragm middle bit separated from where the fuel lines come in and run out to the carbs.
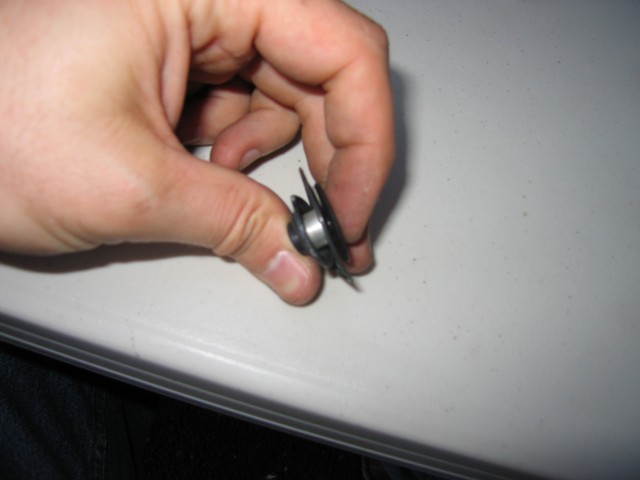
This is what the diaphragm looks like removed. You don’t need to do this but I was curious so I took it apart to see what it looks like. There is a metal spacer with two different rubber diaphragms and a plastic-ish disk.
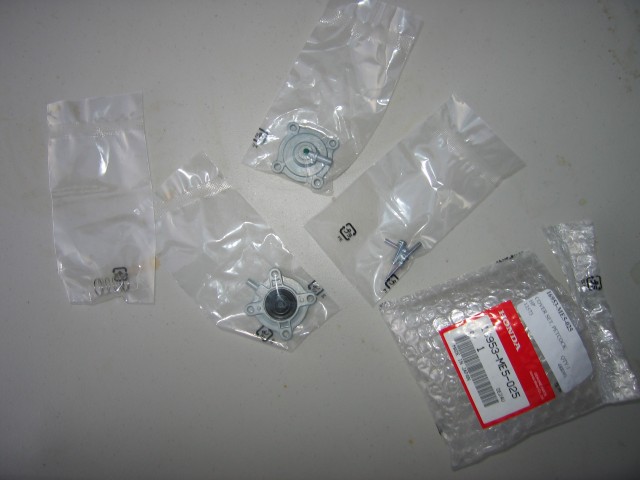
These are the parts that come with the Honda #16953-ME5 025 kit. There are new screws, a new spring (that we won’t use), a new vacuum side of the petcock, and a new diaphragm assembly.
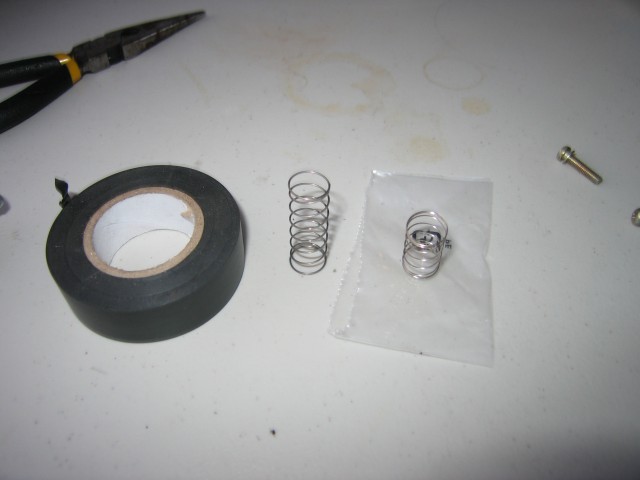
The old spring is on the left. The new spring is on the right. Yes, they are quite different in terms of length. Otherwise they are the same diameter and seem to be made from the same spring wire.
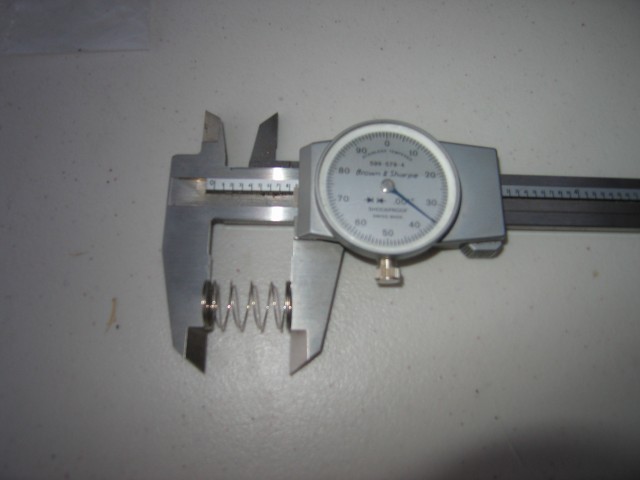
This is the new spring.
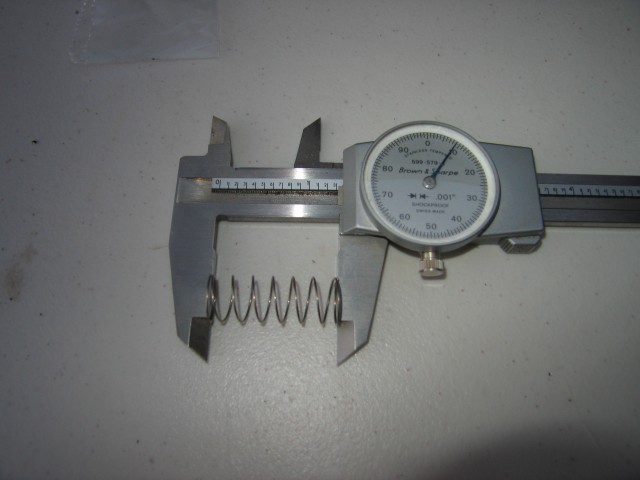
This is the old spring. The old spring is quite a bit longer than the new spring. Use the old one and chuck the new one into your spare parts bin.
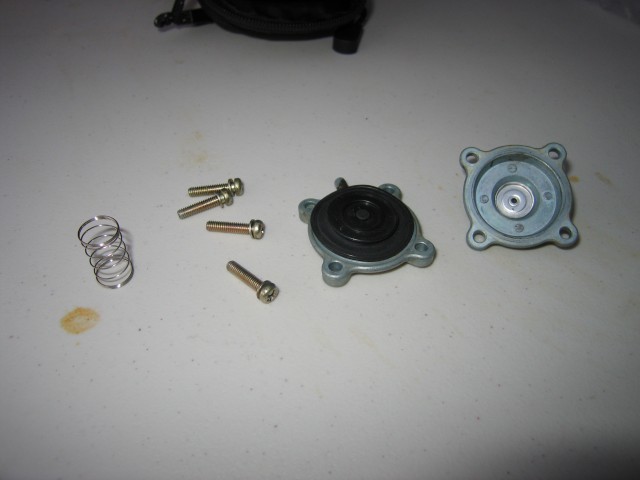
When you have reassembled your petcock, you will be left with these parts. The new (unused) spring, the four old screws, the old diaphragm assembly, and the old vacuum side of the petcock.

Interestingly, I noticed that the old vacuum side of the petcock seems to have some sort of a defect where that silver disk that I’m pointing at didn’t seat quite correctly when it was made. No clue if this is a problem or not.

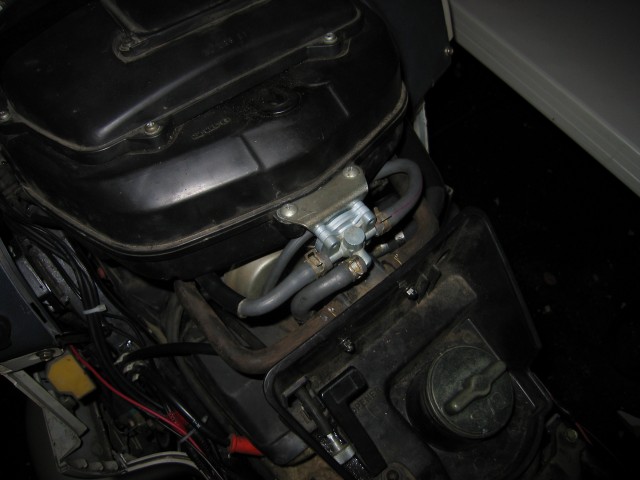
Here is the freshly rebuilt petcock reinstalled in my PC800. An hour-long ride indicated that it is at least functioning properly without any gas leaks. I haven’t been able to test the bike to see if I fixed the fuel starvation issue yet though. The closest place I can do that is two hours away. When I finally have the chance to test, I will be sure to update this page.


