
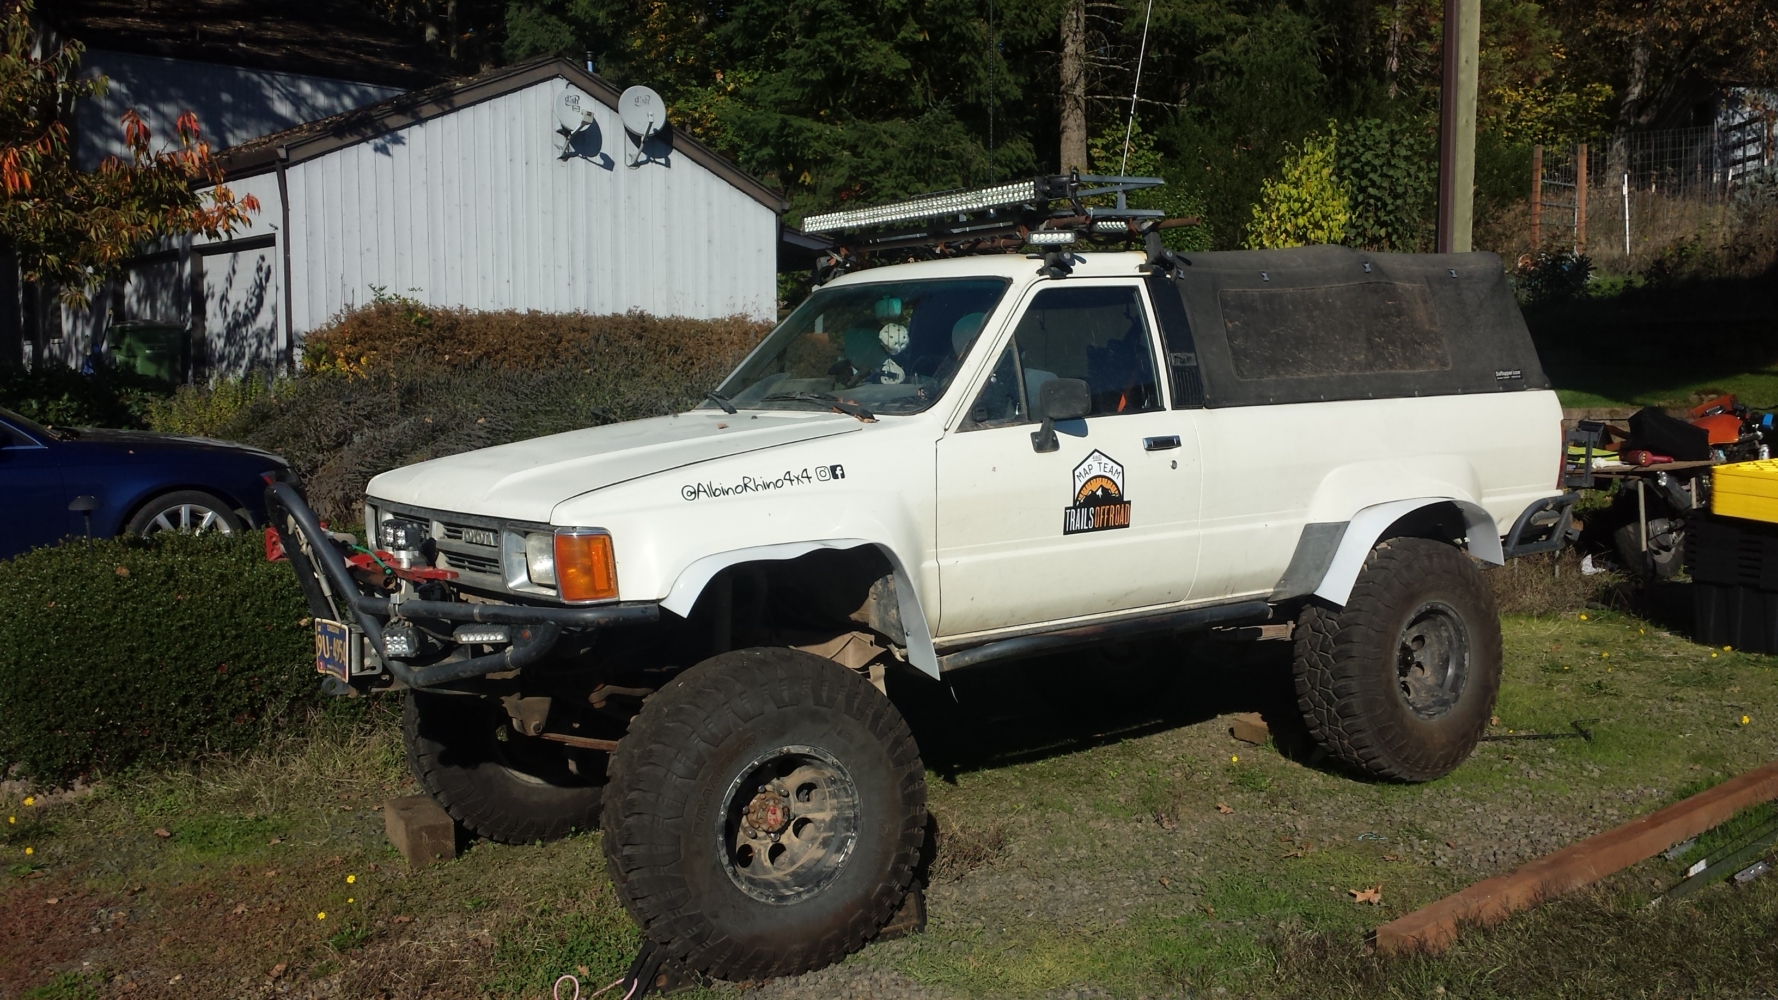
After having some really bad handling with the truck coming back from North Twin Cone Peak, I crawled underneath to check out the front suspension and steering. Lo and behold, I found the power steering box leaking and the steering arms loosening off of the steering knuckles.
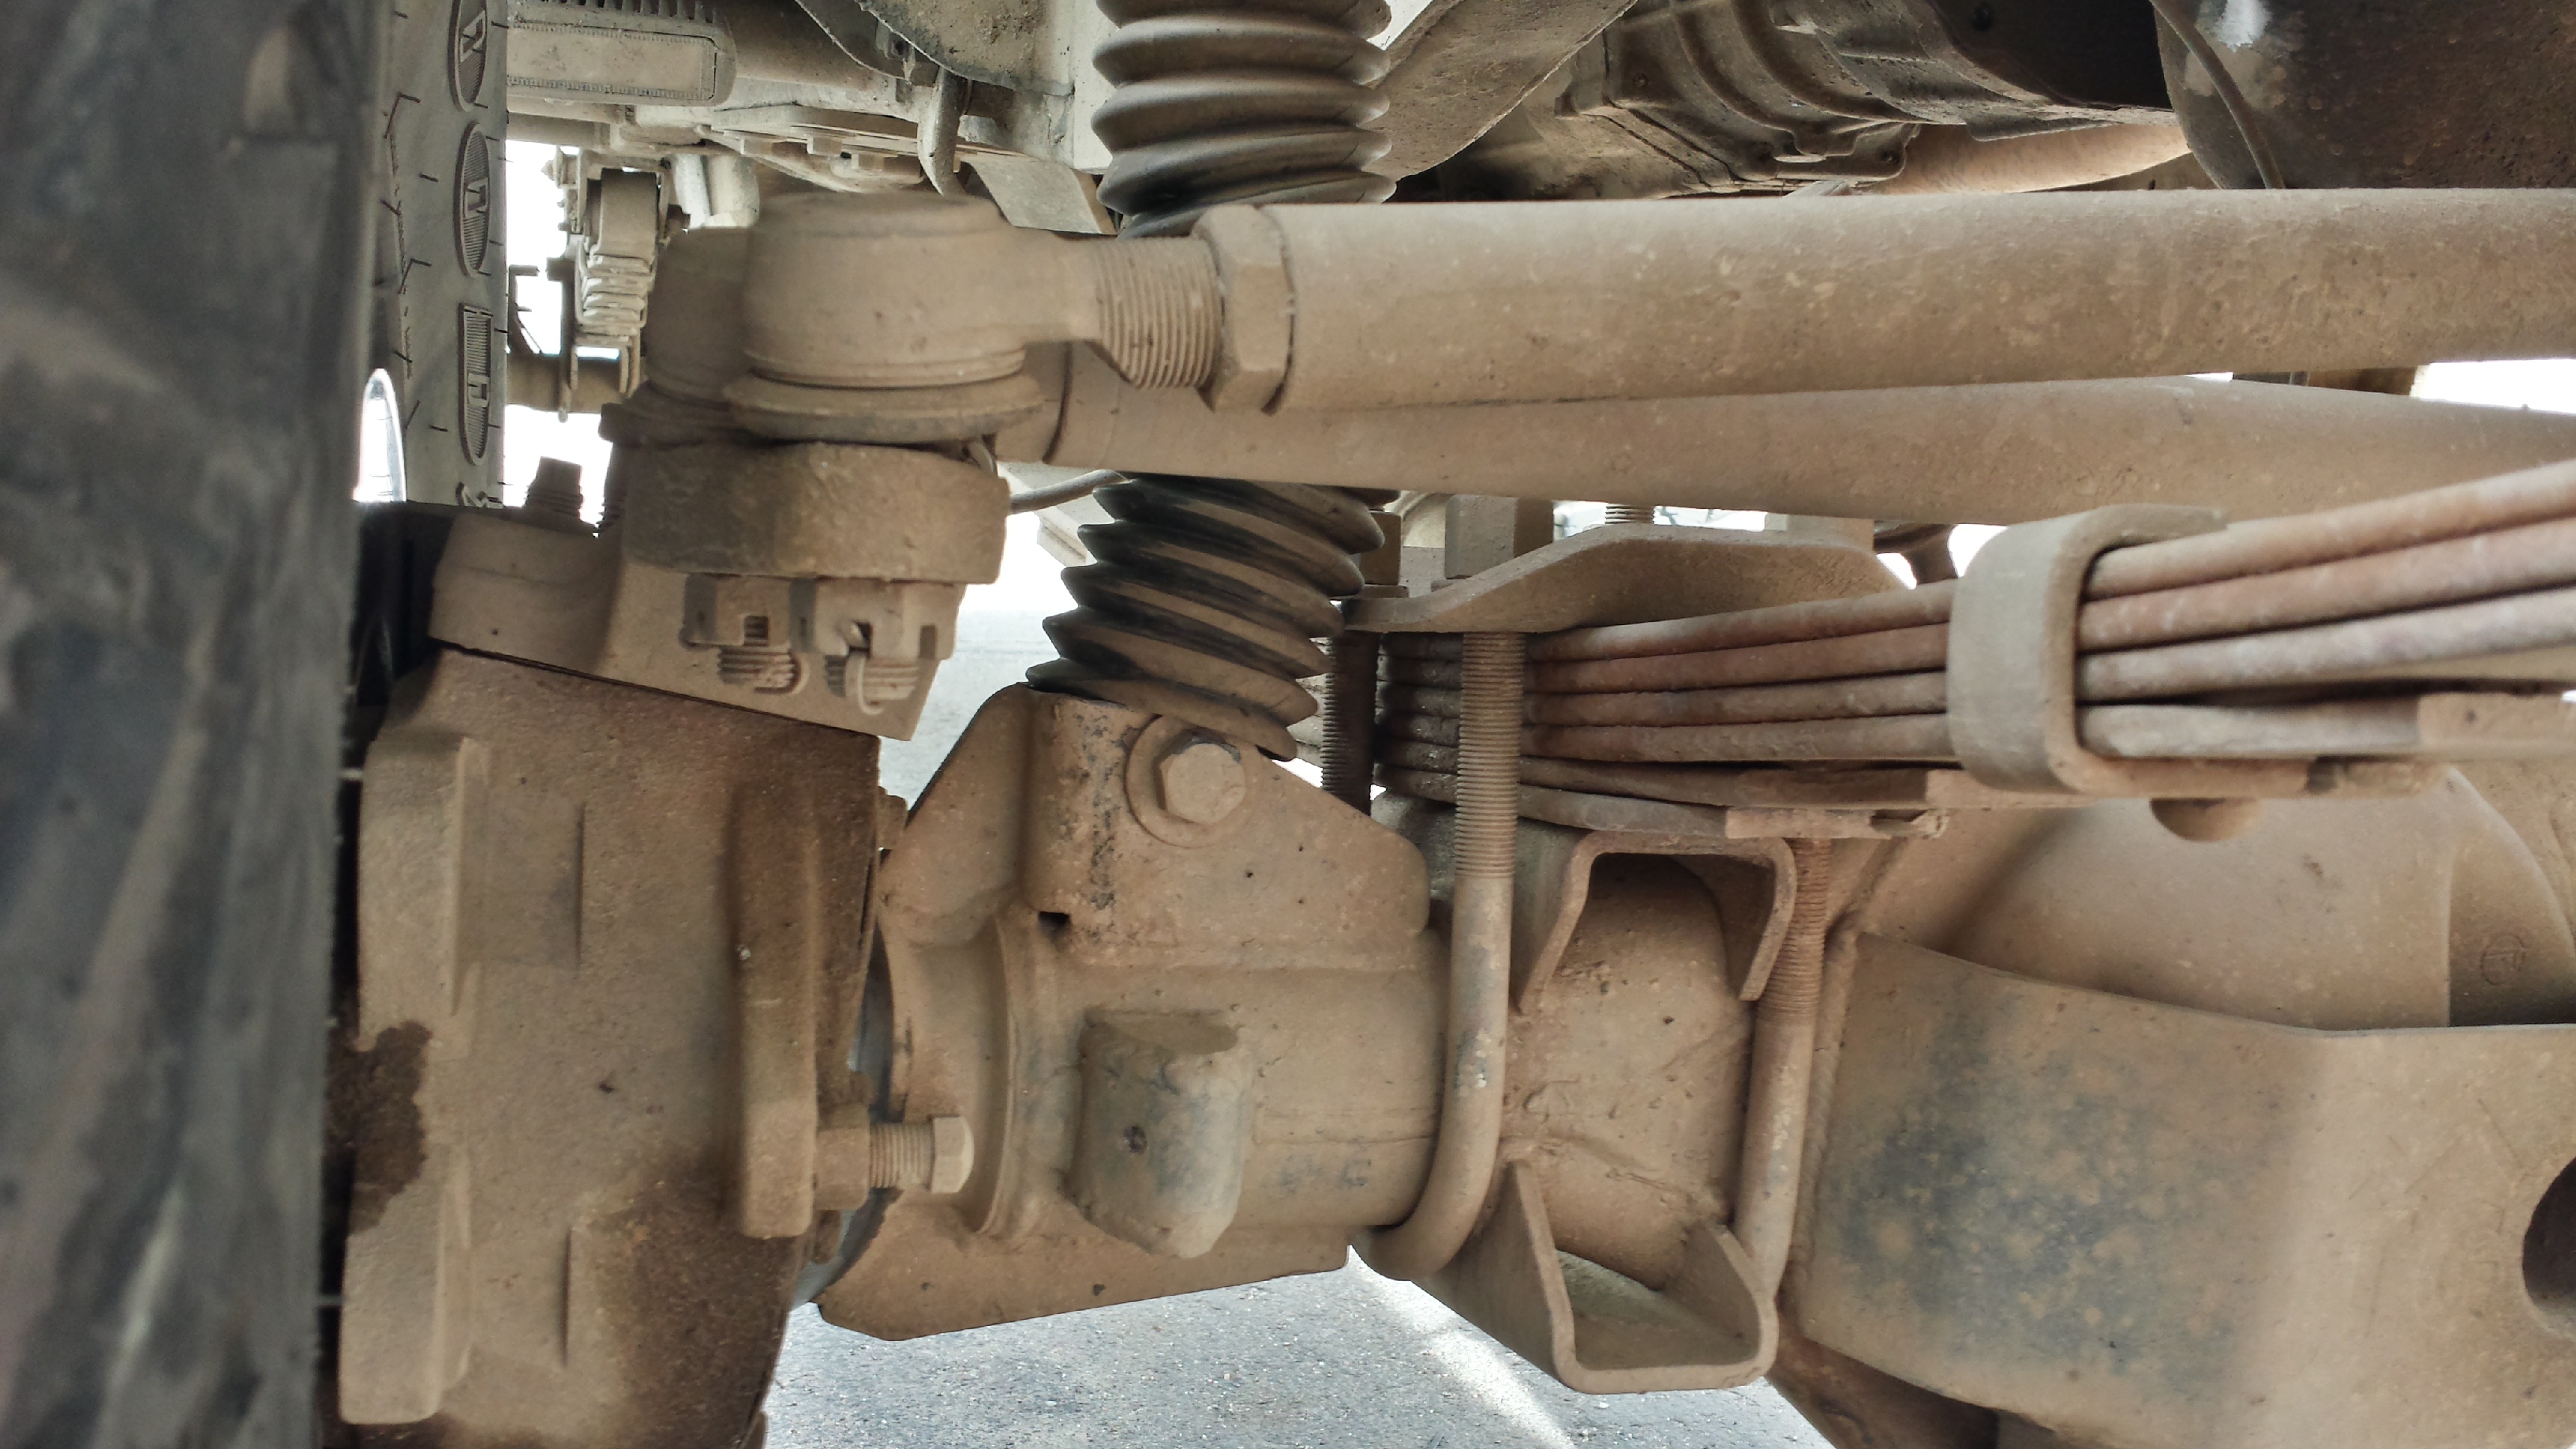
 It’s a bit difficult to see but the steering arm is separating from the knuckle! If it were to come all the way off, the truck would lose steering. That would be bad at highway speeds.
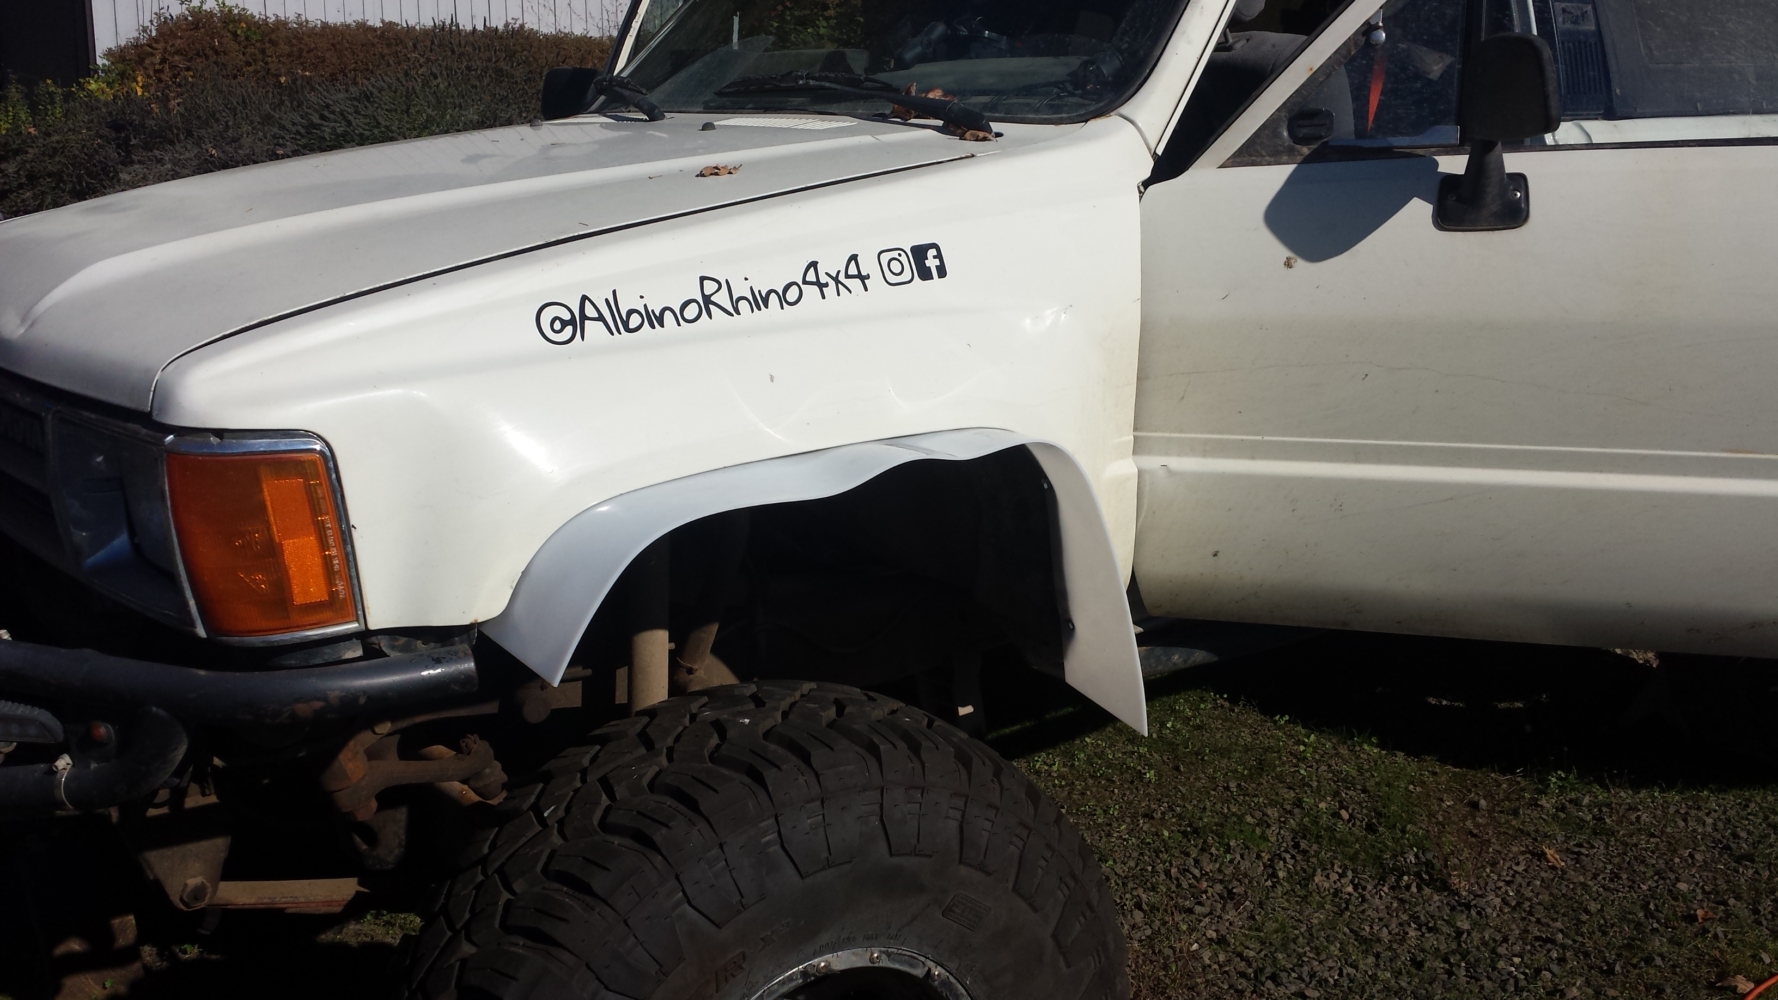
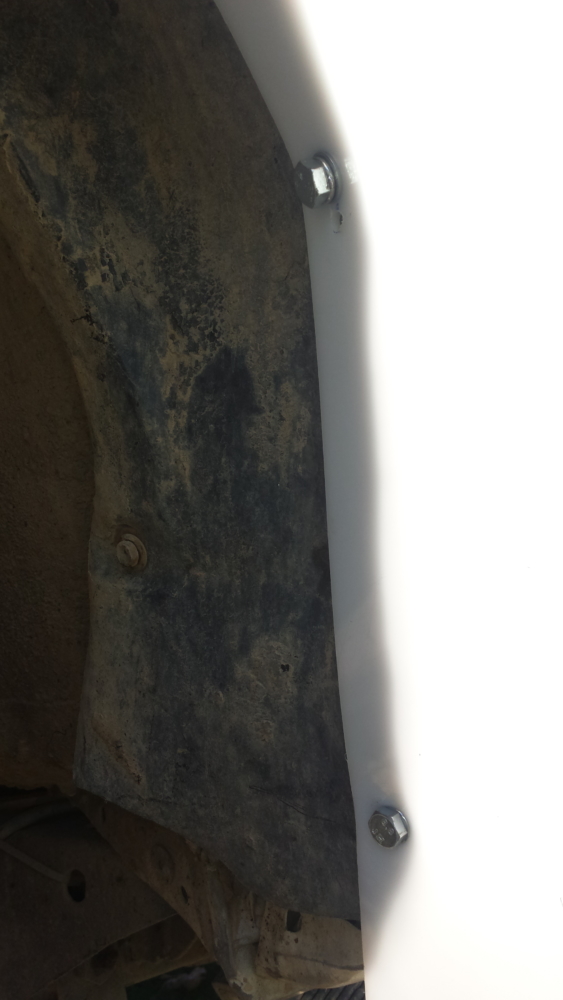
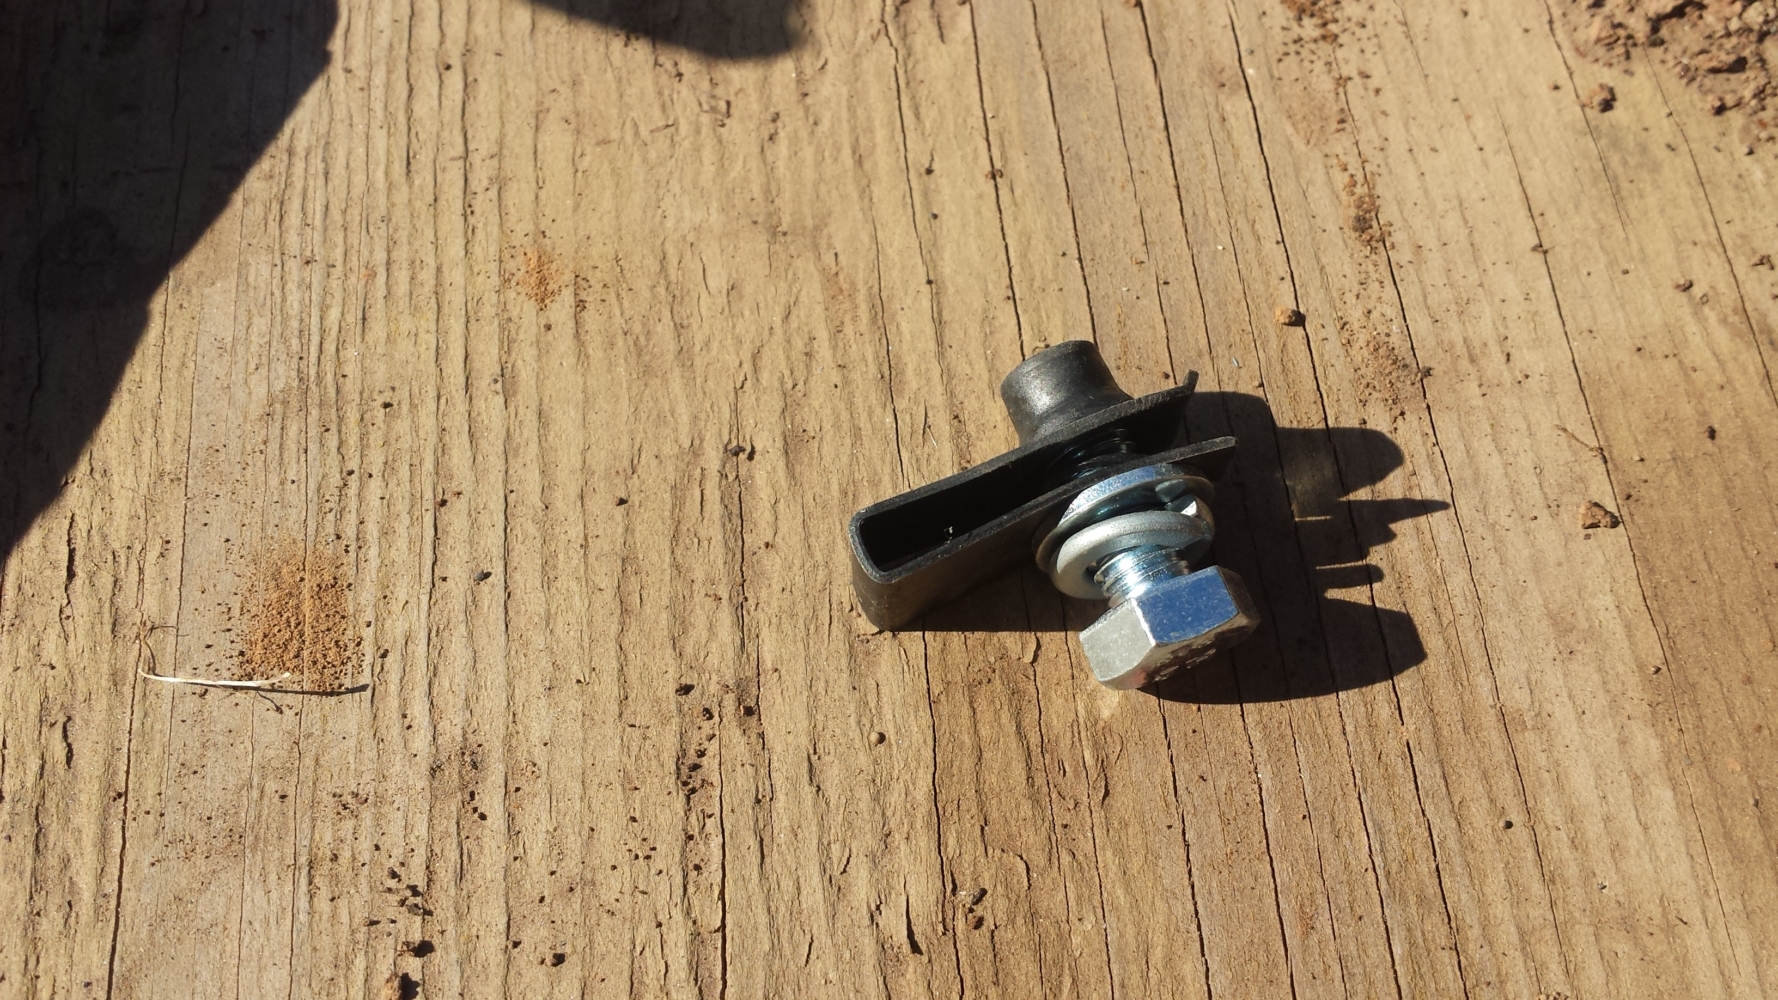
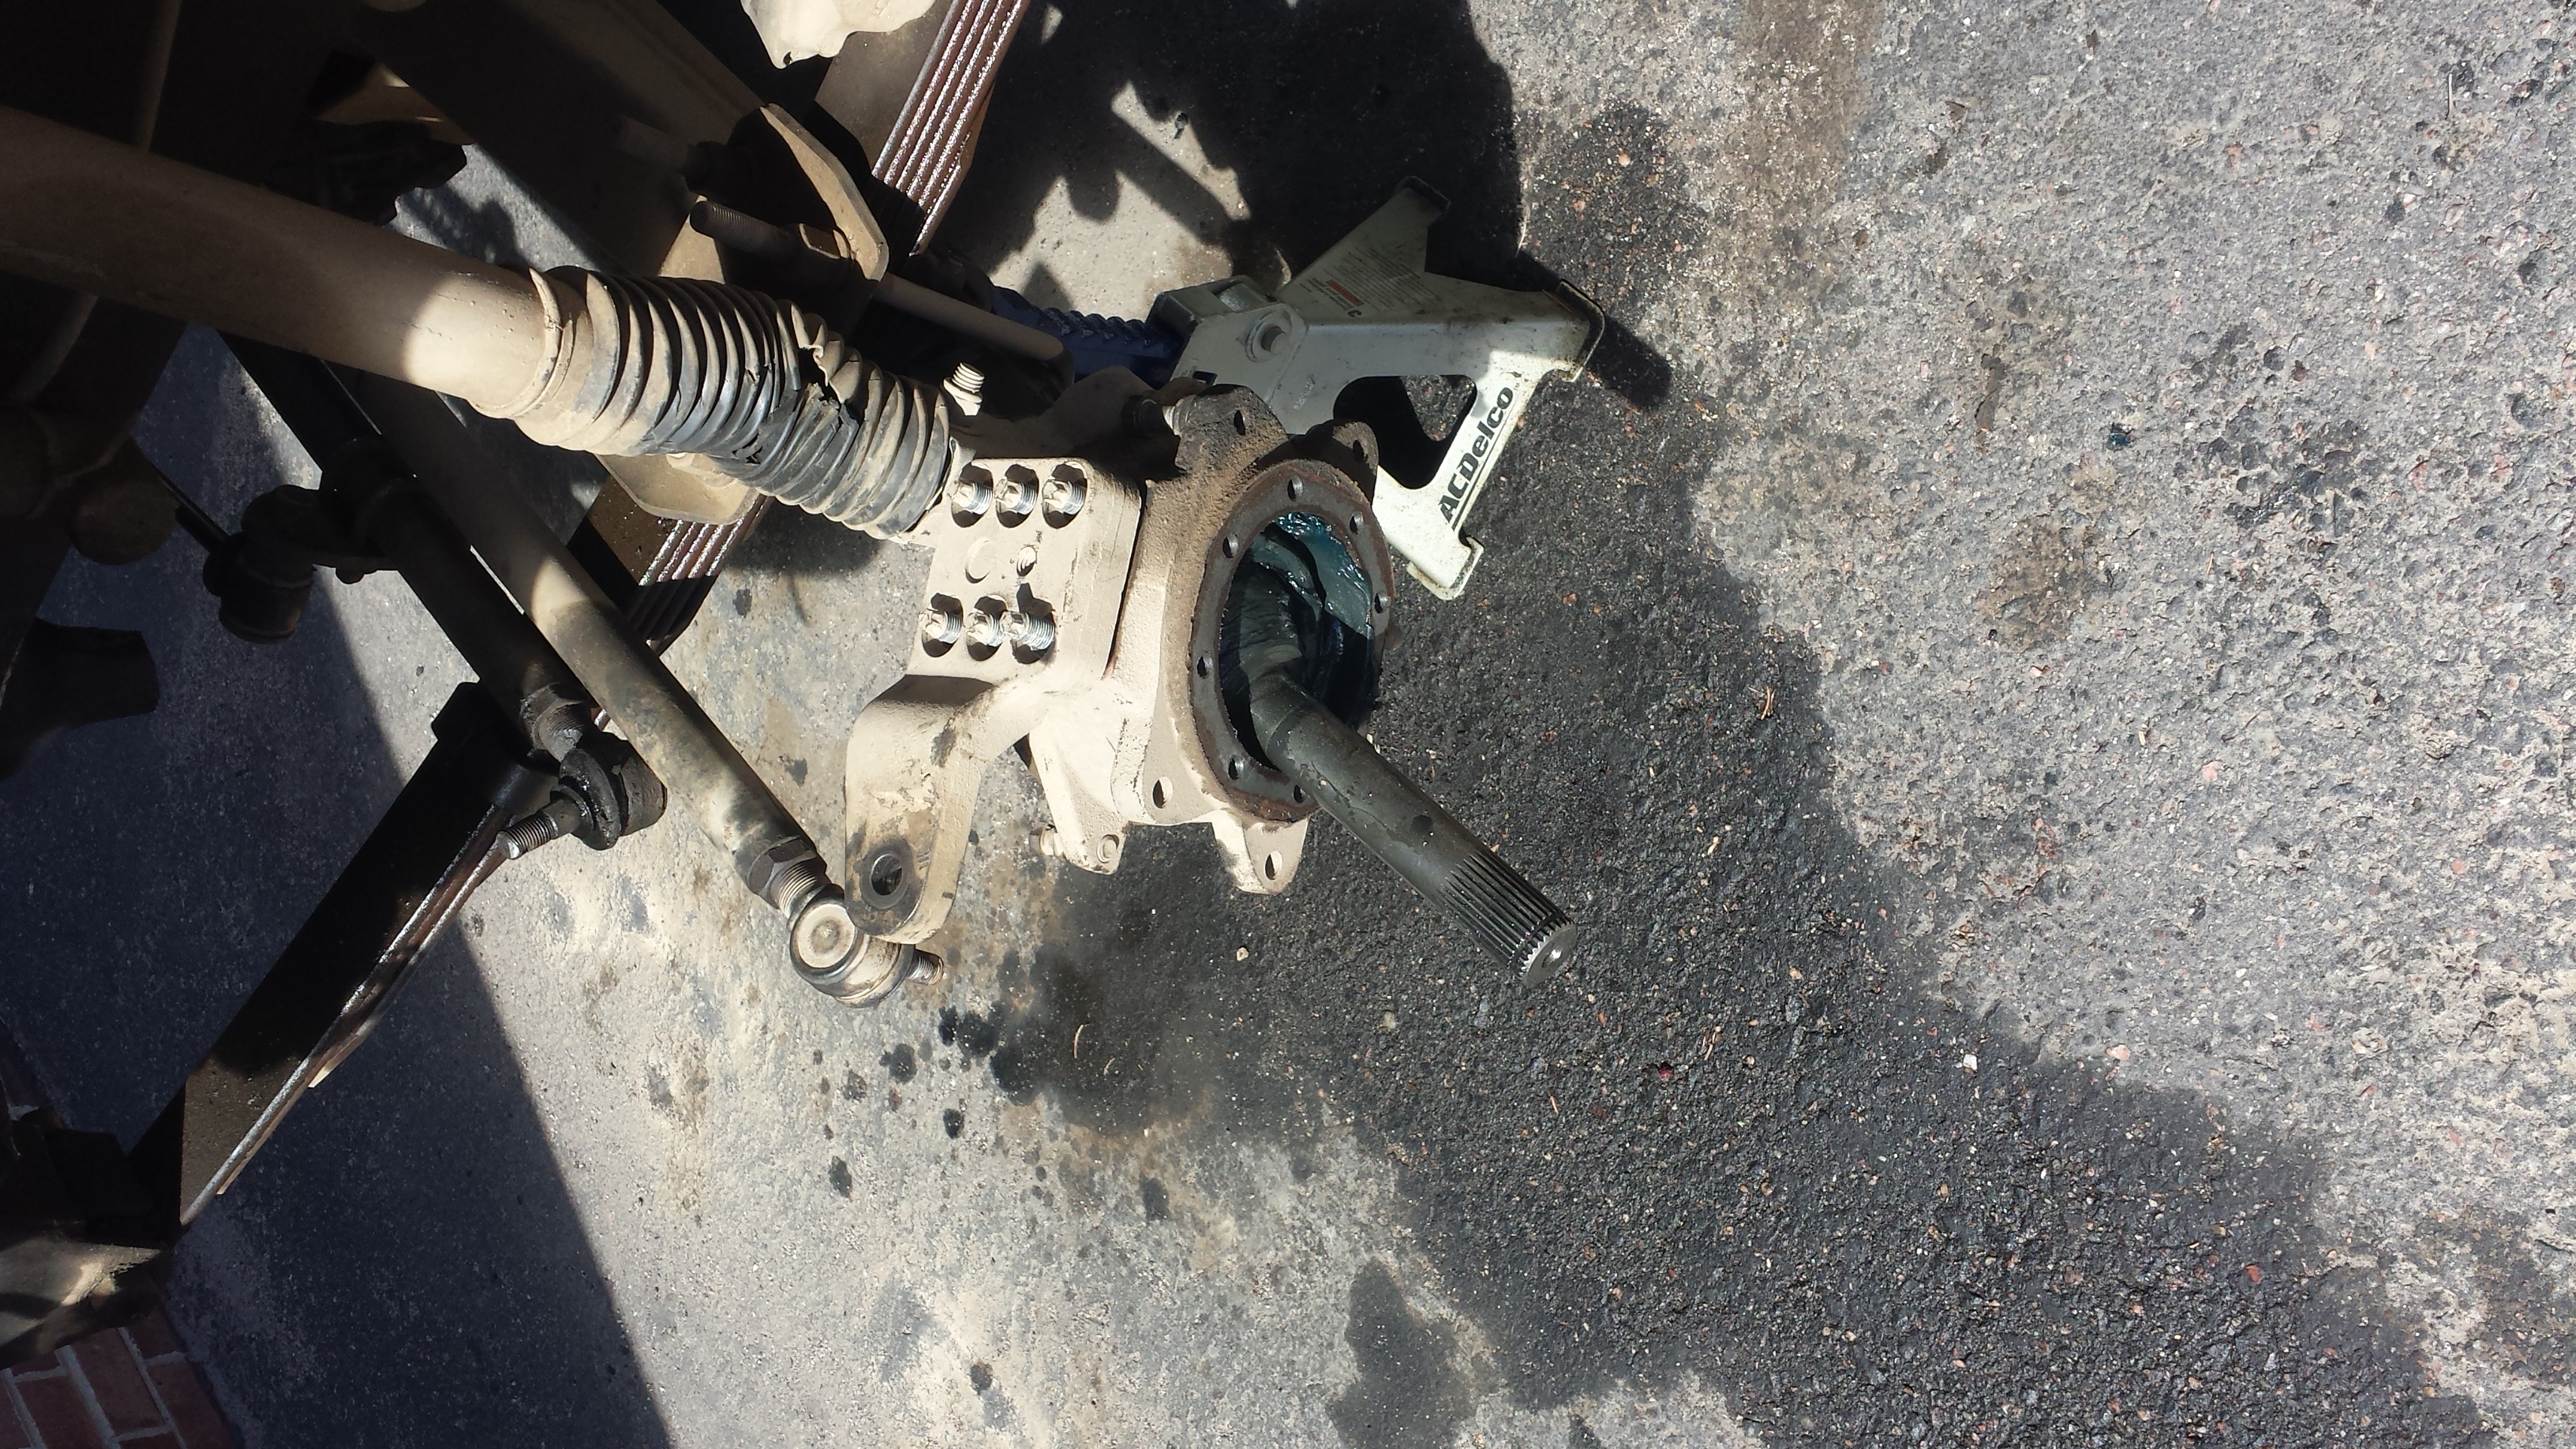
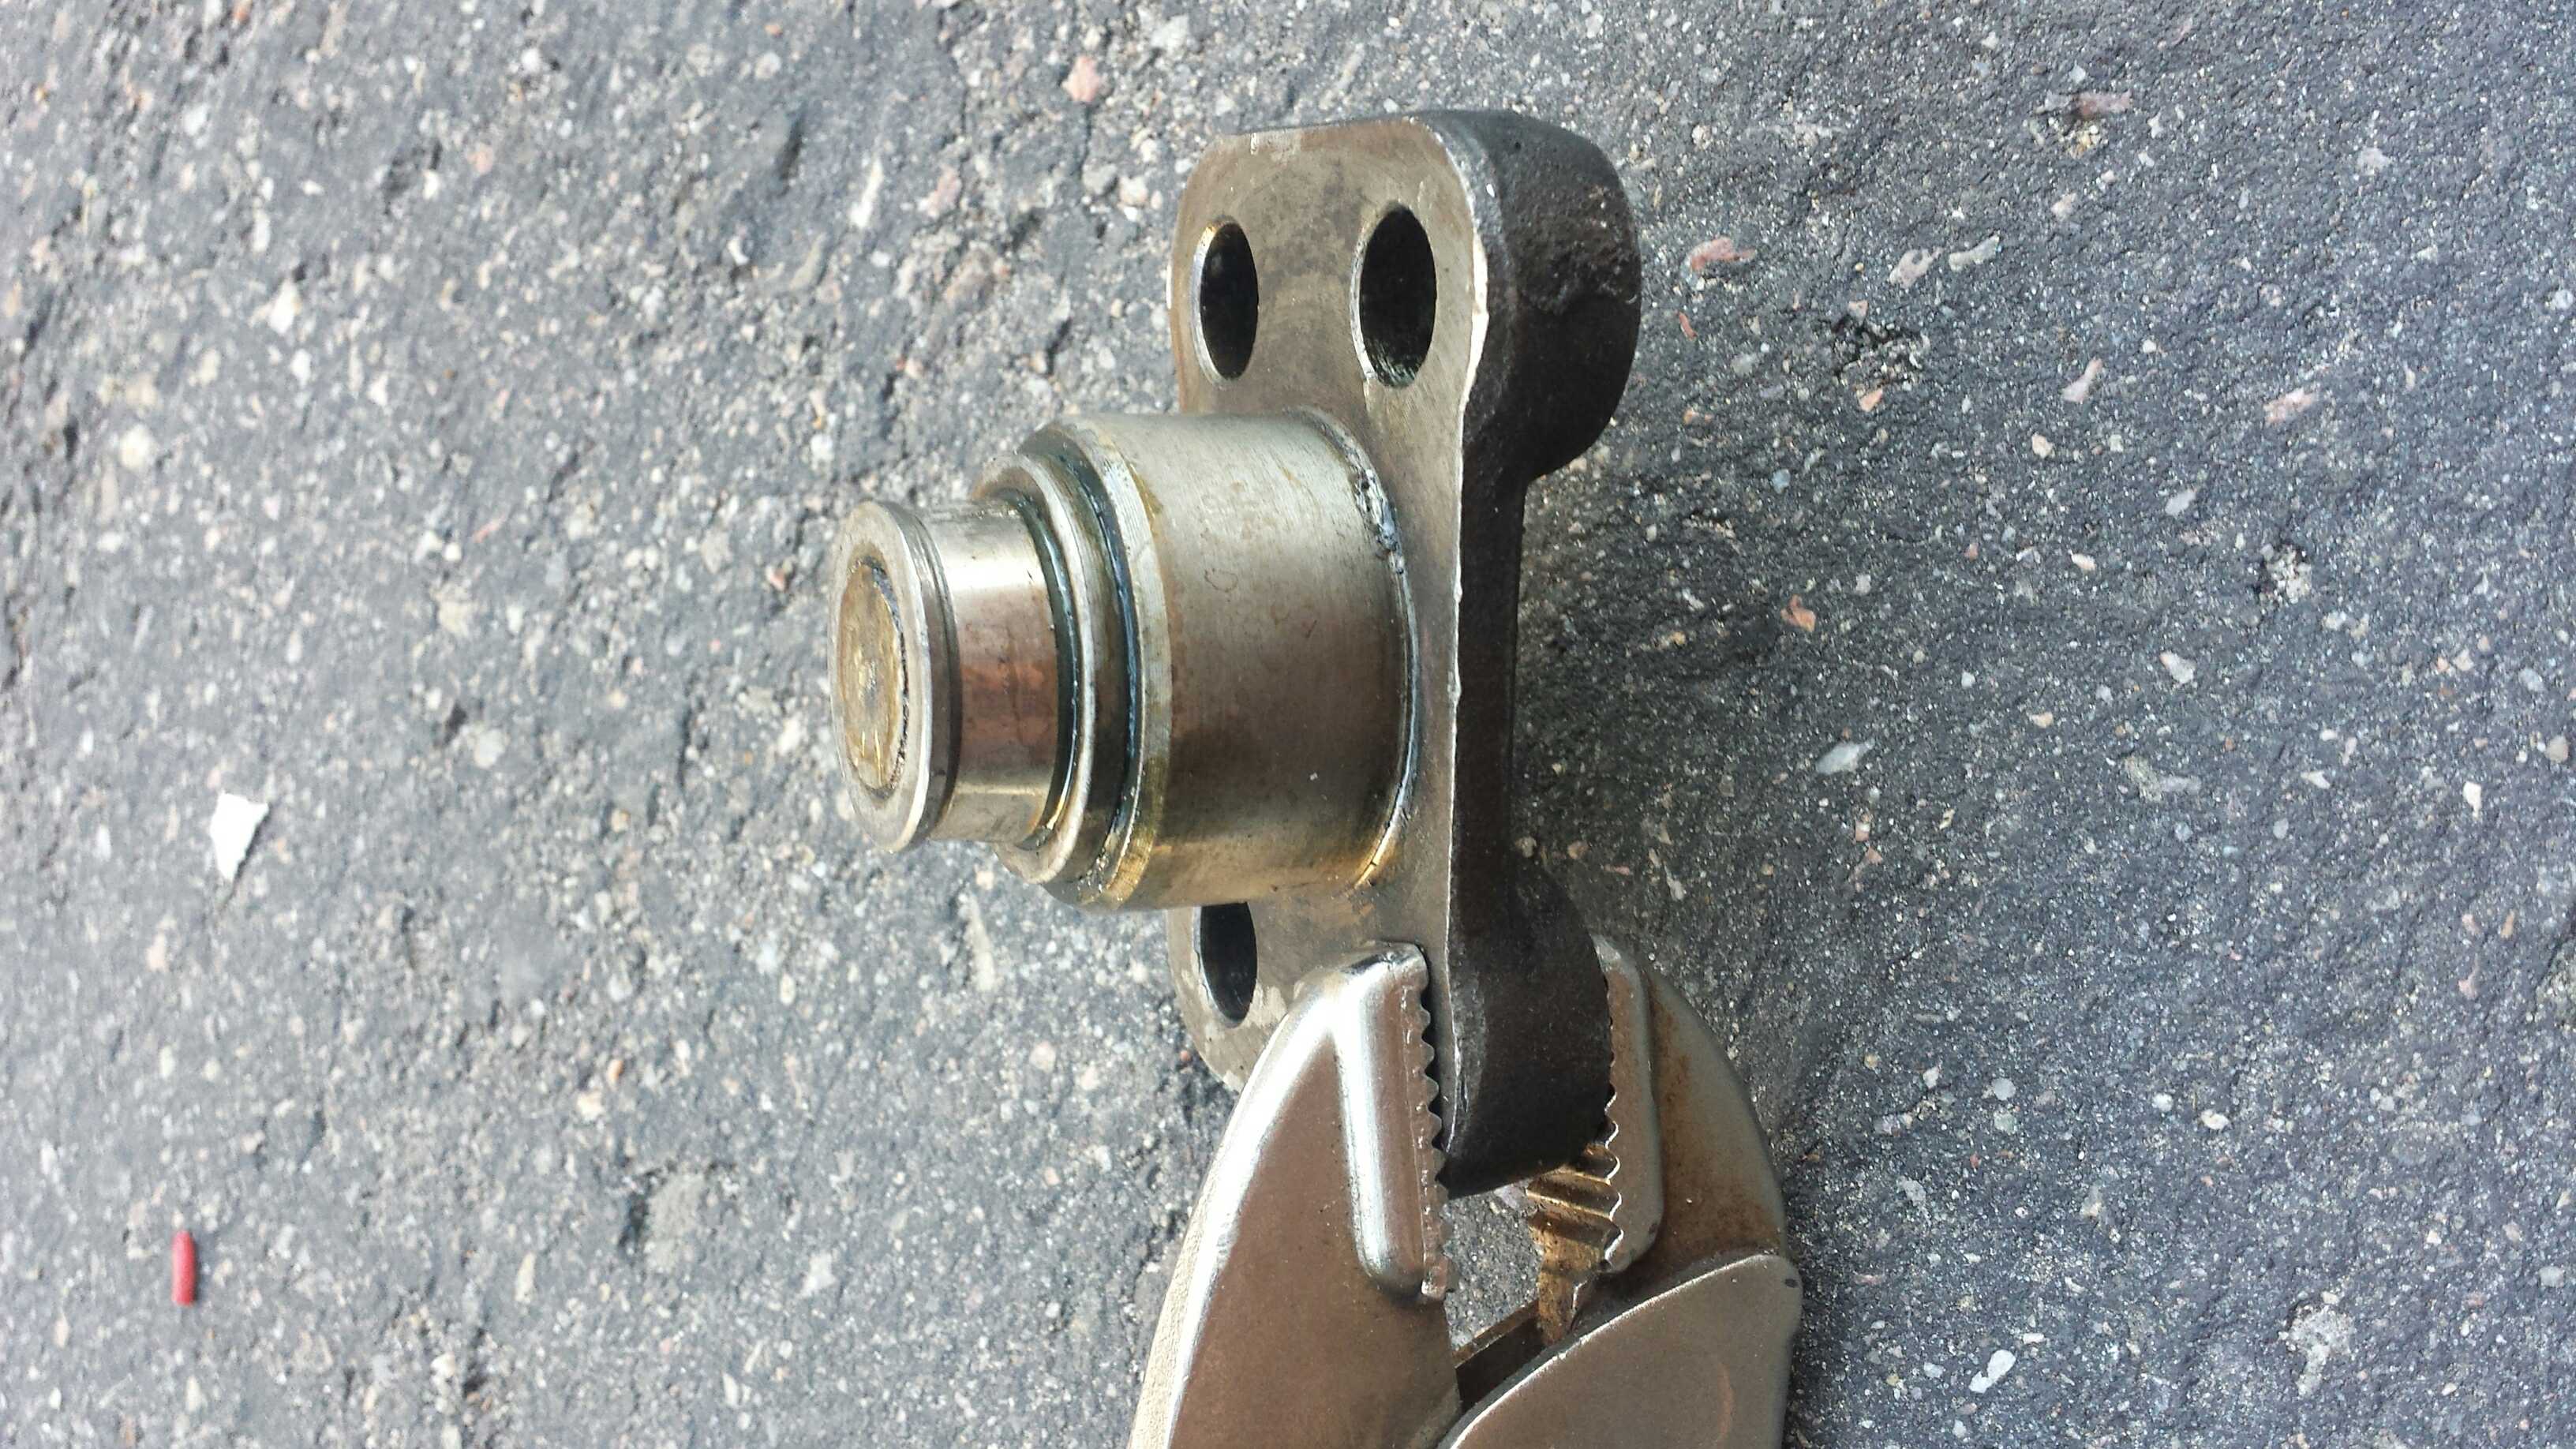
 The passenger steering arm had lost a stud. It didn’t even break off. It was just missing.
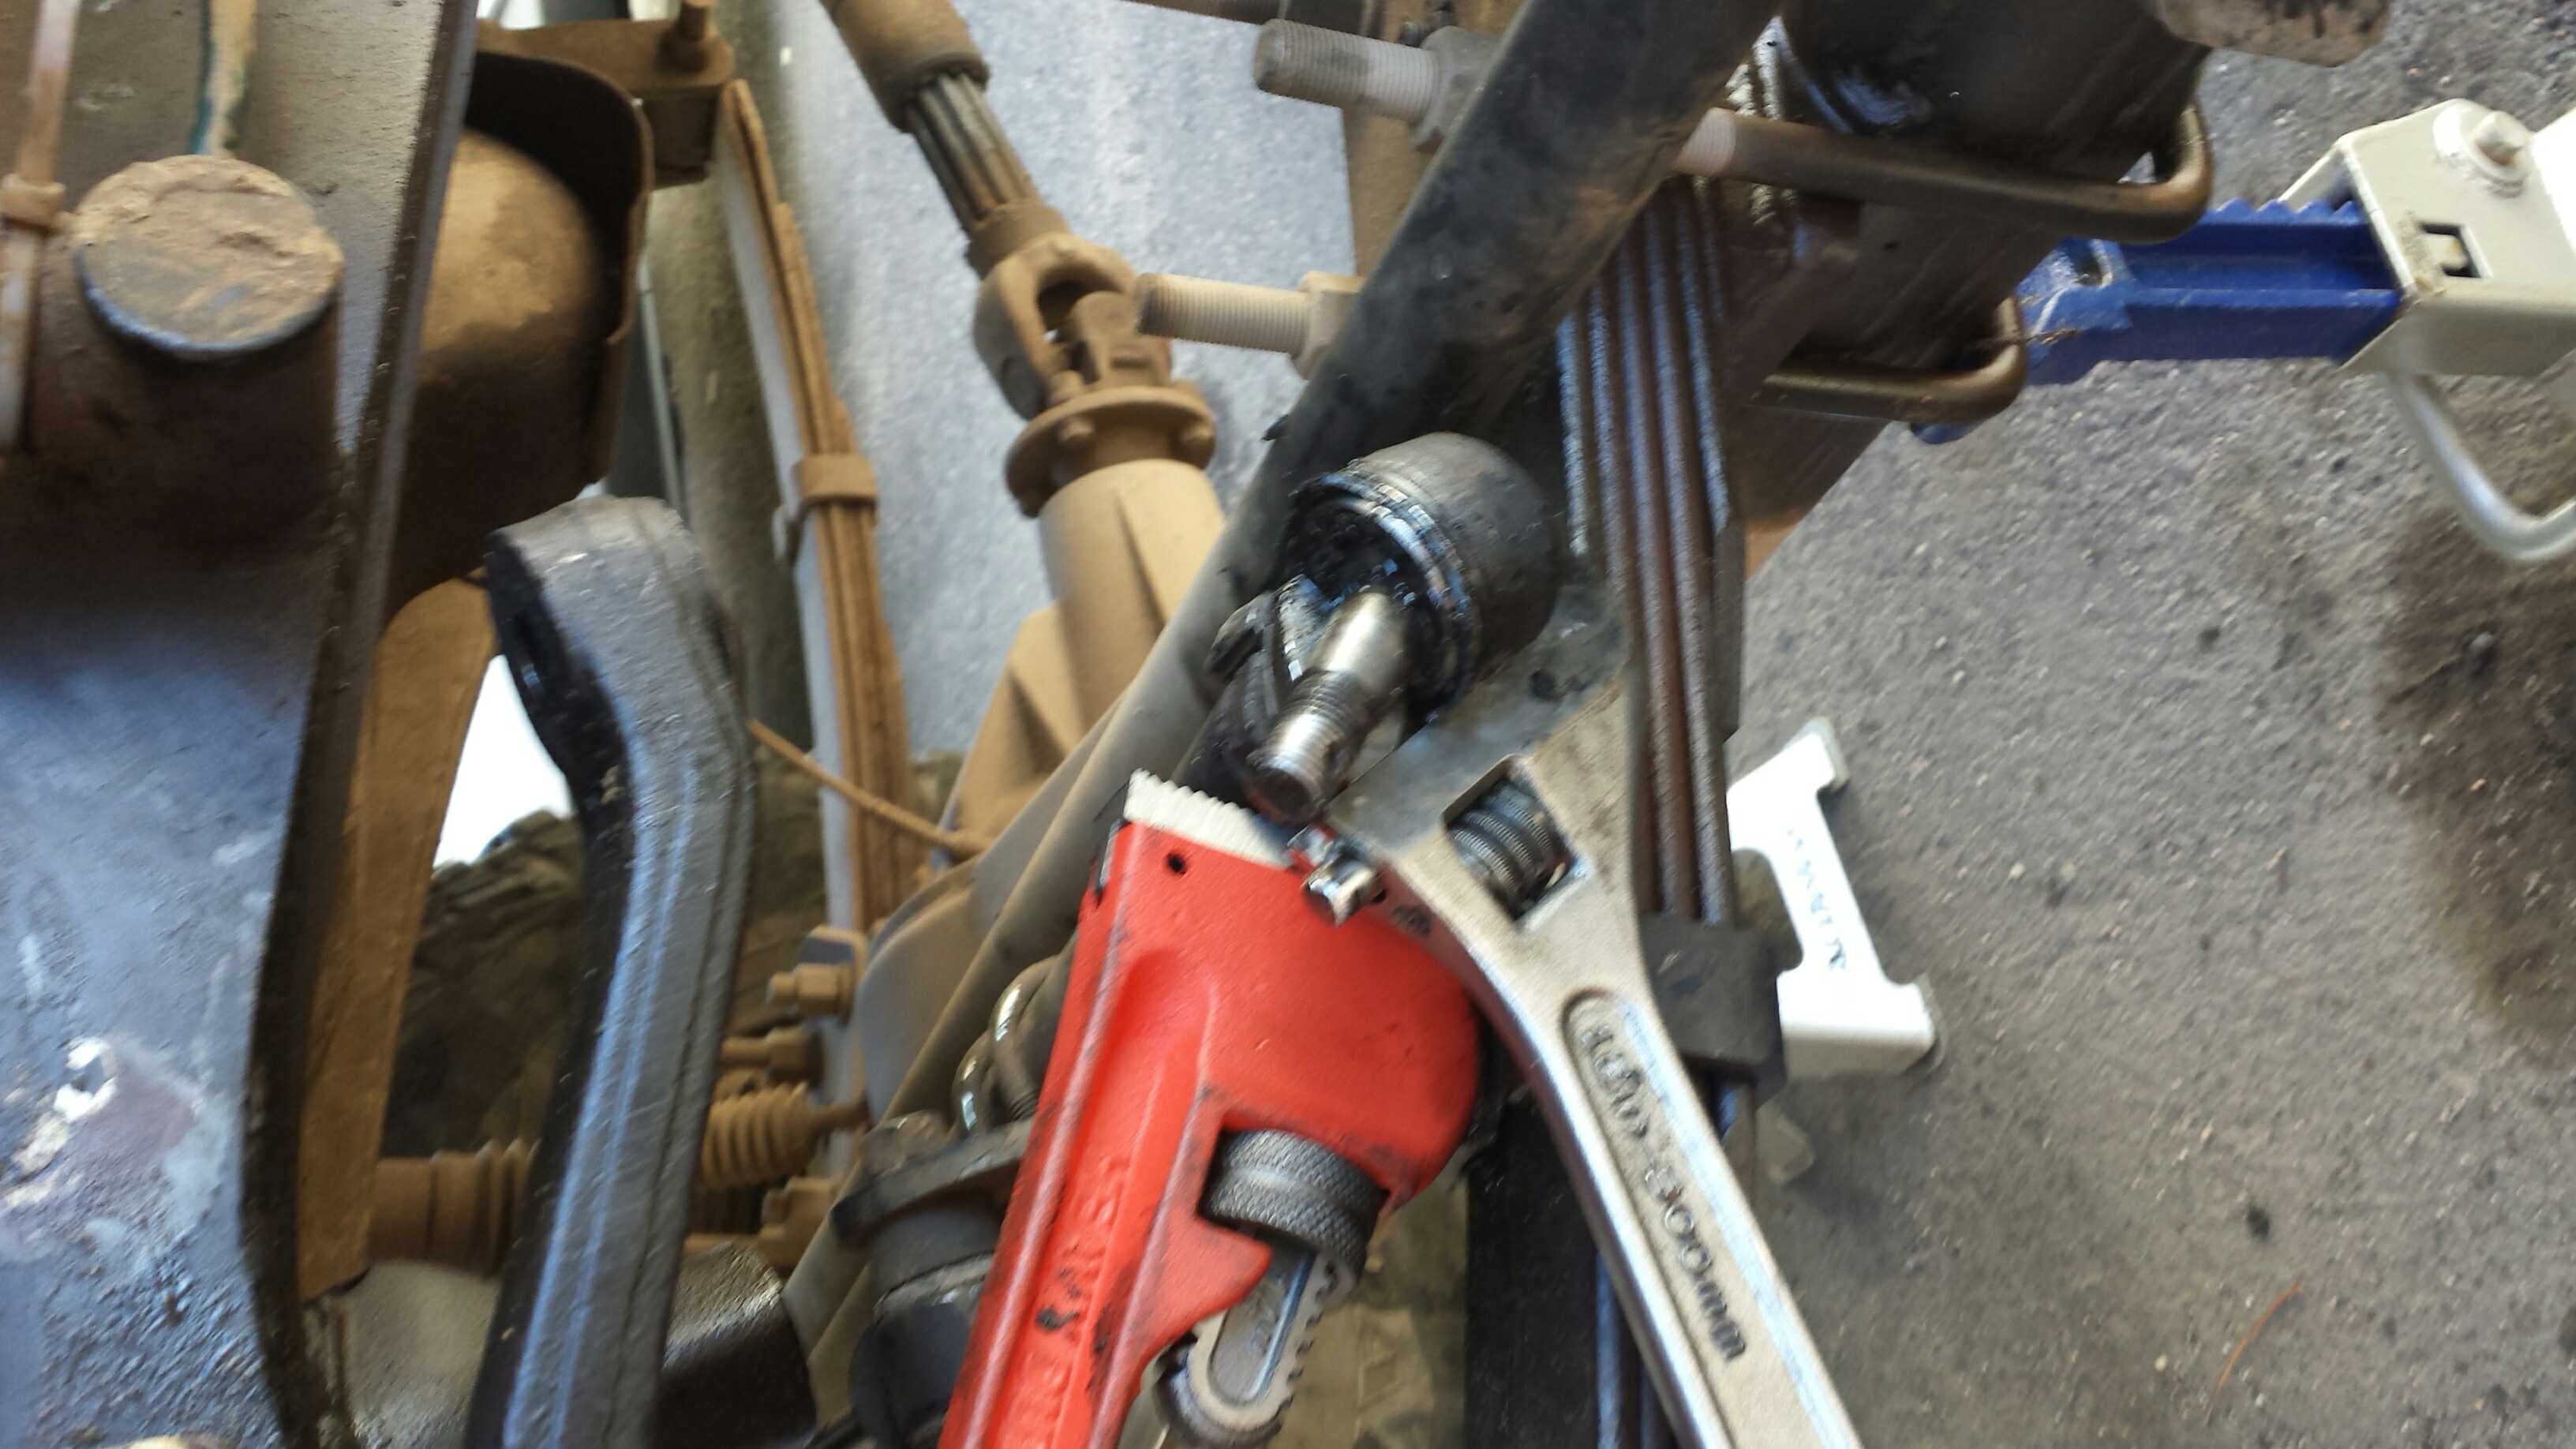
 You can really see the separation on the passenger steering arm from the knuckle.
 Luckily I had all of the parts on hand to rebuild the front end from when I was planning to build my old 4runner. All of these tie rod ends came in very handy.
 New bearings. I decided to throw them in while Iwas at it to have a completely fresh front end.
 Working on taking apart the knuckles.
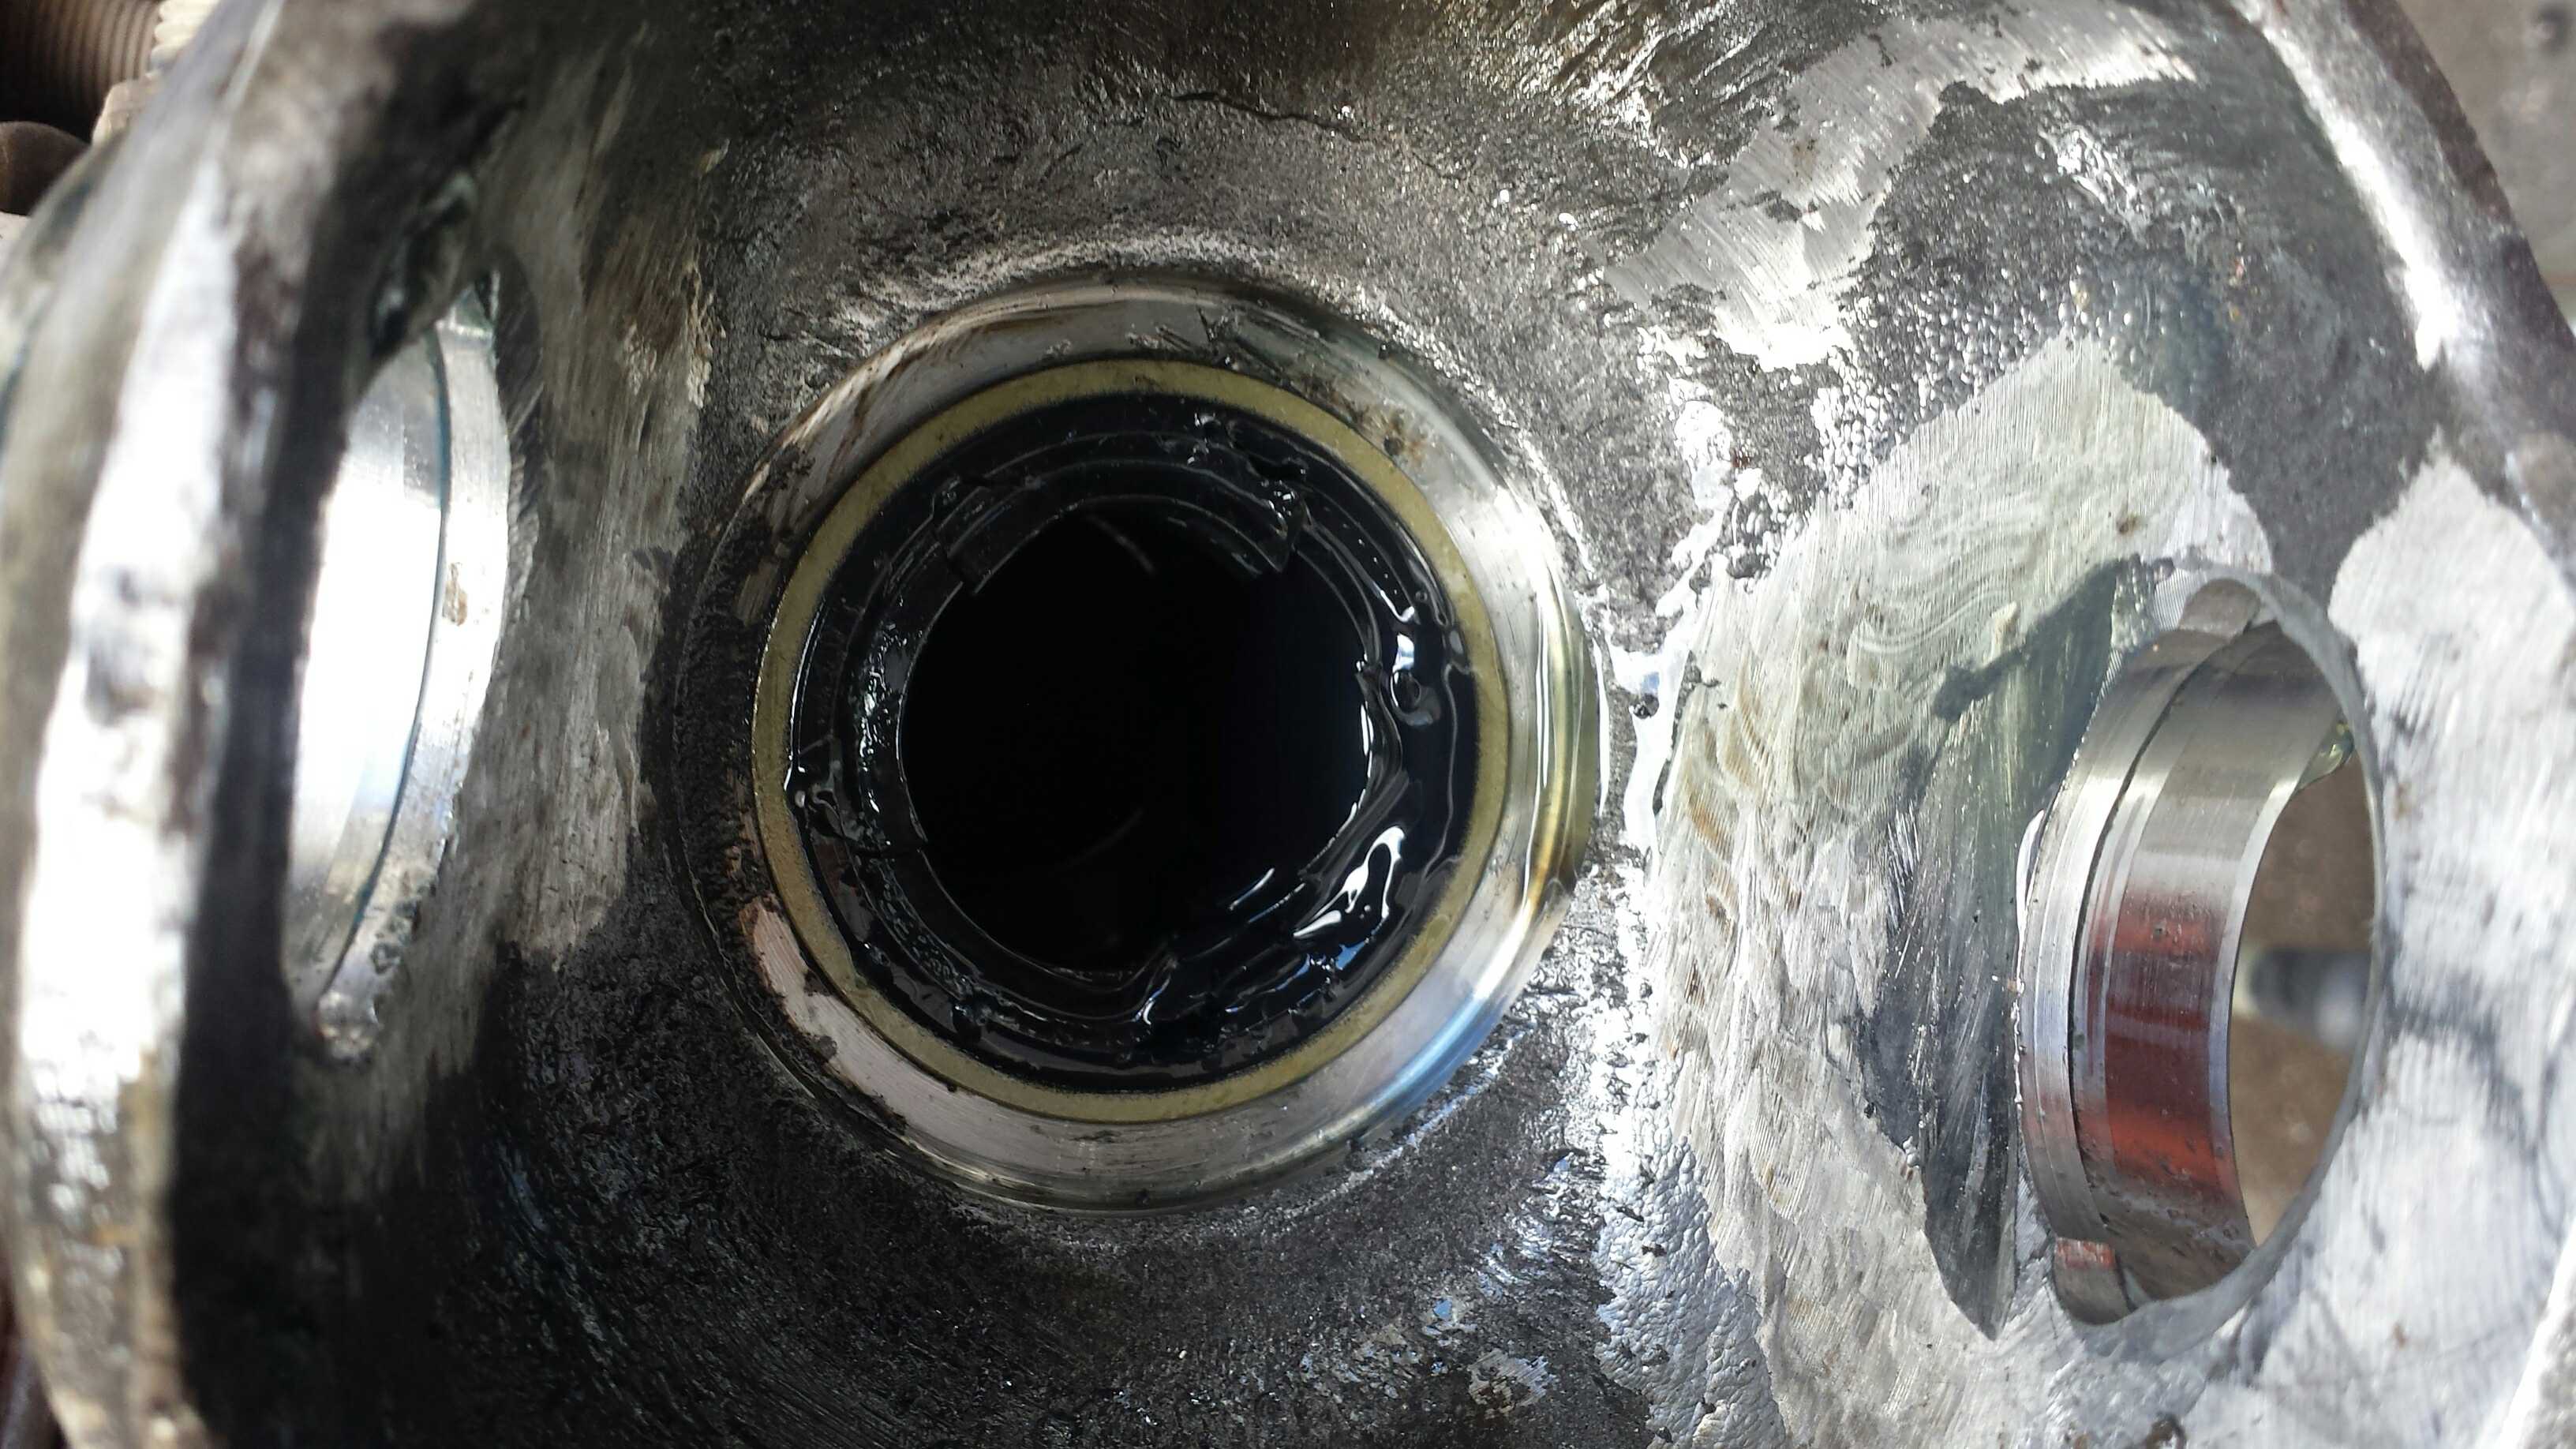
 Definitely time for a new inner axle seal. I went with an Eco Seal from Marlin Crawler.
 This part is a real pain in the butt to extract from the truck. I’m not looking forward to having to take this apart again in the future.
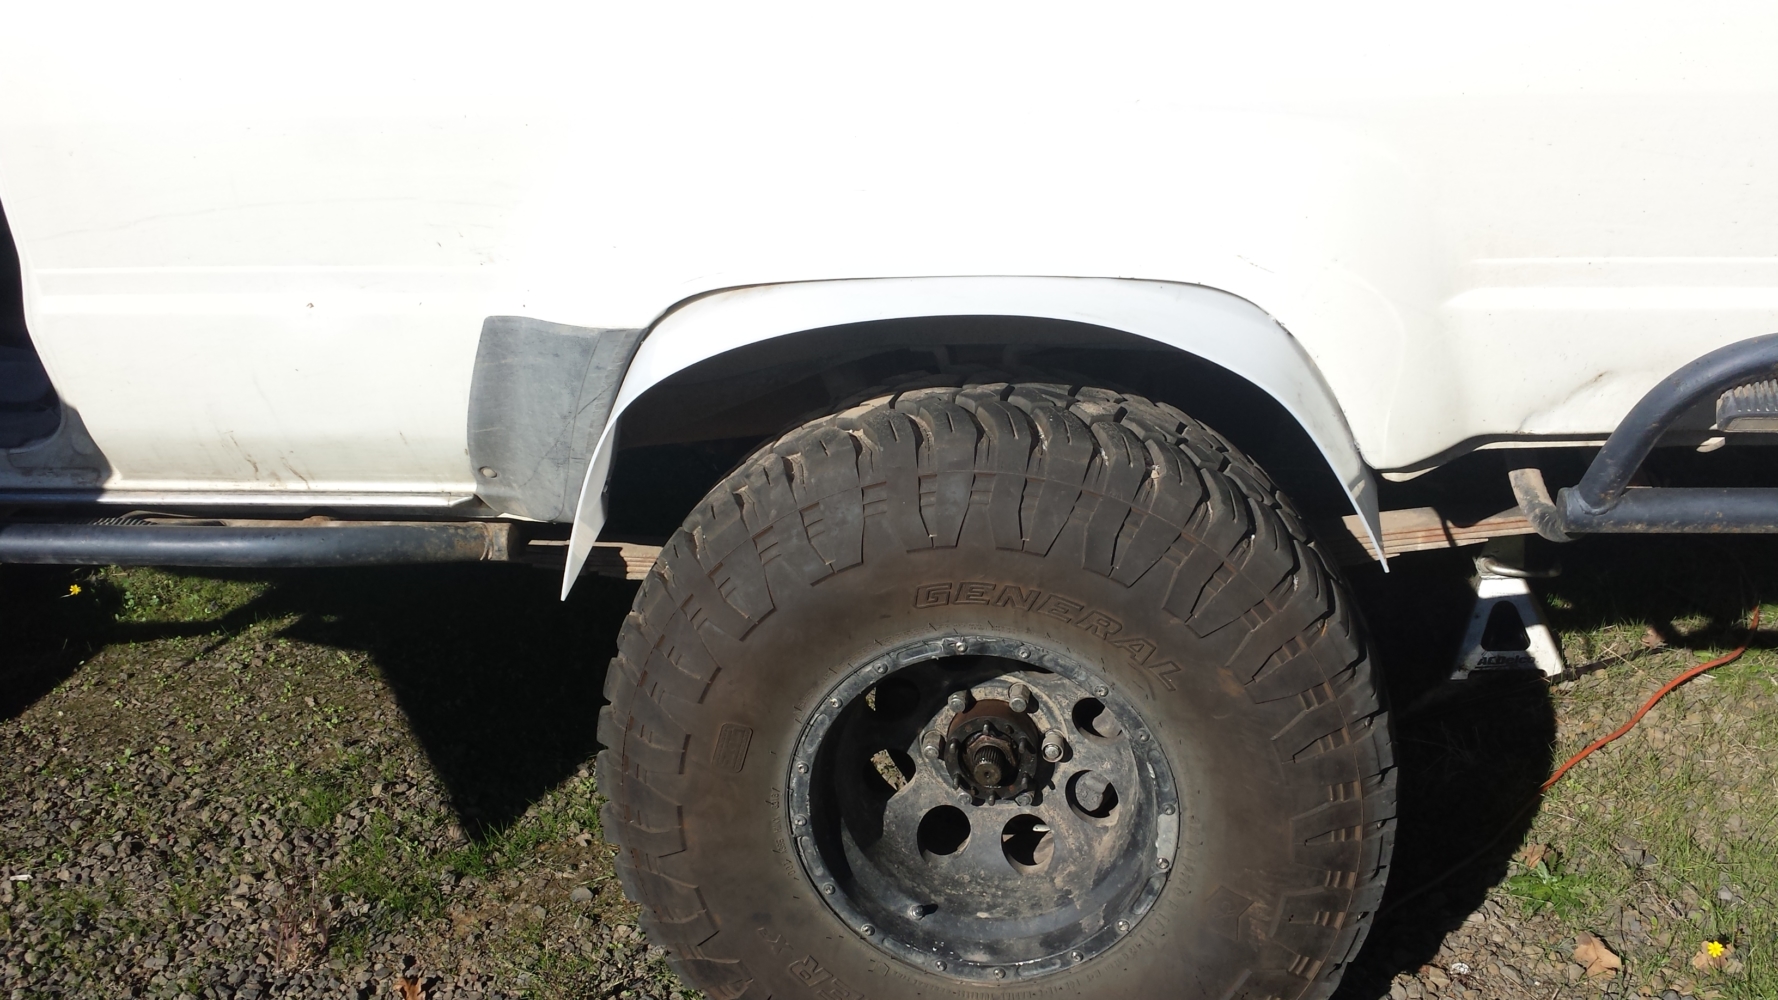
 Getting those tie rod ends on and off is a huge pain. I finally got it done though. The truck is back together and driving although my steering box keeps going out of adjustment even after being professionally rebuilt twice. I’m thinking that I may need to replace it eventually.


